7
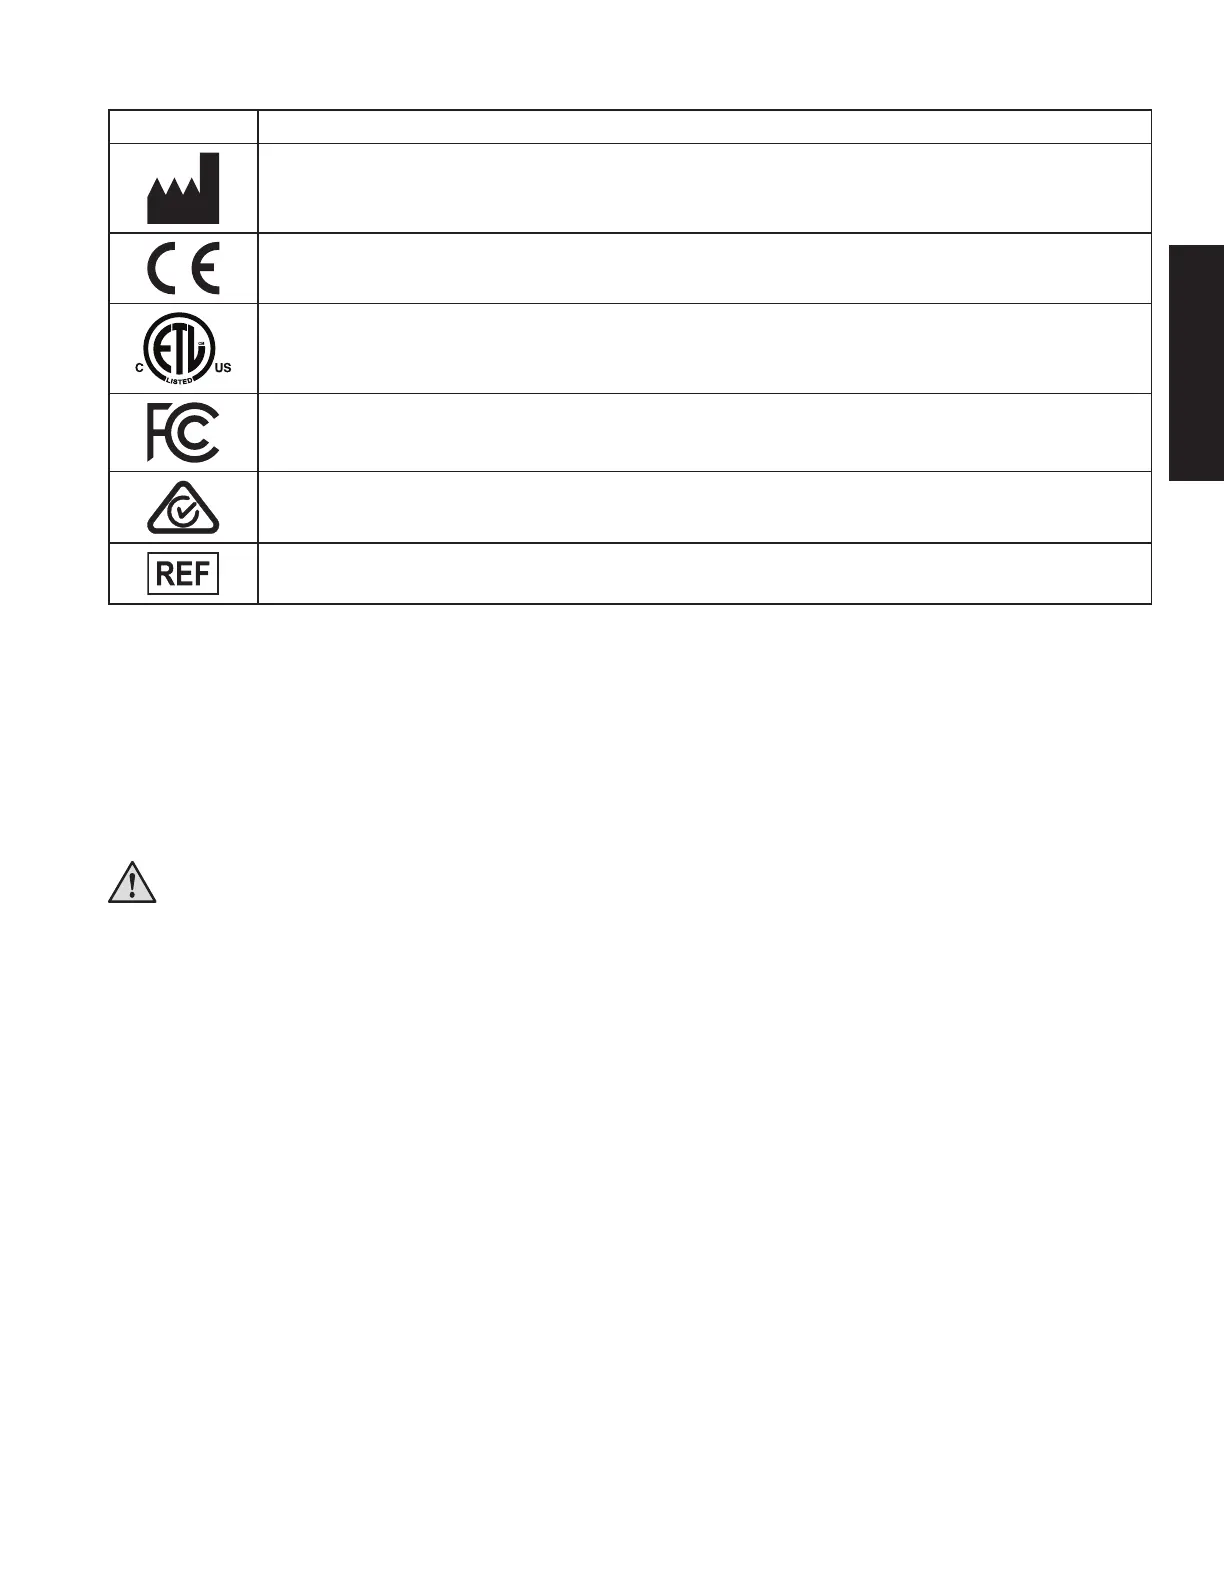
Product & Packaging Label Symbols
Symbol Definition
Manufacturer
Mark of Conformity to European Directives
ETL Listed to US and Canadian Safety Standards
Tested to comply with FCC standards
Compliant to all applicable ACMA regulatory arrangements (RCM)
Catalog number
D. Getting Started
Description
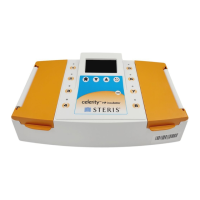
The Celerity HP Incubator is intended to incubate and read the Celerity 20 HP Biological Indicators (BIs). The
Celerity 20 HP BIs are intended for use in routine monitoring of gaseous hydrogen peroxide sterilization processes
and to be used exclusively with the Incubator. The Incubator is designed to detect the presence or absence of a
fluorescent signal upon incubation of the Celerity 20 HP BIs. Each of the eight sample wells has dedicated optics
for excitation and detection. Once initiated, each sample well will independently monitor and determine the result
for an individual BI within 20 minutes.
WARNING - The Incubator is intended to be used solely with Celerity 20 HP BIs.
Do not substitute any other products for the Celerity 20 HP BIs.
Unpacking and Inspection
Upon receiving and unpacking the Incubator, carefully inspect it for any damage. Check to be certain that all items
listed below are included:
• Celerity HP Incubator
• Power Supply with proper plug and optional power cord strain relief (packaged in a separate box within
the incubator packaging)
Instrument Set-up
1. Place the Incubator on a flat, level surface near the point of use for the Celerity 20 HP BIs. Position the Incubator
so that the LCD screen faces forward and the navigation buttons are easily accessible.
2. Attach the AC Input Clip to the power supply using the appropriate plug.
3. Plug the power supply into the power connector on the back panel of the Celerity HP Incubator. Plug the power
supply into a power outlet.
4. If using a printer (optional), plug the larger (25 pin) end of the RS-232 cable into the back of the optional printer
and the smaller (9 pin) end of the RS-232 cable into the back panel of the Incubator. Secure both ends of the
RS-232 cable using the finger screws on each end of the cable. Follow the printer manual's instructions to plug
in the power supply and turn on the printer.
ENGLISH