63
Issued: 24.02.2005
STRIDER MX
Place the rear panelling onto the drive
unit from above.
While doing this:
- Introduce the engaging lever (a) into
the appropriate hole.
- Engage the rear panelling onto the
mountings (b) on the drive unit.
- Align the rear panelling to the
strider chassis (c).
➨
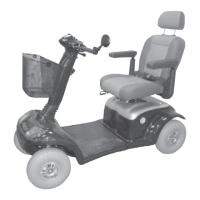
Plug in the light and indicator cable
connecting plug (13).
➨
Fixing the rear panelling
14.4.5 Fixing the rear panelling
Connecting the light cable
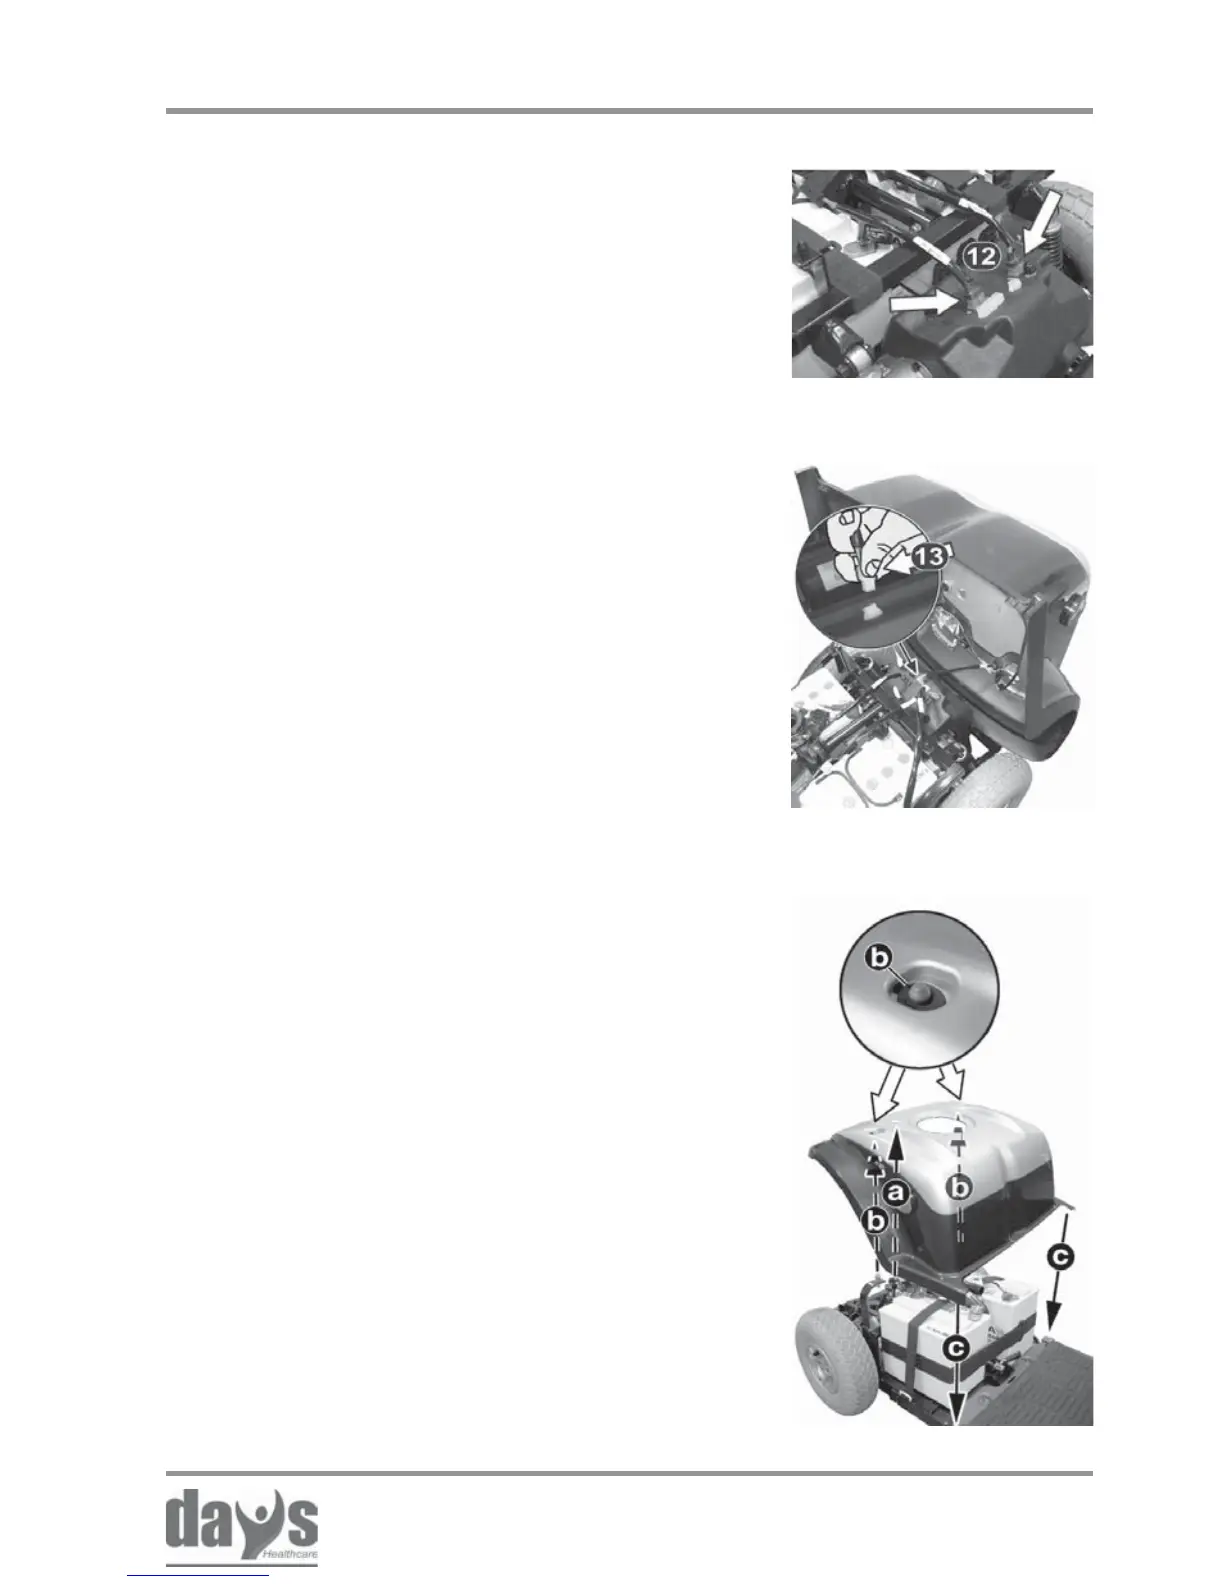
Plug in the battery cable connecting
plugs (12).
➨ Plug in the battery plugs
Transporting the Strider