Preparing for Use 20
Changing Default Time and Pressure Settings
To change the Default Time and/or Target Pressure:
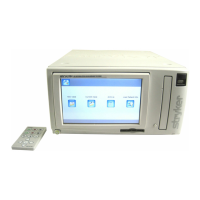
1. If the unit is turned off, press the ON/OFF (standby) button to
turn it on. Following self-test, it will enter the ‘Ready’ state.
2. Press the Set/Save button on the side requiring change.
The corresponding time and pressure values will blink.
3. To change the default time, use the increase (+) or decrease (-)
buttons. Each press adjusts the time in 5-minute increments
(one-minute increments in the 1 to 15 minute time range). The
numeric time display changes accordingly.
4. To change the default pressure, use the increase (+) or
decrease (-) buttons. Each press adjusts the pressure in 5
mmHg increments, numeric pressure values change accordingly.
5. When the desired values are displayed, press the Default
Display button to store the new values as the new default
settings. The display stops blinking and the double-beep
indicates the new values have been stored.
The Ready indicator reappears in the center of the display.
The Default Display indicator appears near the bottom of the display
indicating that the default settings are being used.
N
OTE: If the Default Display button is not pressed within five minutes
of starting the adjustment process, the Set Mode is cancelled without
changing the settings.