General Use Procedure 27
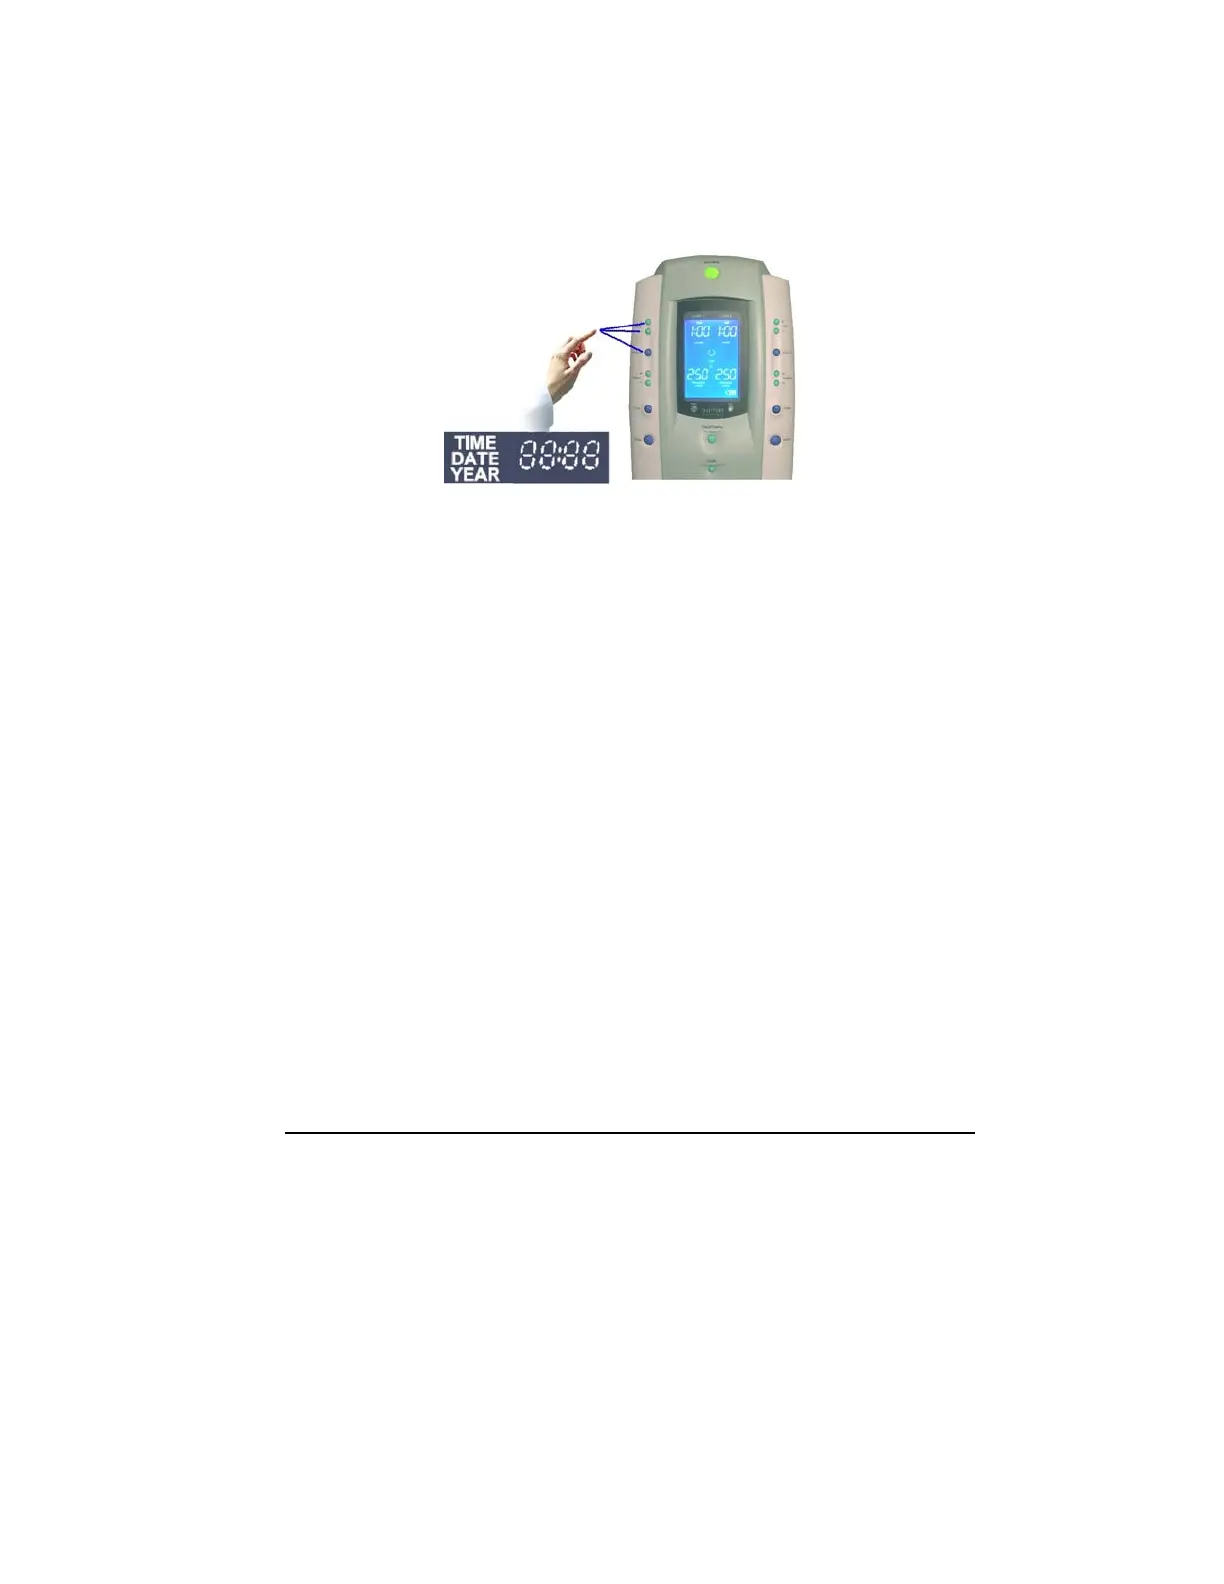
3. Set the hours: Use the left side time increase (+) or
decrease (-) buttons to adjust the hours setting.
4. Press Set/Save button to save the new hours setting. The
minutes will blink. For example, the minute’s value is 34.
12:34
5. Adjust minutes: Use the left side time increase (+) or
decrease (-) buttons to adjust the minutes setting.
6. Press the Set/Save button to save the new minutes setting.
The current calendar date will appear, with the month
blinking, i.e., 12 (December).
12.06
7. Set the month: Use the left side time increase (+) or
decrease (-) buttons to set the month.
8. Press Set/Save to save the new month setting. The current
calendar date will blink, i.e., the date is the 6th.
12.06
9. Set calendar date: Use the left side time increase (+) or
decrease (-) buttons to set the date.
10. Press Set/Save to save the new date setting. The current
calendar year will blink. For example, the year is
2006
11. Set the year: Use the left side time increase (+) or
decrease (-) buttons to set the year.
12. Press Set/Save to save the new time and date settings. The
SmartPump will now return to the ‘default display’ mode.