INSTALLATION, OPERATION, AND MAINTENANCE MANUAL
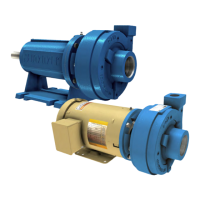
SUMMIT PUMP MODEL CCFM GENERAL PURPOSE 27
12.1 POWER END
Collect the pump parts together and build on a clean work bench or station. It is critical to keep
mechanical seal faces and bearing free from debris. The entire pump should be assembled before
installing on the base plate and making shaft alignments.
1. Install the bearings (16, 18) onto the shaft (06). This can be done using a bearing heater and
sliding the bearings (16, 18) into their positions. Another option would be using an arbor that
fits around the shaft (06) and onto the inner raceway of the bearing (16, 18) and pressing it
onto the shaft (06) using a hydraulic press. Never pound bearings (16, 18) using an impact
force to install.
Be sure that inner raceways are set square to the resting shoulder of the shaft (06).
NOTICE
NEVER use impact force to install bearings
2. Clamp the shaft (06) with a vice between the bearings (16, 18) as this is a non-critical surface
of the shaft. Install the bearing lock washer (22A) and bearing locknut (22). Be sure that the
bearing lock washer (22A) inner diameter tab is within the groove of the shaft (06).
3. Hand tighten the locknut (22) to the lock washer (22A). Then torque the locknut (22) to the
values in
Table 12-2.
4. Install a new lip seal (49) into the bearing cover (37). The lip of the lip seal (49) should face
towards the couple end of the shaft (06) (i.e. the spring should be visible when bearing cover
(37) is installed). See Figure 7-1 on page 13.for clarification. Using the same grease as the
bearings, apply a light layer of grease to the lip of the seal.
5. Install a new lip seal (51) into the frame (19). The lip of the lip seal (51) should face the
impeller end of the shaft (06) (i.e. the spring should be visible). See Figure 7-1 on page 13 for
clarification. Using the same grease as the bearings, apply a light layer of grease to the lip of
the seal.
6. Hand pack each bearing (16, 18) filling the cavities between the balls. See Section 7.3 on page
13 for lubrication specifications. This hand packing will be sufficient until lubrication
frequency is reached. Extreme cleanliness is critical at this point of assembly.
7. Take the shaft (06) and installed bearings (16, 18), carefully and squarely slide this assembly
into the bearing bores of the frame (19), take care not to damage the lip seal (51). When both
bearings (16, 18) are in their respected bearing bores, lightly tap the coupling end of the shaft
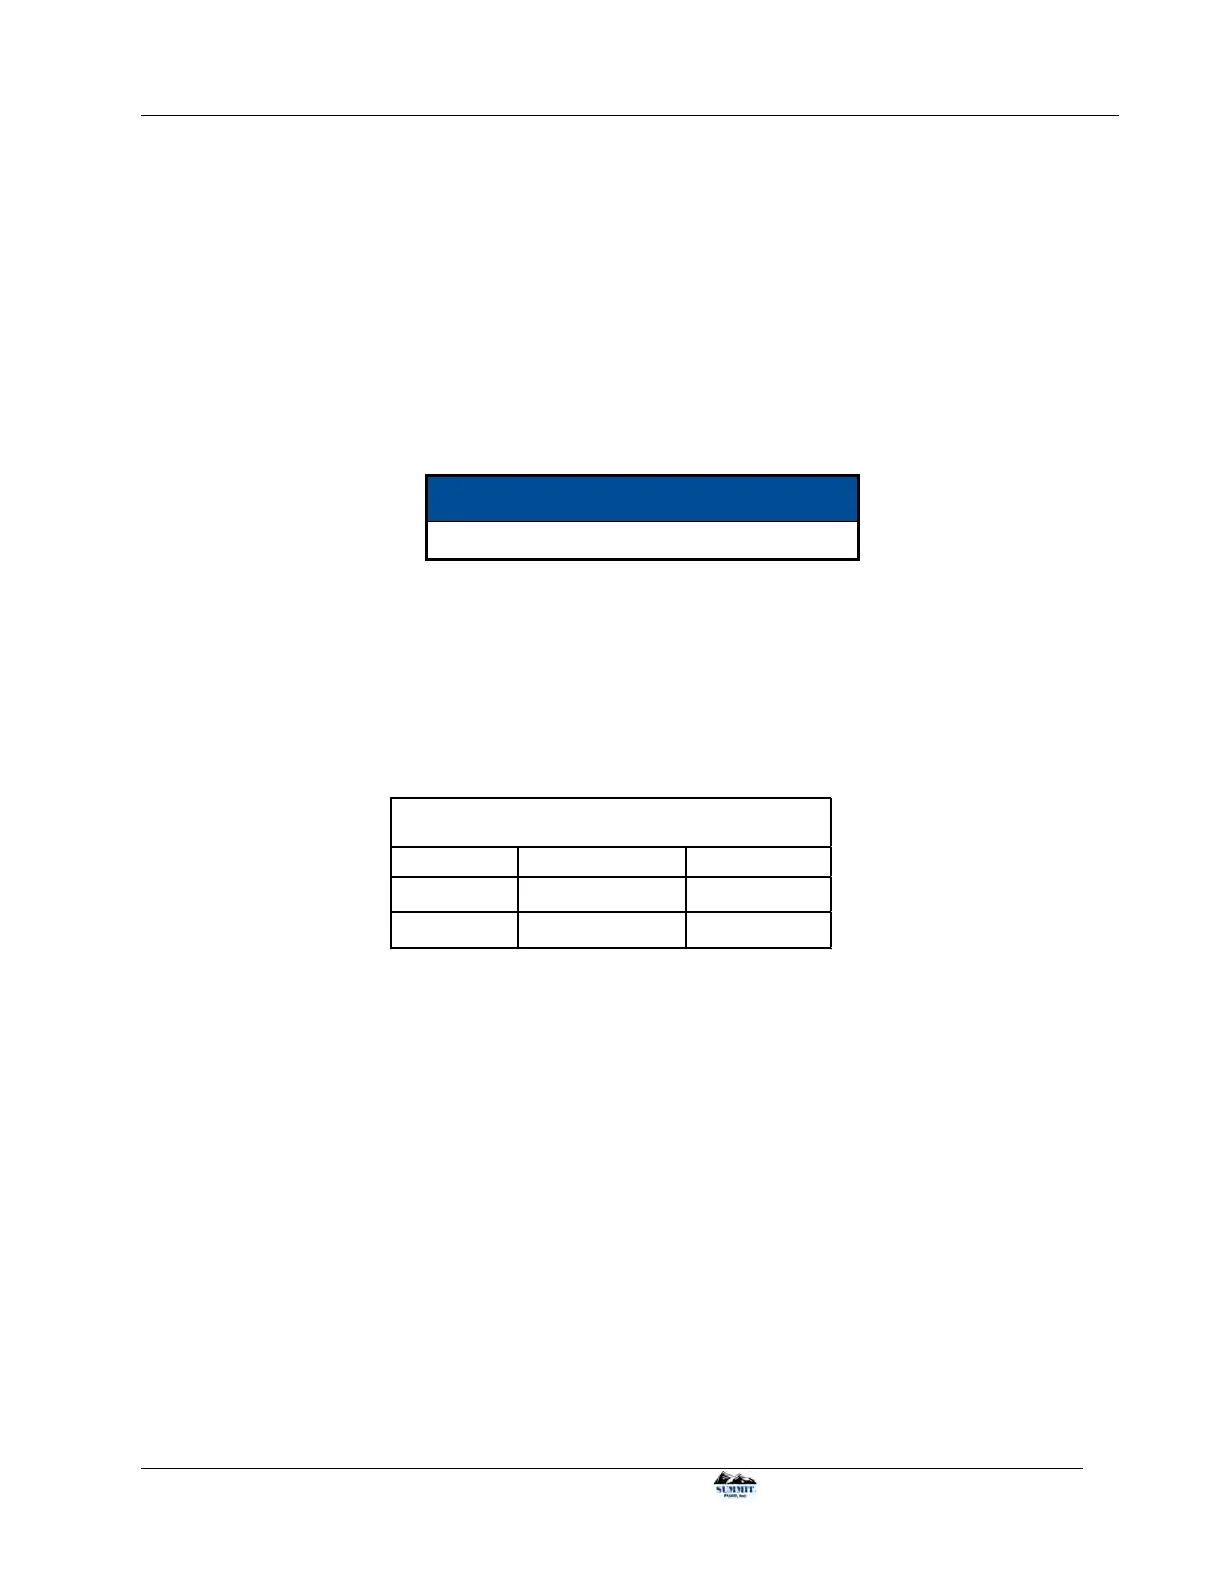
Frame Size Locknut Size Torque (lbft)
Frame 1 N07 32
Frame 2 N08 40
Bearing Locknut (22) Torques
Table 12-2: Bearing locknut (22) torques.