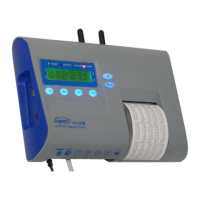
Temperature recorder and printer
20
If during 30 seconds in the menu no key was pressed, but changes were made to the
calibrations, you will exit the menu automatically. The changes will be saved and the display
will revert to the readings mode.
After calibrating the temperature in the humidity/temperature sensor, the humidity sensor
must be recalibrated (the temperature calibration automatically affects the humidity). There is
no need to calibrate the contact-closing sensor.
RENAMING CHANNELS FOR SENSOR IDENTIFICATION
To set a name for each channel/sensor, go to the Set Channel name menu under the
Settings submenu. Each channel/sensor may be assigned a name of up to 5 characters. The
channel name can consist of Latin letters, numbers and symbols. The default channel names
are: Temp1, Temp2, Temp3 and Temp4.
To change the device name (Unit name), vehicle number/installation site (Veh/obj Name) or
company name (Company name). See “Renaming the Device for Identification” on page 25.
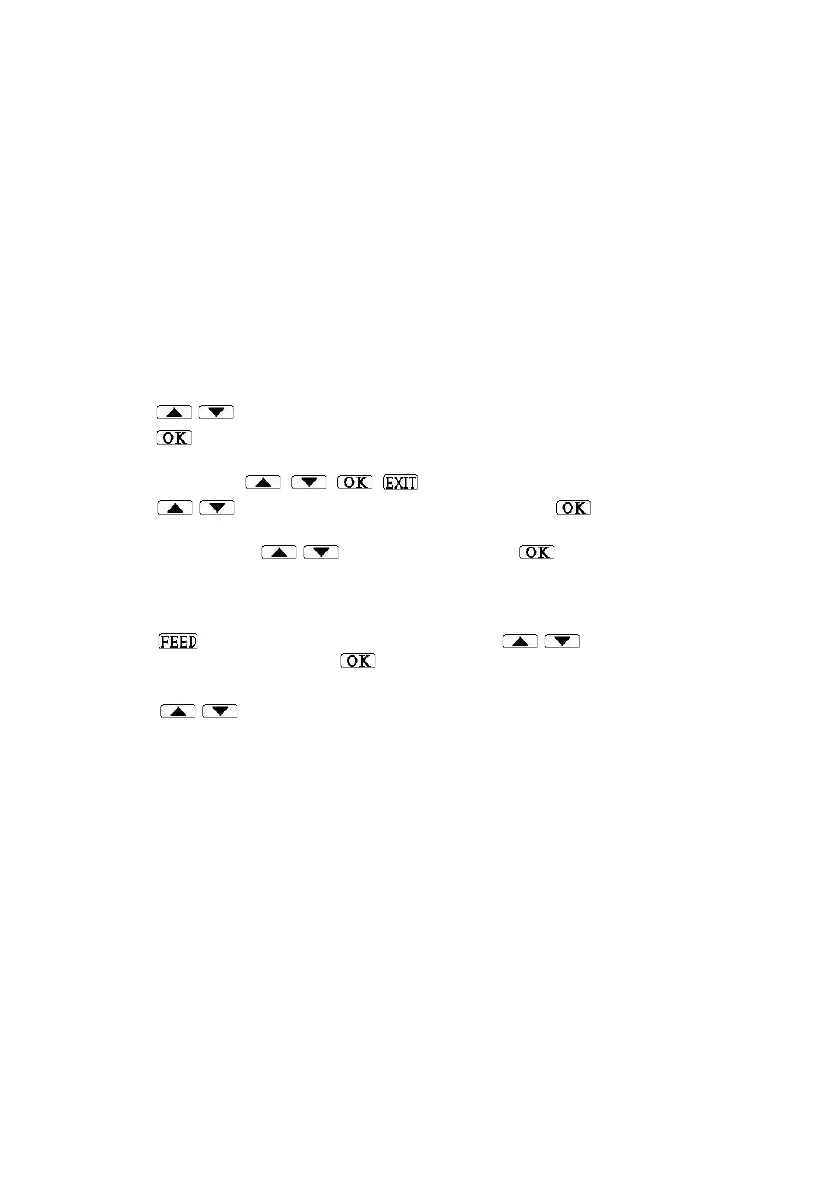
1. Press / until the Settings Submenu is displayed.
2. Press to confirm entry into the settings submenu. Enter password: will be displayed.
3. Enter a password, (4 keys in a row). If you have not yet changed your password, use the
default password: , , , .
4. Scroll / to the Set Channel name menu and press .
5. Select Channel No. 1 will appear. The channel number will flash. To change the channel
number (1-4), press / and confirm by pressing .
6. A prompt will appear in 2 lines with the channel name, for example: Enter sensor name:
Temp1.
7. The channel name is comprised of 5 characters. To delete the last character (Backspace),
press ; to change the flashing character, press / . To continue to the next
character and to confirm, press .
8. In the end, Select Channel No. 1 again. The number will flash.
9. Press / to select a channel or twice to complete and save the changes. The
prompt Please wait, Saving Setting will be displayed a few seconds later, followed by
the readings screen. At the same time, Settings saved will also be printed.
If during 30 seconds when the menu is displayed no key is pressed but a change is made, the
display will revert to the readings screen and the changes will be saved.
To see a list of all possible characters, see Table 4 on page 26.
ALARM SETTINGS
There are 13 alarm events to be set on the Set Alarms, Alarm type menu.
Note: automatically, every alarm event that is set as active and takes place will be displayed,
will close the alarm contact and turn on the Alarm led.
To change settings for alarm events, enter the Settings Submenu with a password! Select the
Set Alarms submenu and select from it one of the following events to activate an alarm:
▲ Channel 1,2,3,4 – setting the sensor limits: upper and delay; lower and delay
▲ Power Failure – power supply disconnected; power outage
▲ Clock Battery Low – low CR2032 clock battery
▲ Backup Battery Low – low 9V backup battery