Screw#1
Screw#2
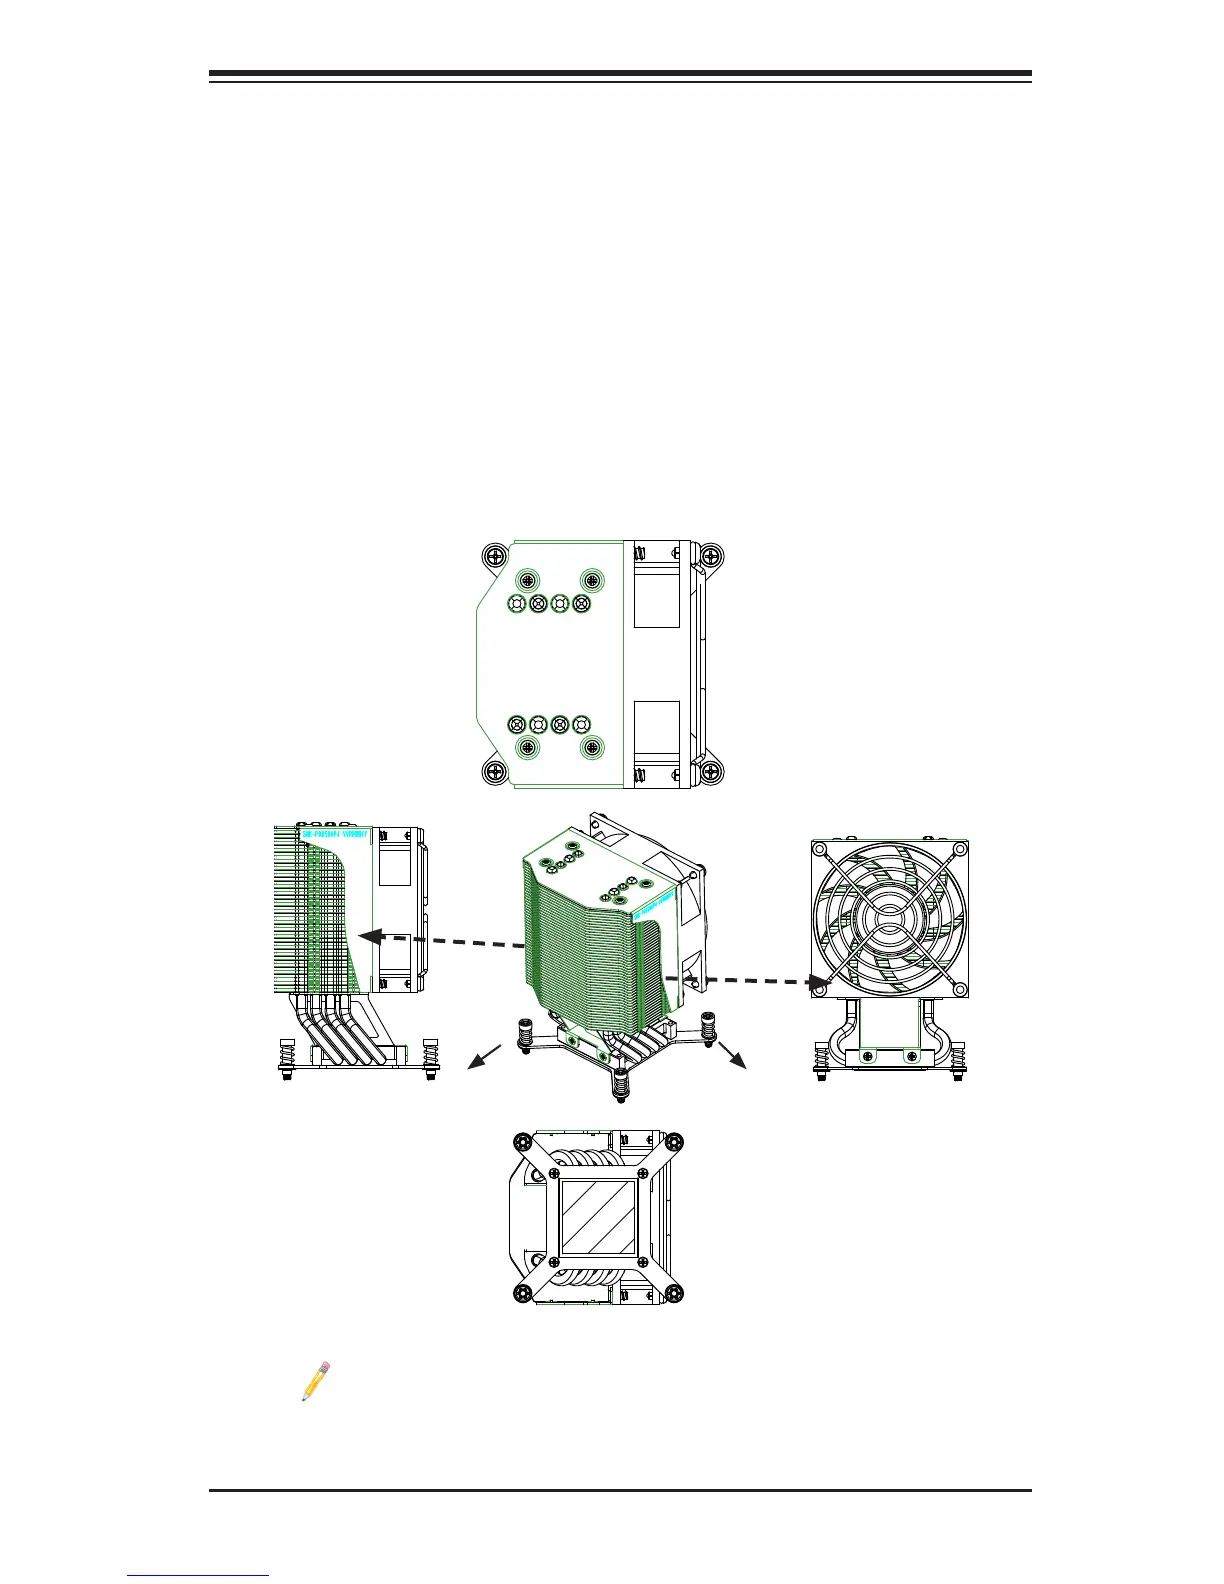
Installing a Passive CPU Heatsink
1. Do not apply any thermal grease to the heatsink or the CPU die -- the re-
quired amount has already been applied.
2. Place the heatsink on top of the CPU so that the four mounting holes are
aligned with those on the motherboard's and the heatsink bracket underneath.
3. Screw in two diagonal screws (i.e., the #1 and the #2 screws) until just snug
(-do not over-tighten the screws to avoid possible damage to the CPU.)
4. Finish the installation by fully tightening all four screws.
Screw#3
Top View
Bottom View
Side View
Side View
Screw#1
Screw#2
Screw#3
Screw#4
Notes: 1. For optimized airow, please follow your chassis airow direc-
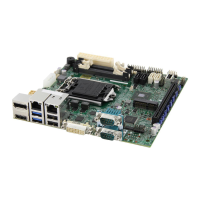
tion to install the correct CPU heatsink direction. 2. Graphics shown in
this manual are for reference only. They may or may not look the same
as the components installed in your system.