Network
19
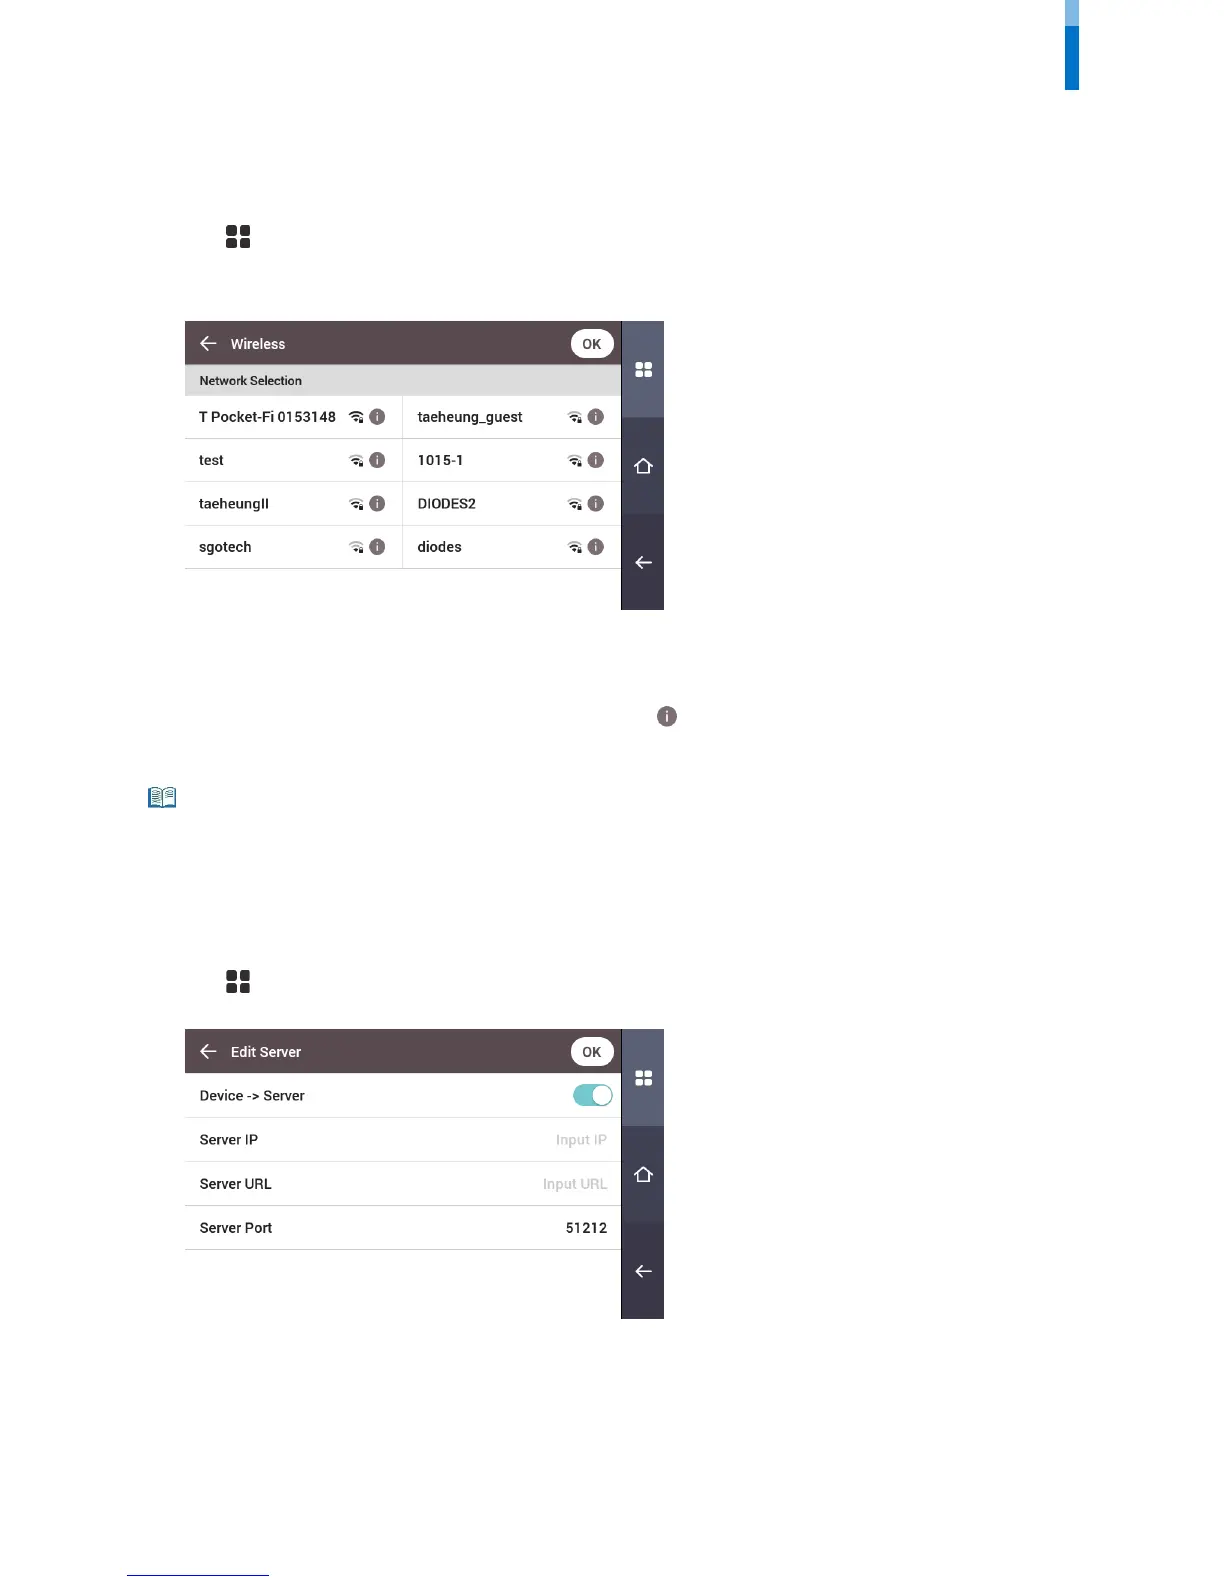
Wireless
1 Press and authenticate with the Admin level credential.
2 Press NETWORK > Wireless.
3 The list of available networks for connection will be displayed.
4 Select the network to which you wish to connect and enter the password. When you press OK, the connection to the wireless network
will be made.
5 To set the network information of the wireless LAN manually, press of the network name you wish to use and disable DHCP
setting. You can modify IP Address, Gateway, Subnet Mask and DNS.
• Wireless cannot be used at the same time as Ethernet.
• To connect to Wireless, a wireless router is required. For content regarding the installation and configuration of a wireless router, refer to the user
manual of the wireless router.
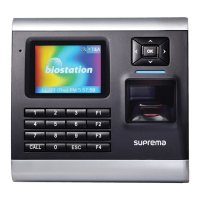
Server
1 Press and authenticate with the Admin level credential.
2 Press NETWORK > Server.
• Connection Mode: When you select Device -> Server, you can send a connection signal from the device to a server with the input information
directly. When you select Server -> Device, Server IP, Server URL and Server Port cannot be entered.
• Server IP: Enter the IP address of the PC on which BioStar 2 is installed. Input is accepted only when Device -> Server is set for Connection Mode.
• Server URL: Enter server URL instead of Server IP. Input is accepted only when Device -> Server is set for Connection Mode.
• Server Port: Enter the port of the PC on which BioStar 2 is installed. Input is accepted only when Device -> Server is set for Connection Mode.