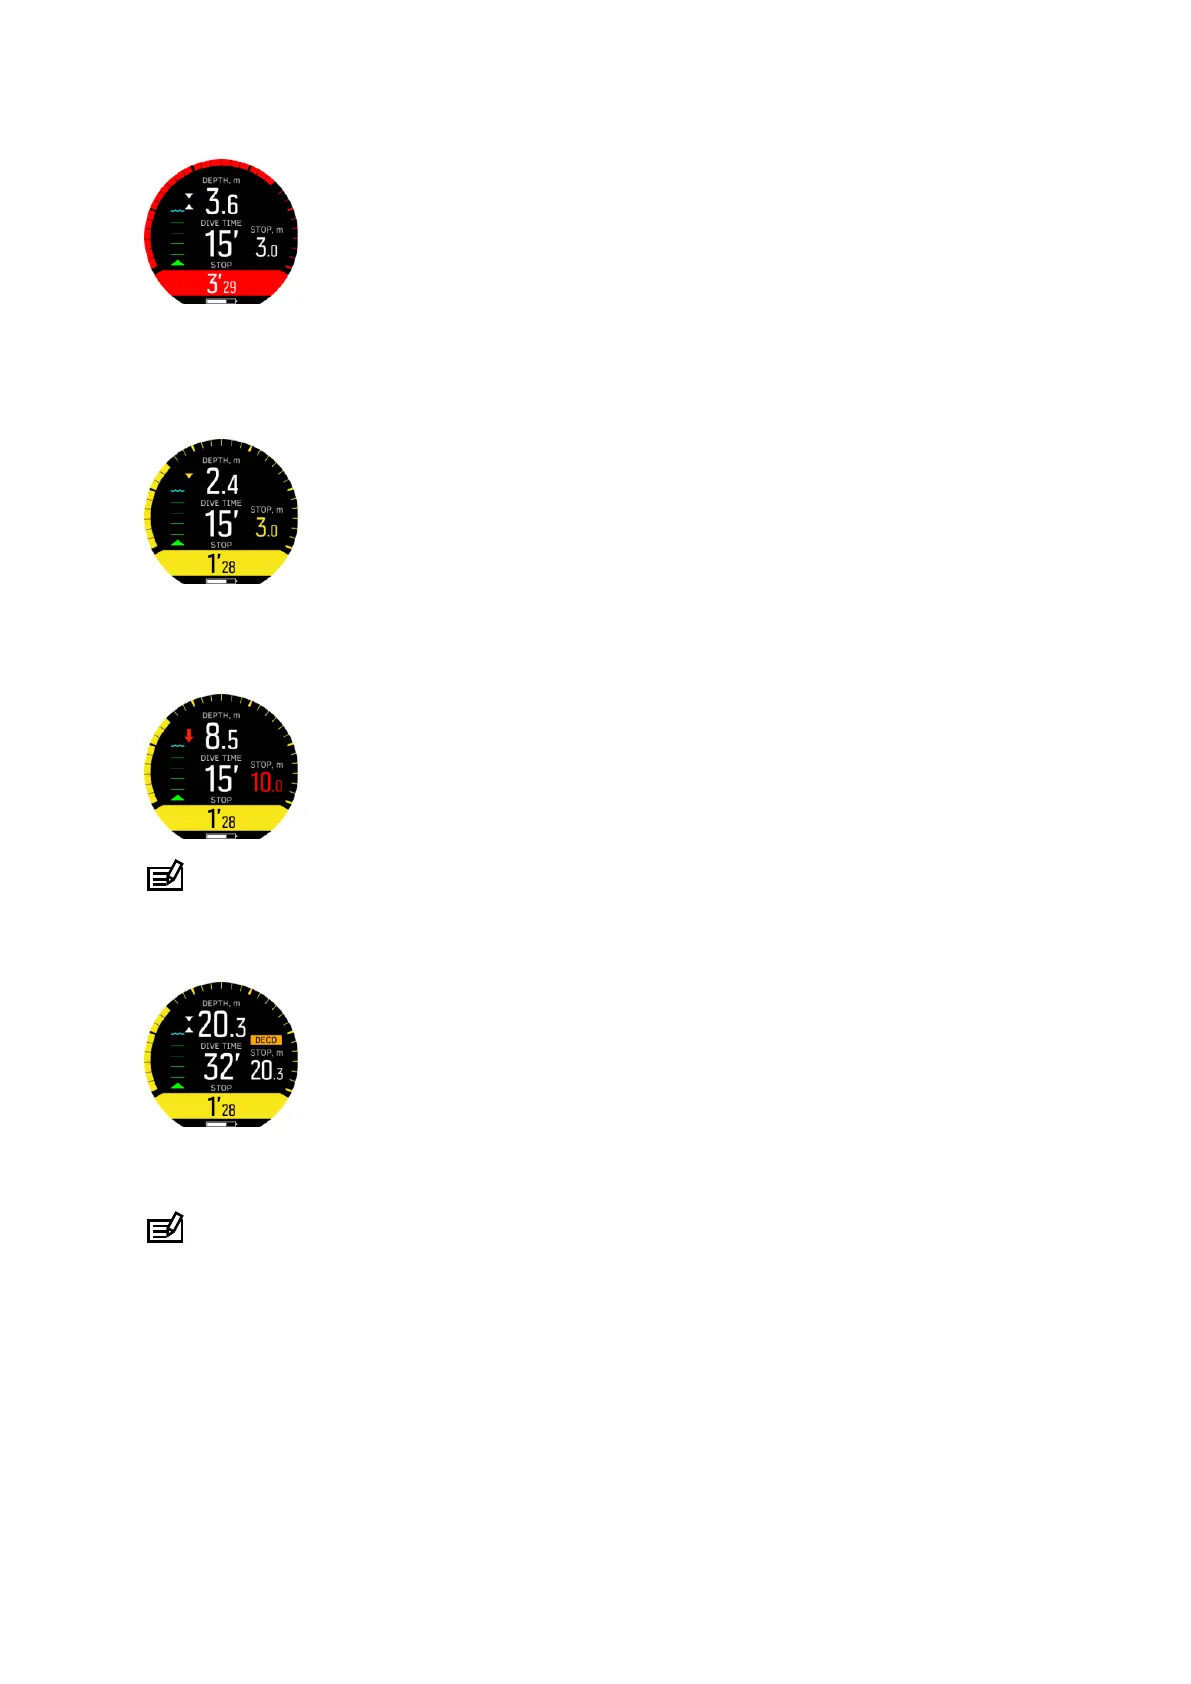
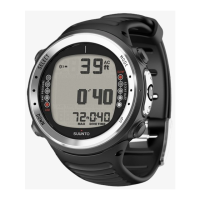
The next example shows that the diver is at 2.4 m (stop depth is still set to 3.0 m), so inside
the stop window but above the limit. A yellow downward pointing arrow indicates the diver is
recommended to descend to be at optimal depth. The optimal depth (the stop depth) of 3.0 m
is displayed in yellow:
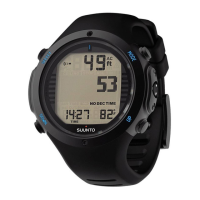
Now the stop depth is set to 10.0 m and the diver is at 8.5 m. The diver is outside of the stop
window and must descend. A red arrow prompts the diver to dive deeper and the stop depth
is indicated in red:
NOTE: If the ceiling is broken for more than 3 minutes, the decompression algorithm
gets locked.
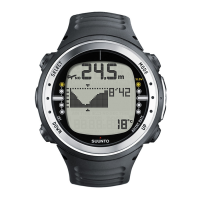
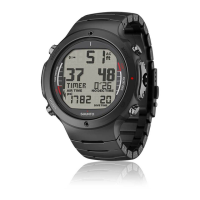
Below is an example of what Suunto D5 displays during deep stop:
With decompression stops, the ceiling is always decreasing while you are near the ceiling
depth, providing continuous decompression with optimum ascent time.
NOTE: It is always recommended to keep close to the decompression ceiling when
ascending.
Ascent time is always the minimum time needed to reach the surface. It includes:
•
Time required for deep stops
•
Ascent time from depth at 10.0 m (32.8 ft) per minute
•
Time needed for decompression
Suunto D5
24