4.6. How to install and pair a Suunto Tank POD
To install and pair a Suunto Tank POD:
1. Install the Tank POD as described in the Tank POD quick guide or in Installing Type A air
restrictor and Installing Type B air restrictor in the Tank POD user guide .
2. After installing the Tank POD and opening the valve, wait for green LED on Tank POD to
flash.
3. If your Suunto D5 has a blank screen, press any key to activate it.
4. Use proximity pairing: Hold your Suunto D5 close to the Tank POD. Make sure you follow
the instructions in Tank POD alignment.
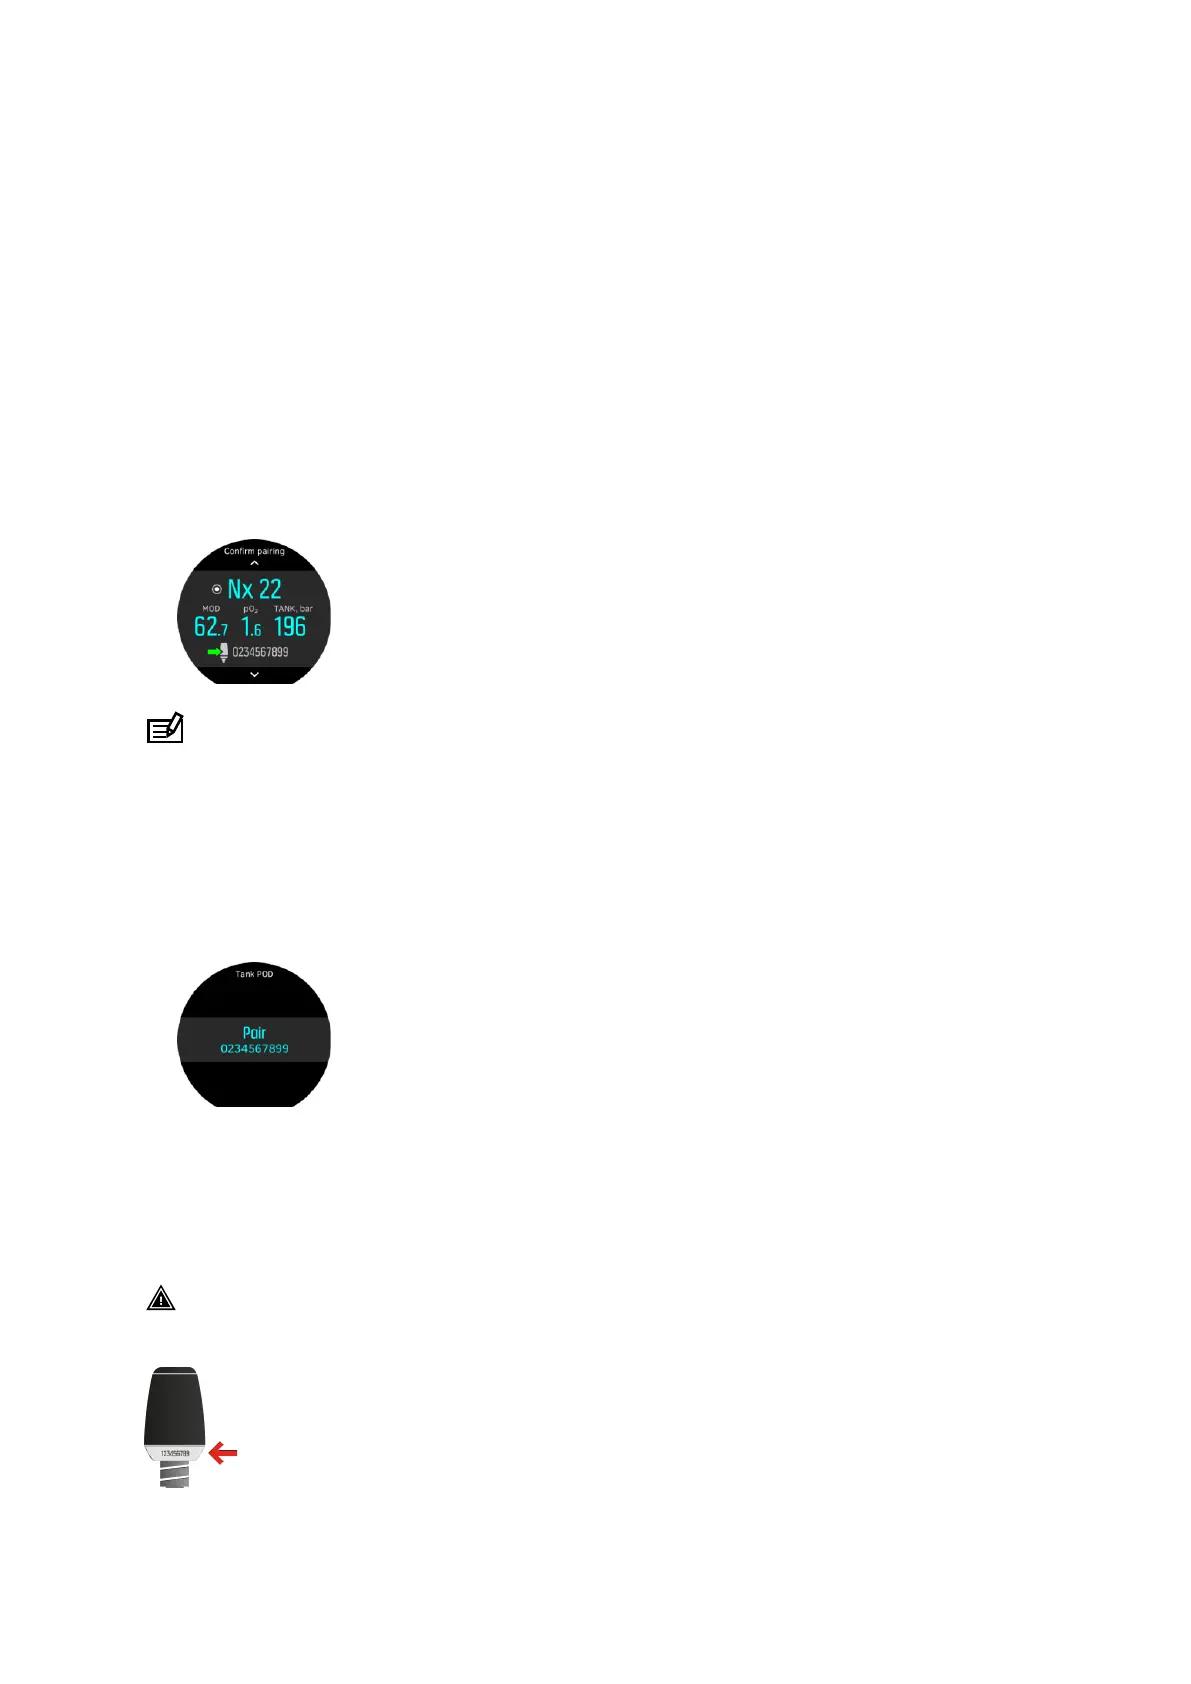
5. After a few seconds, a menu pops up on the screen showing the Tank POD serial number,
battery status and the tank pressure. From the menu, select the correct gas for that Tank
POD.
NOTE: The battery level indication shown when pairing the Tank POD is an
approximation only.
6. Repeat the procedure above for additional Tank PODs and select dierent gases for each
POD.
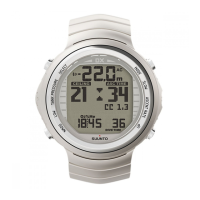
Alternatively you can pair the Suunto Tank POD(s) from the menu:
1. Select which Tank POD to use with each gas by selecting a Tank POD for the gas in
question in the Gases menu.
2. Make sure the Tank POD has been activated by ensuring there is tank pressure reading in
screen and that it is within range. In the menu, the Tank POD is
identified by the serial
number printed on the Tank POD.
In the dive main views, only one tank pressure is shown and corresponds to the active gas.
When the gas is changed, the displayed tank pressure is also changed accordingly.
WARNING: If there are several divers using Tank PODs, always check before you dive
that the POD number of your selected gas corresponds to the serial number on your POD.
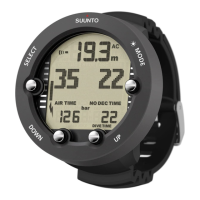
Suunto D5
45