19 - 36
4.2 Start-Up
Ensure that all electrical connections are made and that there is no CD in the CD-Rom drive (if
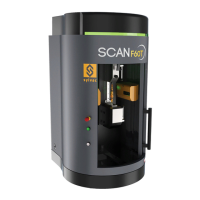
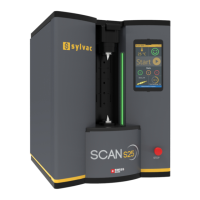
present). Switch on power to the SYLVAC-Scan with the main switch at the rear of the gauge.
Switch on power to the computer.
Press the green RESET button on the gauge. The system will run a series of self-checks and then
start to load the Windows 7 Professional Operating System software.
Once Windows has initialized, the desktop appears. On the desktop there are icons for Pro-Measure
and Pro-Composer. Double click the mouse on the icon of the application you wish to use. When
loading of the application is complete, the main menu options or toolbars will be available ready for
use.
Notes : In the event of an error message being displayed, note the message, switch off (observe any
options for shutting down windows if available), wait at least 15 seconds and switch on again. If the
error message is displayed again, contact the supplier’s service organization for assistance.
4.3 Calibration Mode
Before any components can be measured, the system will require calibration. This is performed by
placing a setting master into the gauging system and running the selected setting program.
Calibration performs two functions, it initializes (prepares) Pro-Measure for use and will calibrate the
gauging system and devices ready for measurement. The “Open Calibration” command executes the
Calibration program.
During Calibration, the operator should pay particular attention to prompts and messages which
appear on the screen.
When the calibration sequence is complete, Pro-Measure will indicate whether calibration has been
successful. Generally there are only two states :
PASS
FAIL
If calibration has failed, retry by starting the program again. Successive failures indicate possible
problems with the gauging system or device.
 Loading...
