6
Chapter 6: Enhance Internet Security
After your Synology DiskStation is available on the Internet, you will need to safeguard it against any attacks from
Internet hackers.
This chapter explains how to set up firewall and enable auto block.
Prevent Unauthorized Connection with Firewall
The built-in firewall can prevent unauthorized logins, and control which services can be accessed. In addition,
you can choose to allow or deny access to certain network ports from specific IP addresses.
Go to Main Menu > Control Panel > Firewall to create firewall rules.
Note: You can create up to 100 rules for Synology DiskStation.
To create a firewall rule:
1 Click the LAN, Bond (multiple-LAN models only), PPPoE, or Wireless Network tab, depending on the type of
your network connection.
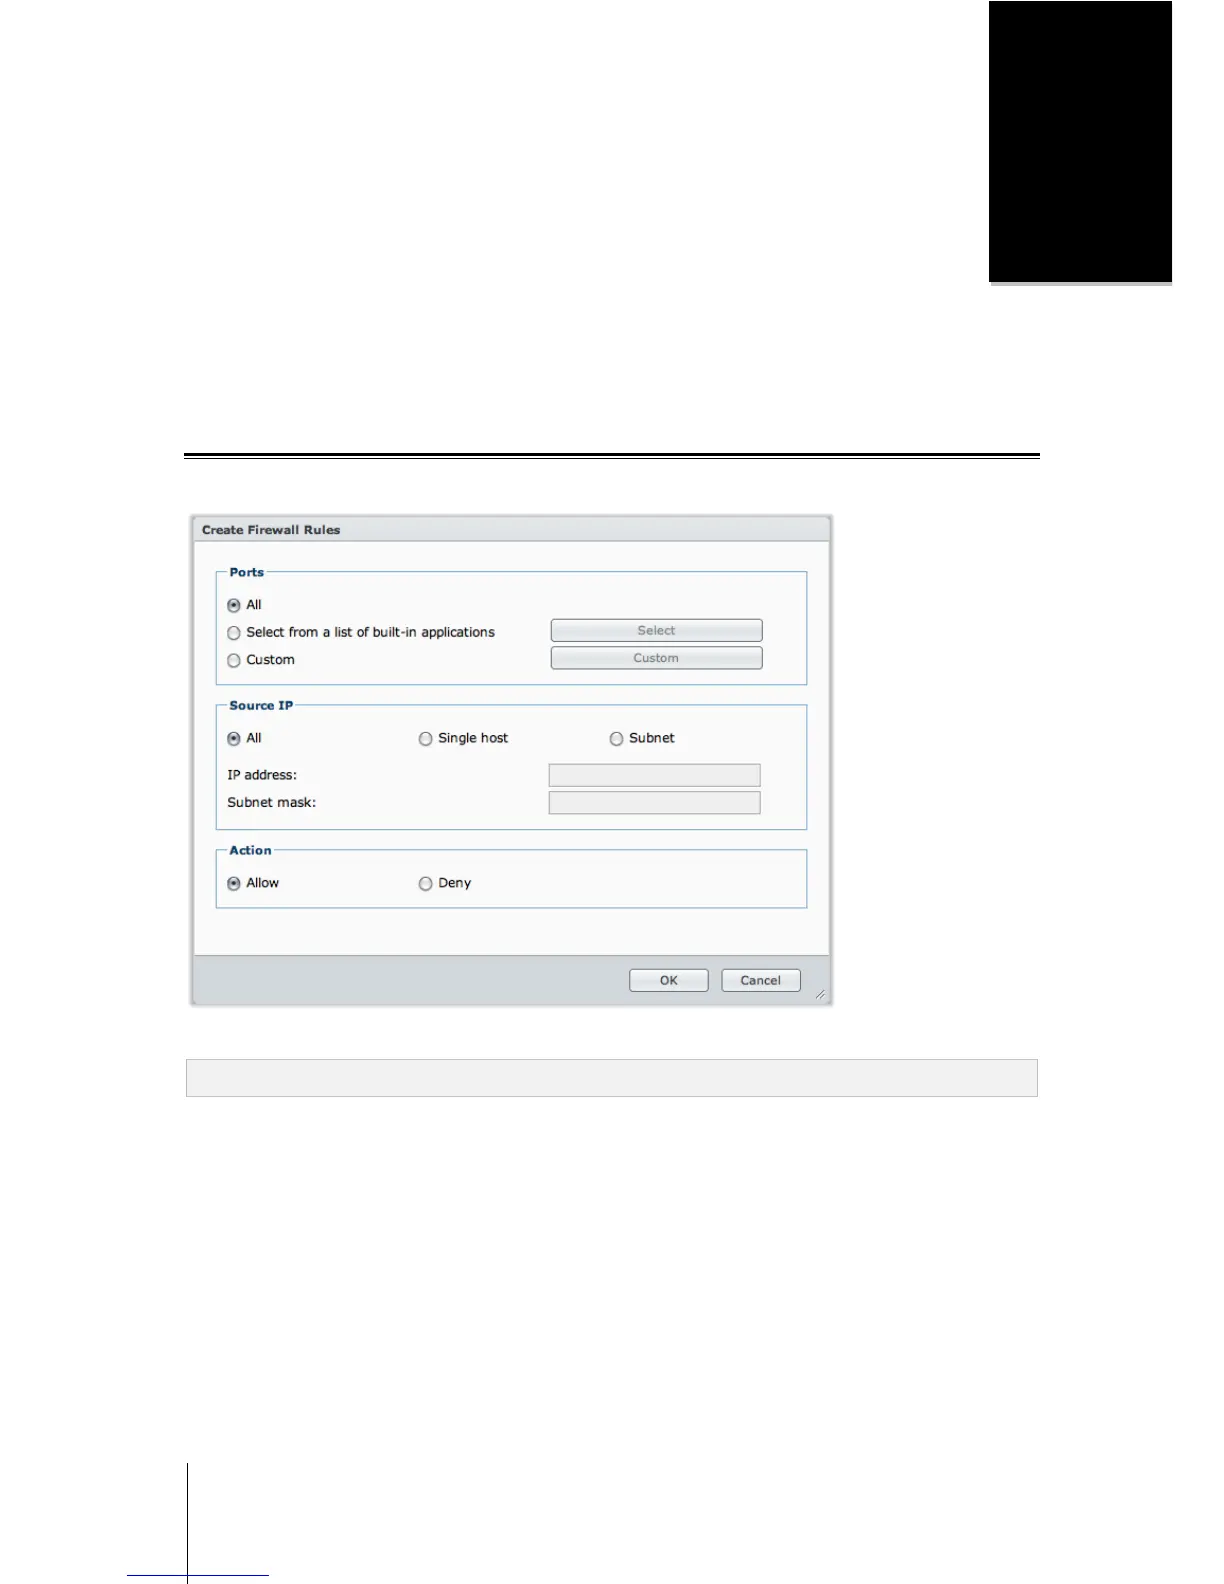
2 Click Create to open the settings window.
3 Choose an option in the Ports section. You can apply the rule to all ports or selected ports using one of the
following options:
All: Choose this option to apply the rule to all ports on Synology DiskStation.
Select from a list of built-in applications: Tick the system services that will be included in the rule.
Custom: Specify the type and protocol of the port, and enter the custom port number.
You can enter up to 15 ports separated with comma, or by specifying a port range.