The Looper
VL3X – Reference manual (updated 2015-07-16) 132
Recording an overdub
► If you would like to add several different over-
dubs, you can keep the overdub recording
running and add new parts each time the loop
begins again.
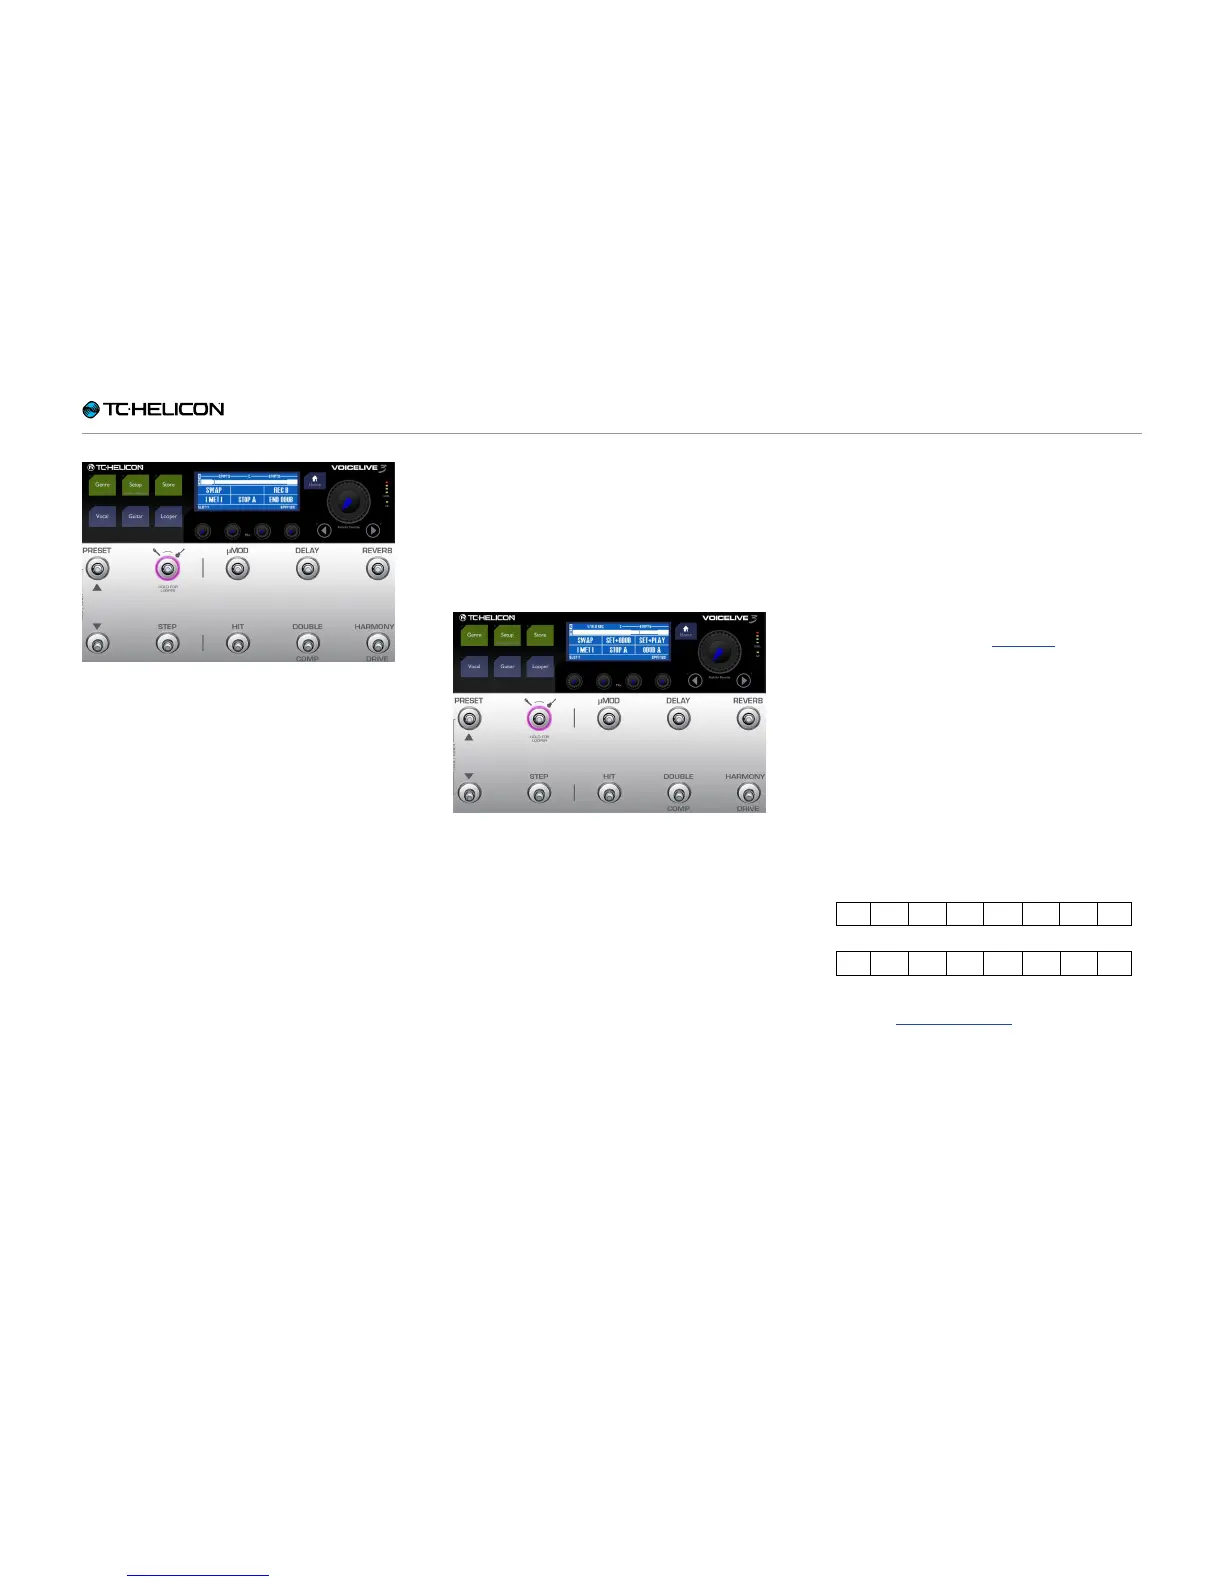
Recording Loop Track B
► Now, while Loop Track A is still playing back,
we will record something else onto Loop Track
B. Yes, it’s another cake!
► When you are ready, press REC B (Reverb
footswitch).
Recording Loop Track B
► Now what makes working with separate Loop
Tracks so interesting is that your second Loop
Track (Loop Track B) can be longer than Loop
Track A.
Still, you will get the best results when Loop
Track B is a multiple of the number of beats in
Loop Track A.
► For example, if Loop Track A is four beats (one
bar), make Loop Track B 8 or 16 beats (two or
four bars).
If you record longer than one multiple, but less
than two, silence will fill in the gap.
► You will see the same Set+Play and Set+ODub
options you saw when recording Loop Track
A.
Choose one, and press it when you are fin-
ished recording.
► If you chose Set+Odub, continue to record
overdubs until you are finished, then tap End
Odub.
Understanding Loop Track length
To get a better understanding of how Loop
Tracks of different lengths are played back in
SMART Sync mode (see “SMART”), start by re-
cording a simple loop of just counting numbers.
► Loop Track A: Record the words “one, two,
three, four” as close to the metronome beats
as you can.
► Loop Track B: Record the words “one, two
three, four, five” as close to the metronome
beats as you can.
When playing back, you will notice that the
two tracks line up for the first “four”, then
Loop B says “Five” and goes silent for three
more beats, then repeats.
 Loading...