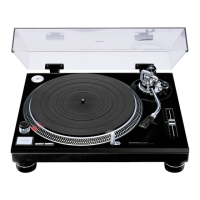
30
6.12. RESET PCB, RESET SW
HOLDER, RESET BUTTON,
RESET BUTTON ORNAMENT
1. Remove the T/T RUBBER MAT and TURNTABLE UNIT.
(See 6.3. T/T RUBBER MAT, TURNTABLE UNIT, step1.)
2. Remove the INSULATORS.
(See 6.5. INSULATORS, step2 and 3.)
3. Remove the BOTTOM CHASSIS.
(See 6.6. BOTTOM CHASSIS, step3 and 4.)
4. Remove the coupler and screws A for removal.
• Coupler: P600
• Screw A: XTB3+8JFJK [0.8 - 1 N•m] (4)
5. Remove the screws B for removal.
• Screw B: XTB3+8JFJK [0.35 - 0.55 N•m] (2)
6.13. SMPS PCB, SMPS HOLDER
1. Remove the T/T RUBBER MAT and TURNTABLE UNIT.
(See 6.3. T/T RUBBER MAT, TURNTABLE UNIT, step1.)
2. Remove the INSULATORS.
(See 6.5. INSULATORS, step2 and 3.)
3. Remove the BOTTOM CHASSIS.
(See 6.6. BOTTOM CHASSIS, step3 and 4.)
4. Remove the couplers and screws A for removal.
• Coupler: P1701, P1702, P1732
• Screw A: RHD30111-31 [0.35 - 0.55 N•m] (6)
Note when replacing the SMPS PCB
• Arrange the 2P wire unit A and 2P wire unit B as shown a
figure below.