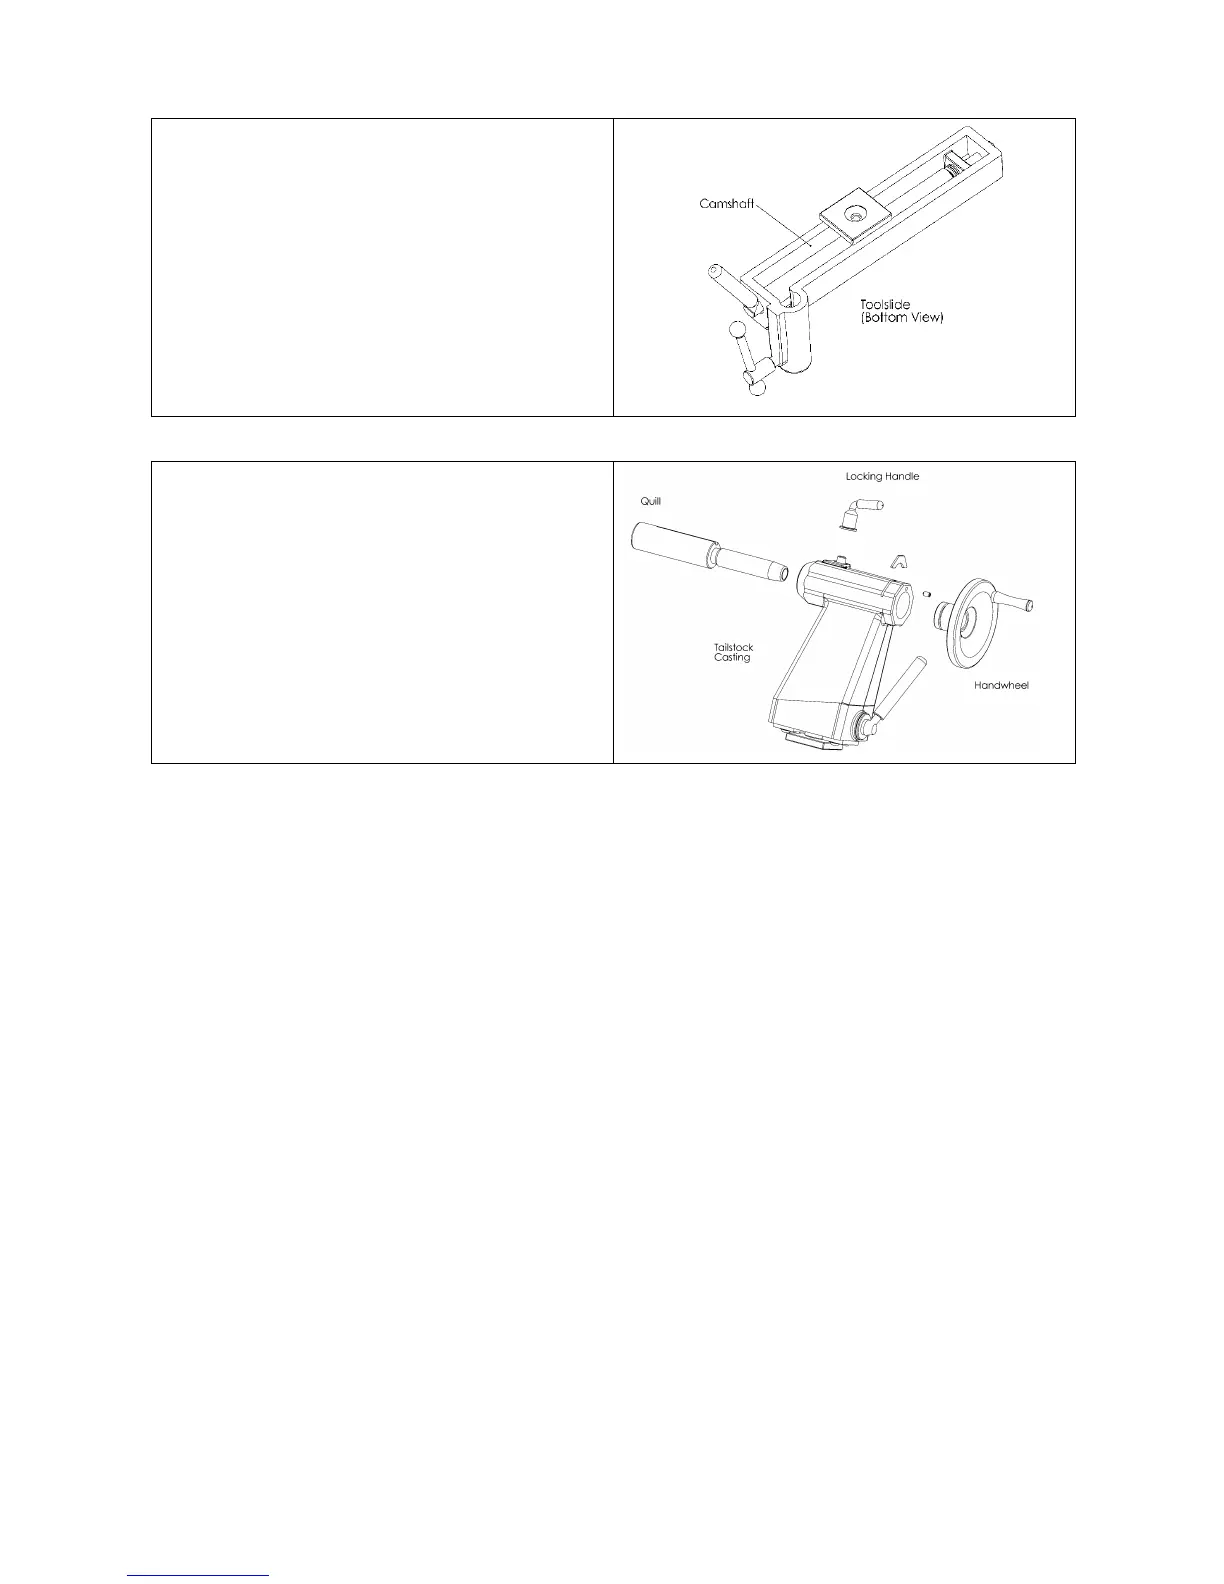
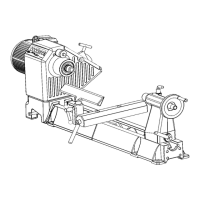
If the toolslide becomes hard to move and adjust, cleaning and
lubricating are required.
1. To make the toolslide slide more freely along the bed, make
sure the bed rails are clean. Apply some paste wax to the
rails.
2. If the toolslide is hard to move towards or away from you,
remove the toolslide from the lathe bed. Clean the toolslide
camshaft (round eccentric rod) with a petroleum-based
solvent. Lubricate the rod with lightweight oil or a silicone
spray.
3. Slide the base back onto the lathe bed.
If the tailstock quill becomes hard to use or the Handwheel is hard
to turn, cleaning and lubricating are required.
1. Remove the 6mm set screw from the tailstock. If necessary,
turn the Handwheel to expose the set screw.
2. Using a screwdriver, remove the keeper plate from the
tailstock body.
3. Remove the quill and Handwheel from the tailstock body.
4. Wipe clean all parts including the inside of the tailstock.
5. Lubricate the quill and tailstock slot with lightweight oil and
apply a small amount of grease to the quill threads.
6. Reassemble.
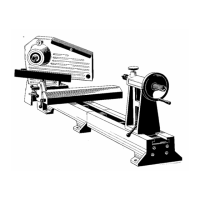
Aligning the lathe Headstock and Tailstock
1. Crank the Handwheel back so the quill is all the way in.
2. Place any #2 MT accessories you have that have a sharp point like a spur center, or live center in the tailstock quill and another
center in the headstock spindle.
Note: Tailstock alignment can be made easier by using the Teknatool Acruline Accessory Center in place of the centers.
3. Move the tailstock close to the headstock so the two centers nearly touch; check the alignment of the center points. Move the
tailstock away from the headstock and extend and lock the quill. The points of the centers should align when the quill is halfway
extended, fully extended, and fully retracted.
If the centers are aligned at all three locations no adjustment is necessary.
4. If the tailstock does not meet the conditions in step 3, follow the steps below. This indicates that the tailstock is not parallel to the lathe
bed and you will need to realign the tailstock.
5. First make sure the tailstock alignment plate is not binding inside the bed. If the tailstock doesn't move freely then remove the
tailstock and look for burrs or high spots on the bed rails or the alignment plate. Using a smooth file remove any burrs or high spots.
When done replace the tailstock on the bed.
6. Slightly loosen the four tailstock cap screws with a 5mm Allen wrench. Tap the tailstock with a wooden mallet in the appropriate
direction to align the centers. Check and adjust the positioning of the tailstock. The centers should align when the quill is halfway
extended, fully extended, and fully retracted, as previously described in step 3.
7. Lock the tailstock in place with the Tailstock Clamp Handle and fully tighten the two cap screws. The cap screws must be fully
tightened in order to avoid slippage during work.
8. Check the alignment of the Tailstock by bringing it together with the Headstock, with the Live center and Spur center in each spindle.
The Points on the centers should be within 0.50mm (0.020") height and width of each other.