Do you have a question about the Tenways CGO600 Pro and is the answer not in the manual?
Accessing user manuals in different languages via QR codes and the TENWAYS App.
Details on joining the Green Rider Club and subscribing to the TENWAYS Newsletter.
Steps to unpack the e-bike, tool box, and battery pack from the box.
Use a 4mm Hex Key to fix the rear mudguard supports to the seat stay.
Hold the front fork firmly and turn the stem so it faces forward.
Detach the plastic protective covers on both sides of the wheel.
Loosen the nut and remove the quick release lever.
Set the quick release lever to the open position and remove protective sheets.
Use a phillips screwdriver and hex keys to attach the front mudguard.
Tilt and clip the upper end of the battery into the slot, then press the lower end.
Distinguish between right (R) and left (L) pedals and tighten accordingly.
Open the seat post clamp, adjust saddle to suitable height, and lock.
Attach the front (white) and rear (red) reflectors using a screwdriver.
Explains the welcome screen and primary display indicators like speed, PAS levels, and battery.
Details average speed (AVG), maximum speed (MAX), and trip distance.
Explains range and total distance displayed on the unit.
Overview of settings like unit, password, auto-off duration, and system information.
Identifies the function of each button on the display unit: Power, Function, Up, Down.
Describes how to turn on/off, switch assist levels, and change display information.
Details how to activate and exit WALK mode.
Instructions for turning the front light on and off using the Up button.
Explains how battery level is indicated by bars and flashing icons.
Guide on entering and navigating the user settings menu for configuration.
Steps to set or disable a power-on password for the display unit.
Displays state of charge, voltage, capacity, and cycle count of the battery.
How to set the display's automatic shut-off duration.
Shows serial number, firmware version, and hardware version of the display.
Procedure to reset the display settings to their original defaults.
Instructions for clearing trip, trip time, average, and max data from the display.
Explains error codes displayed on the unit and their meanings for troubleshooting.
Steps to pair the e-bike with the TENWAYS mobile application via Bluetooth.
Essential pre-ride checks including battery charging, tire pressure, and brakes.
Guidelines for daily inspections, cleaning, and basic upkeep of the e-bike.
Operating and storage temperature recommendations for the lithium battery.
Checks for brake lever, clamp screws, and brake block wear.
Recommended checks by a professional store like brakes, screws, and bearings.
Locating the QR frame code near the bottom bracket for identification.
Explains product warranty period, coverage, and exclusions.
Answers to common questions about the e-bike model, weight, and performance.
Crucial safety advice regarding usage, modifications, and riding conditions.
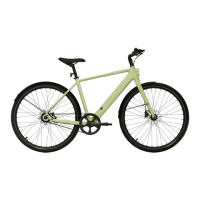
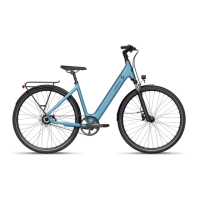
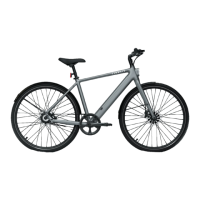
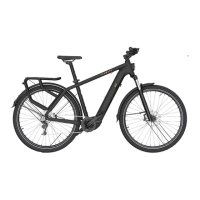
| Category | Electric Bicycle |
|---|---|
| Motor Model | Mivice M070 |
| Battery | 36V 10Ah |
| Battery Type | Lithium-Ion |
| Range | Up to 100 km |
| Top Speed | 25 km/h |
| Brakes | Hydraulic Disc Brakes |
| Display | LCD Display |
| Max Load | 120 kg |
| Frame Material | Aluminum Alloy |
| Tires | 700C |
| Gears | Single Speed |
| Charging Time | 3.5 hours |