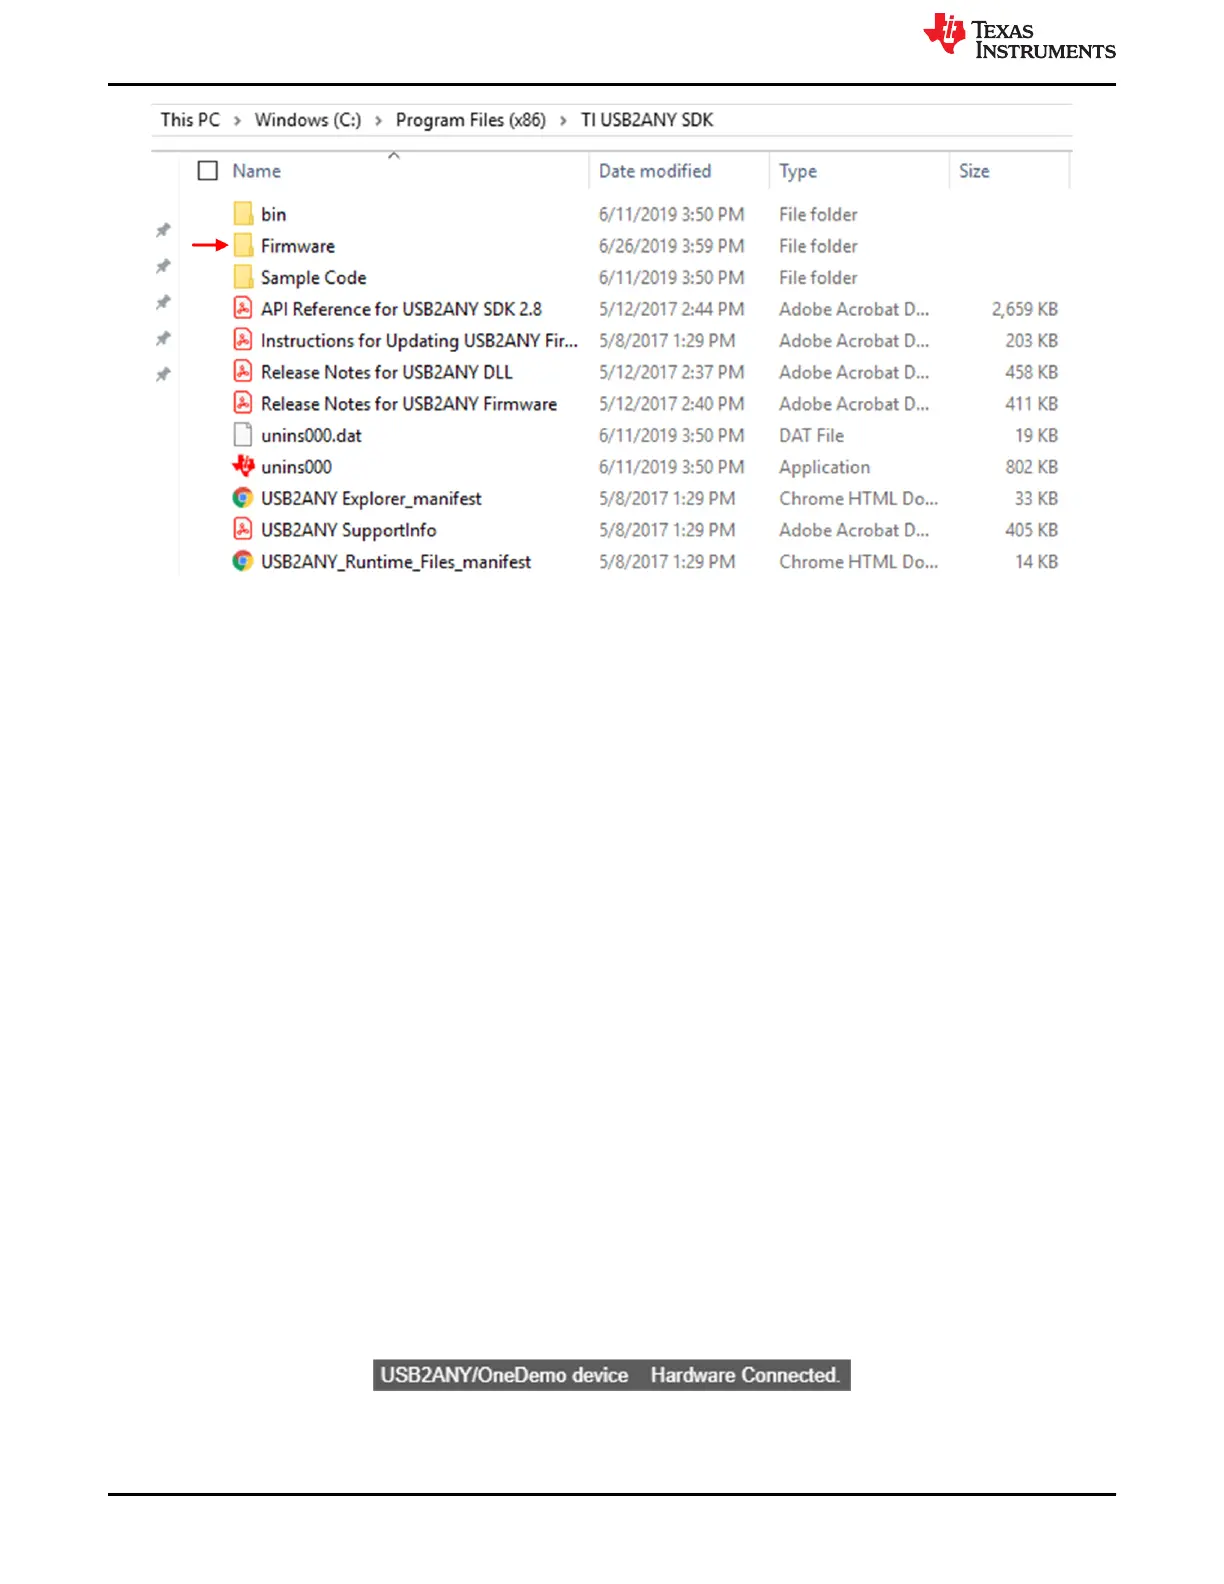
Figure 1-1. Paste .txt Firmware File into the Firmware Folder
5. Connect the USB2ANY to the computer. Press the Windows icon, search for USB2ANY Firmware Loader,
and launch it. If the firmware loader does not show up in the search, reinstall the USB2ANY Explorer. Click
Yes on the dialog box that mentions that the firmware loader is legacy software. If the firmware loader
requests to update the firmware to version 2.8.2.0, press cancel. If the USB2ANY has never had its firmware
updated before, additional steps a, b, and c below need to be followed to update the firmware. Otherwise,
skip the below steps a, b, and c and go to step 6.
a. The USB2ANY firmware loader will prompt you to locate the BSL button in order to update the firmware.
Follow the steps given in the Firmware Loader as below. Do not close the USB2ANY Firmware Loader at
any point during this process.
b. Check that the USB2ANY is disconnected from the computer. Locate the BSL button, which is underneath
a small hole in the USB2ANY housing next to the mini USB port.
c. While keeping the button depressed (a small paper clip works well), connect the USB2ANY to the
computer. If it is done correctly, the USB2ANY firmware loader will no longer prompt you to locate the BSL
button and instead allow you to click Update Firmware and then follow the next steps to program the latest
firmware as below.
6. In the firmware loader, ensure that "USB2ANY_3_1_1_14 - BQAutoEval.txt" appears in the field labeled
Update to firmware version:. Press Update Firmware. The below image shows an earlier outdated
firmware version so please ensure the above text file is correct.
1.1.4 Installing the GUI
1. Download and navigate to the BQ79616 installer folder (3_BQAutoEvalPG2.0_1.0_installer_win.zip). Extract
the contents and run the setup executable from within the extracted folder. Keep all default installation folder
locations and press yes to all prompted dialogue.
2. To launch the GUI, navigate to C:\Program Files (x86)\Texas Instruments\BQ79616 and run the BQ79616
application.
3. The device should automatically connect upon launching the GUI, and the connection status should be
reflected at the bottom of the window. If the device does not connect, unplug the USB2ANY from the
computer, reload the GUI, and plug the USB2ANY back into the computer. Otherwise, you may have
incorrectly updated the firmware and may need to return to section 1.1.3.
Figure 1-2. Successful Hardware Connection Message
Getting Started
www.ti.com
4 BQ79616-Q1 and BQ75614-Q1 GUI User's Guide SLUUC36 – DECEMBER 2020
Submit Document Feedback
Copyright © 2020 Texas Instruments Incorporated
 Loading...