CUTMASTER 42
SERVICE 5T-2 Manual 0-5141
4. Remove the starter cartridge. Check for excessive
wear, plugged gas holes, or discoloration. Check
the lower end fitting for free motion. Replace if
necessary.
Art A-09792
5. Pull the electrode straight out of the torch head.
Check the face of the electrode for excessive wear.
Refer to the following figure.
Worn Electrode
New Electrode
Art # A-09346_AB
Electrode Wear
6. Reinstall the electrode by pushing it straight into
the torch head until it clicks.
7. Reinstall the desired starter cartridge and tip into
the torch head.
8. Hand tighten the shield cup until it is seated on the
torch head. If resistance is felt when installing the
cup, check the threads before proceeding.
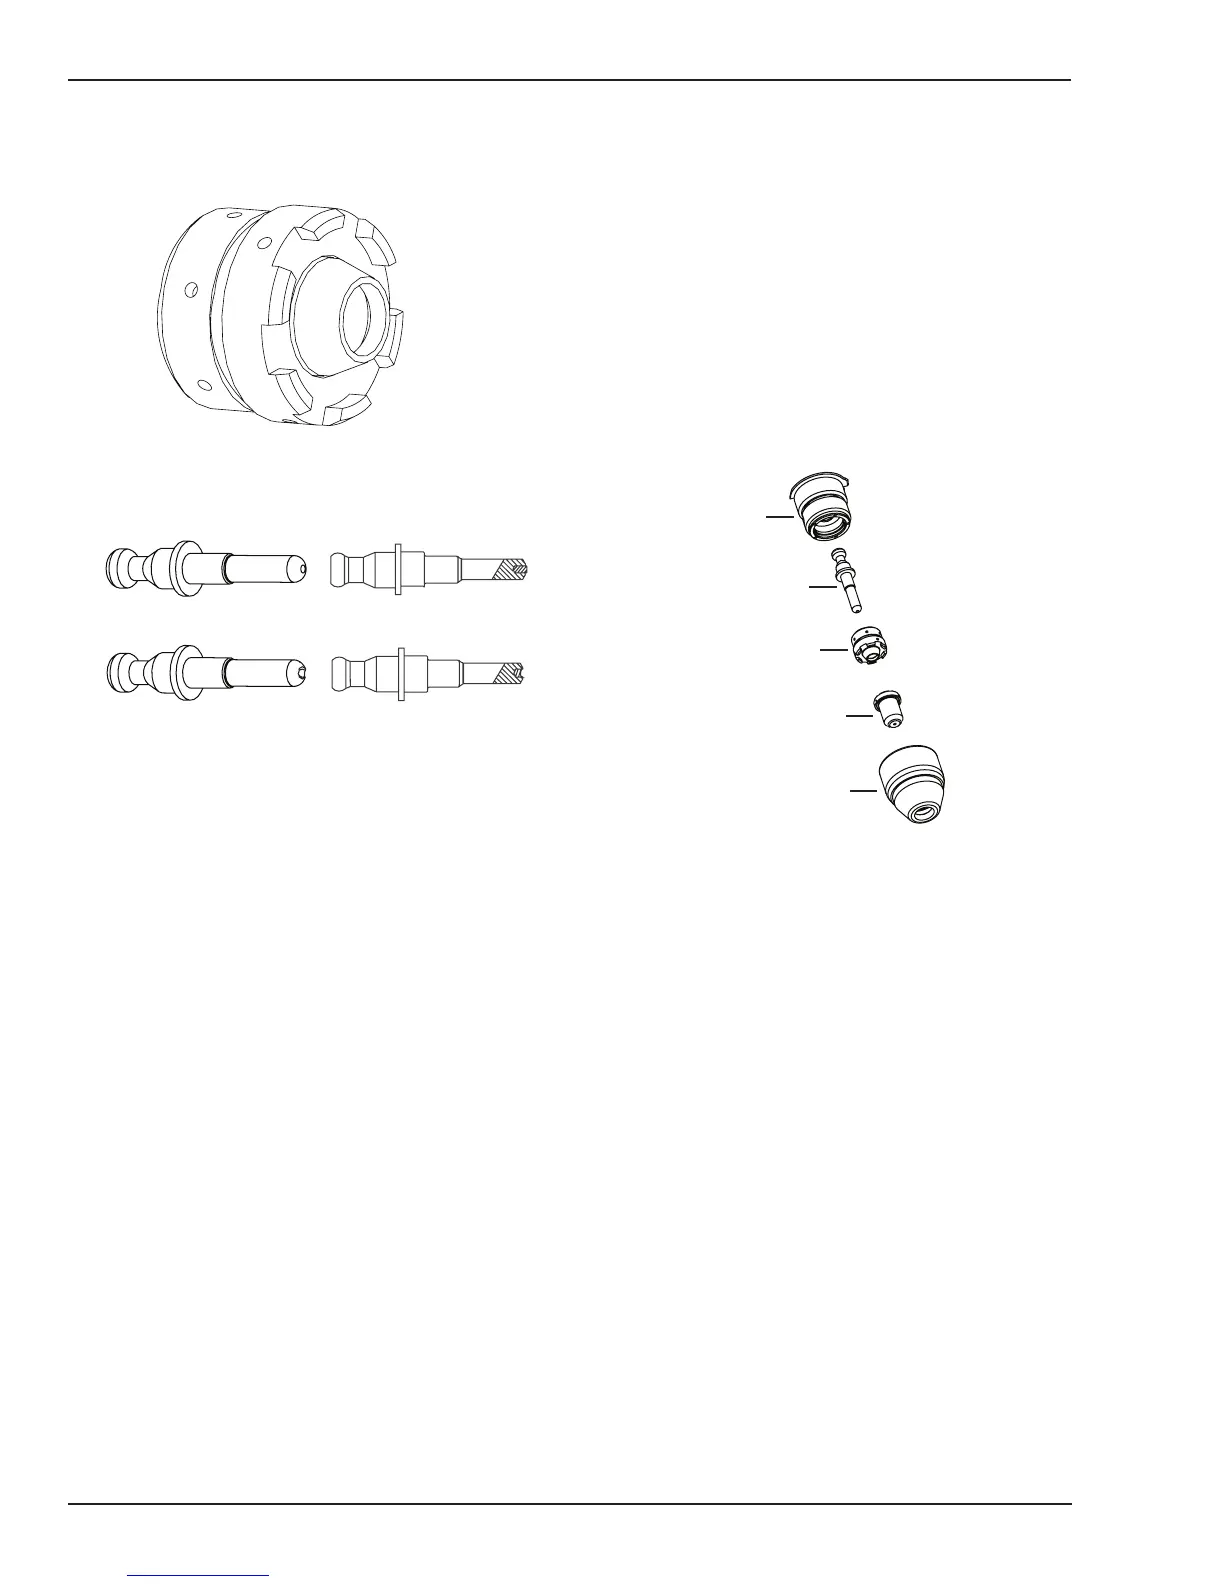
SL40 Replacement Parts
Item # Description Cat. No
1 Electrode 9-0096
2 Start Cartridge 9-0097
3 Tip, 20A Drag 9-0091
Tip, 40A Drag 9-0093
Tip, 40A Standoff 9-0094
4 Shield Cup 9-0098
N/S SL40 Torch w/ 15ft (4.6m) leads 7-0040
Art# A-09817
Electrode
Start Cartridge
Tip
Shield Cup
Torch Head
1
2
3
4