Chapter 4
Wiring
Perform wiring in the following order:
1. Connect the power supply to the gauge.
2. Connect the remote computer terminal to the gauge via the serial communication
ports.
3. Optional wiring may include:
a. HART® communications
b. F
OUNDATION™ Fieldbus communications
c. 4–20 mA current output
d. Relay outputs
e. Contact closure input
f. Remote display
g. Sensor input (4–20 mA and 0–10 VDC)
Preparation
Review the following carefully prior to connecting any wiring.
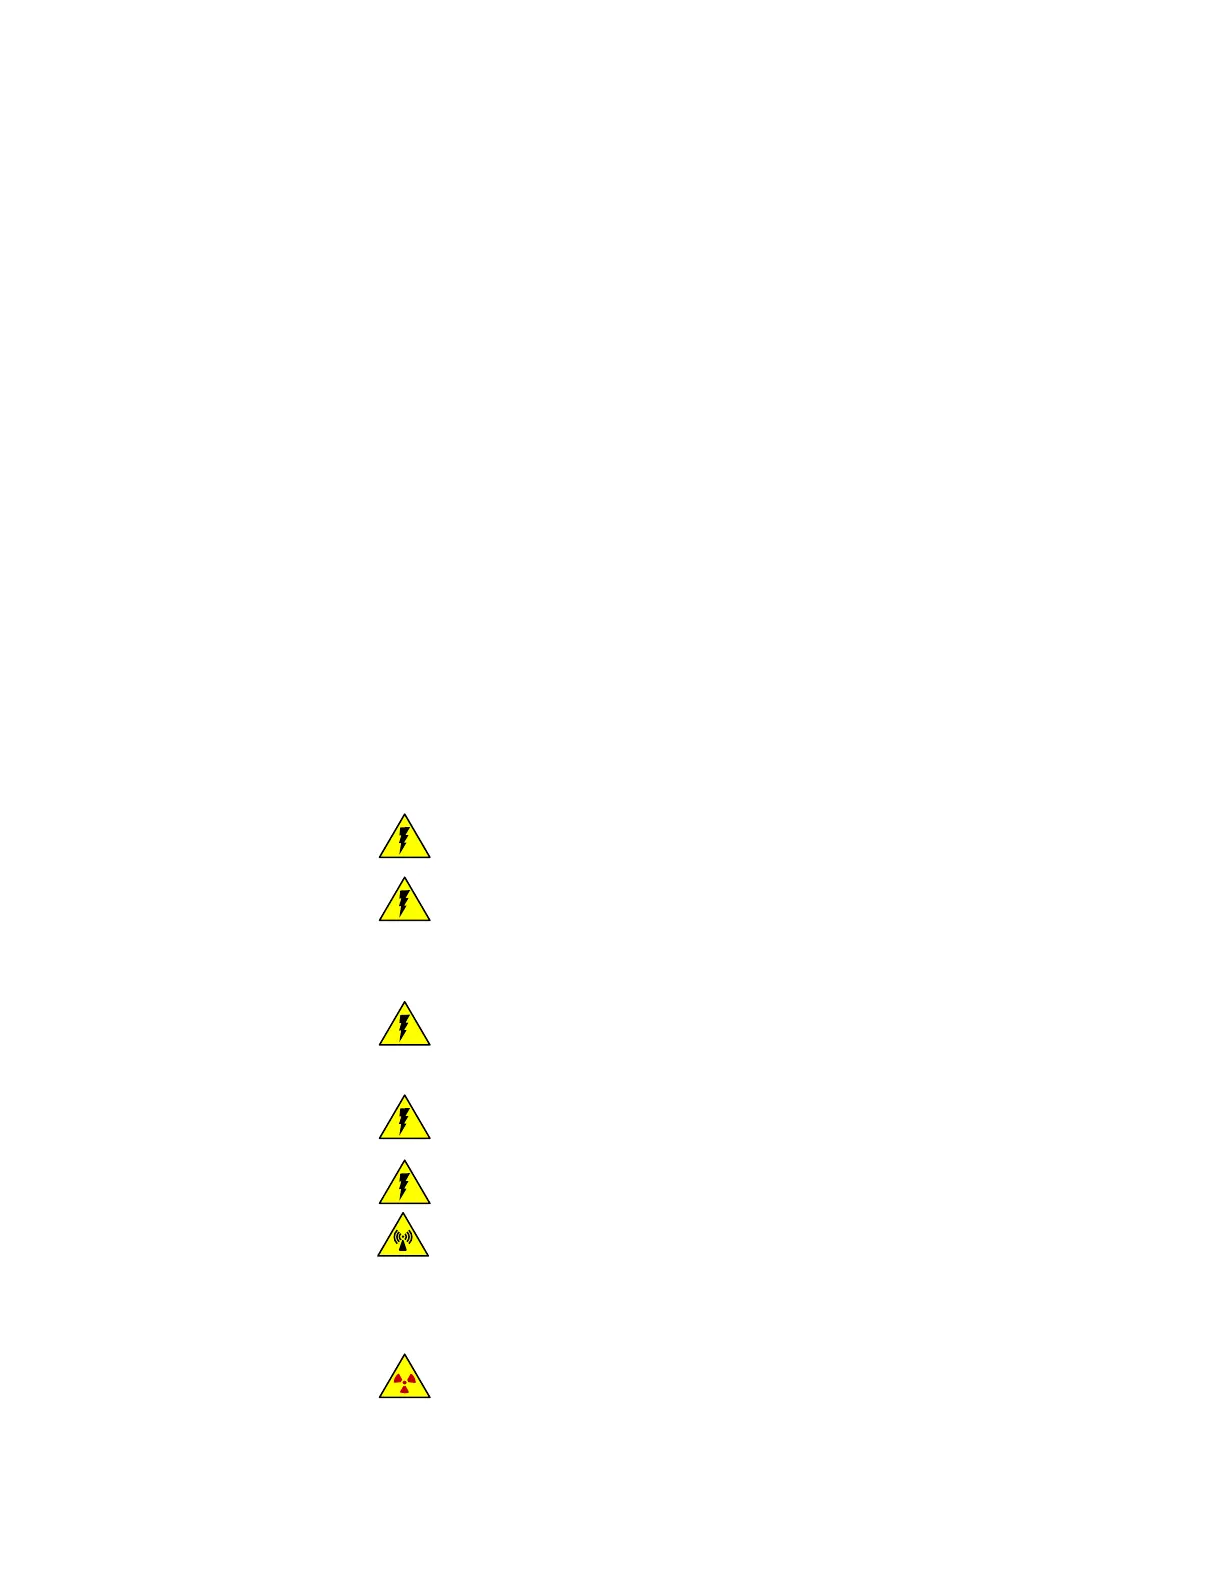
Warning: Remove all power from the unit before making any connections.
Electrocution can result if power is present.
Warning: Qualified individuals must perform all wiring, in accordance with
applicable codes such as the National Electric Code (NEC) ANSI/NFPA 70
specifications or the Canadian Electrical Code Part 1. Only approved conduit,
boxes, and fittings may be used.
Warning: Do not apply power to the unit in any hazardous area unless the
safety ground is properly wired inside the unit and the cover is properly
installed.
Warning: Connect the AC wiring earth ground to the internal safety ground
terminal as shown in the wiring diagram.
Warning: If metal conduit is used, the conduit must be grounded.
Warning: For hazardous location installations, the cable entries must be
sealed. For non-hazardous location installations, the cable entries into the
enclosures must be sealed to prevent passage of gas or vapors. The surrounding
atmosphere or liquids should not affect the sealing compound. The minimum
thickness of the sealing compound should be 5/8-inch (16 mm).
Warning: Verify the source shutter is in the OFF position before wiring.
Thermo Scientific DensityPRO Installation Manual 4-1