3. Press ENTER. The Internal Printer Test
screen appears.
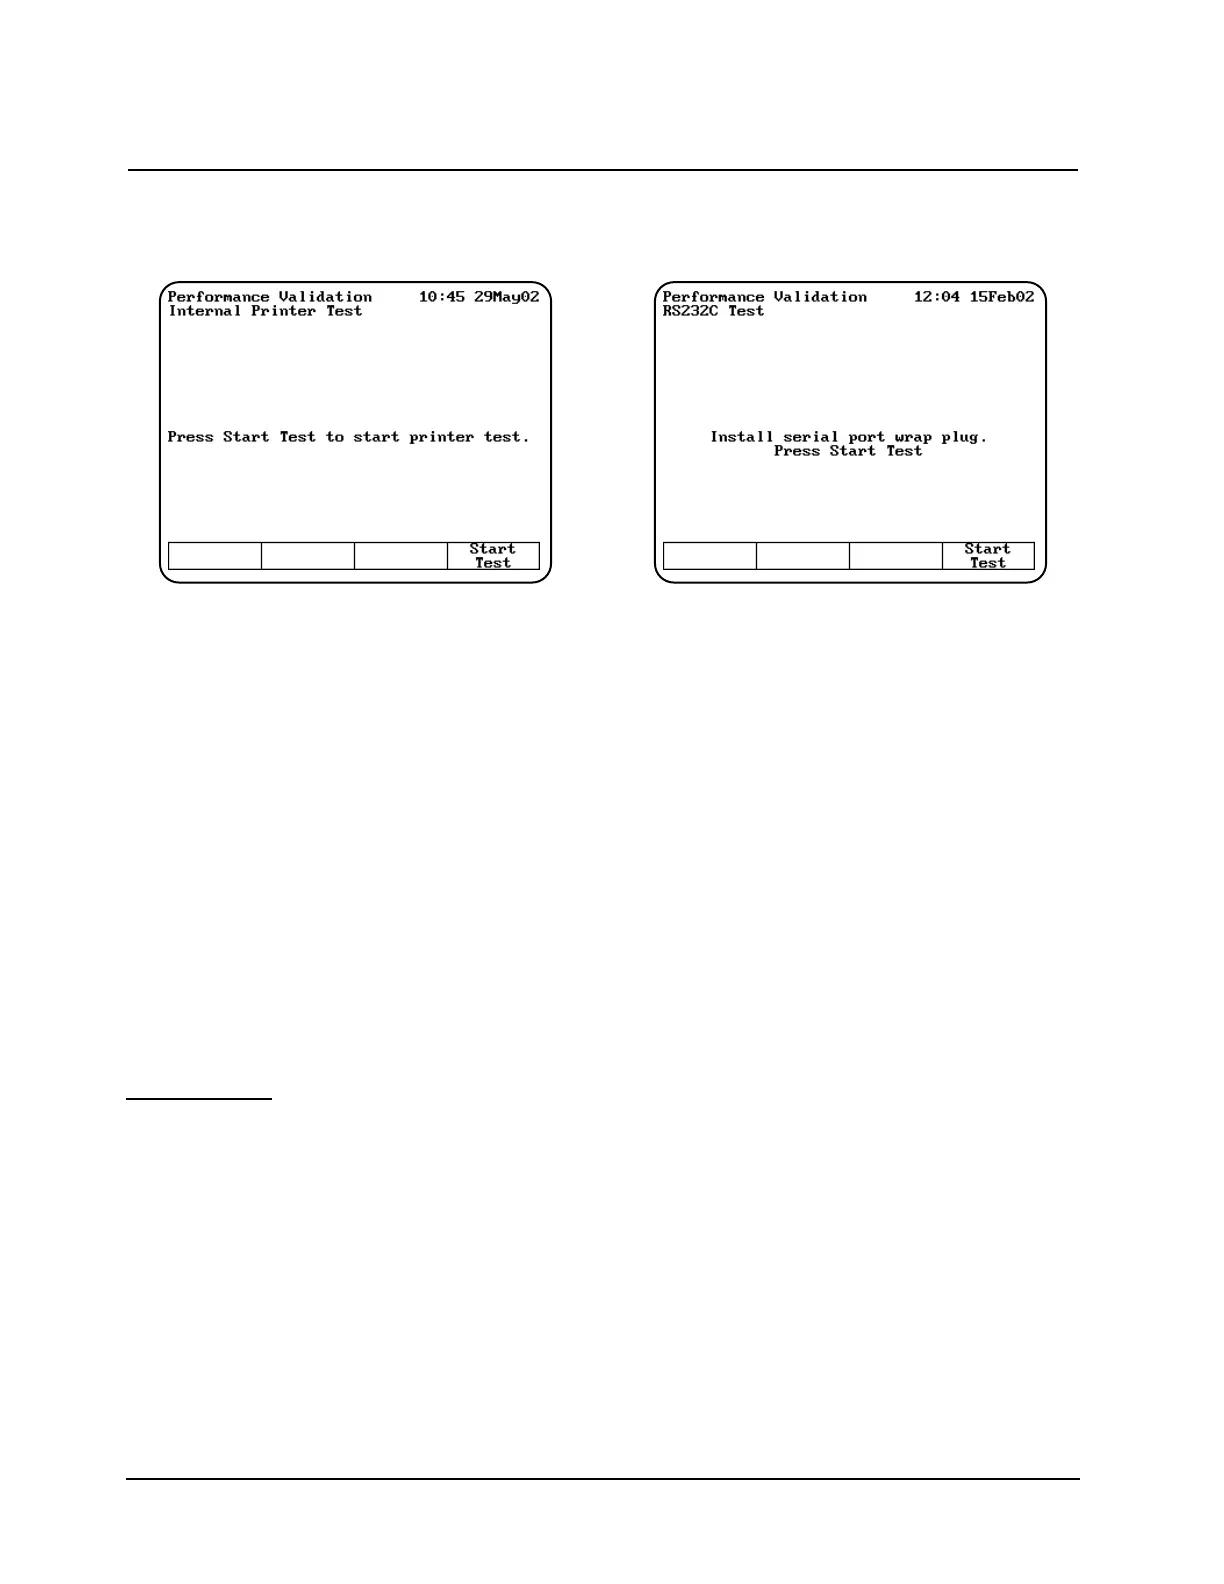
4. Press Start Test to run the test. The test print
routine appears on the printer.
While the test is running, you can press Stop
Test to stop it.
If the test fails, follow these guidelines:
• Make sure that the internal printer is the
selected printer device on the Utilities screen.
• Make sure that the internal printer is installed
correctly. (Return to the main screen and press
ENTER. If the paper does not move, the printer
may not be installed correctly.)
• Make sure that the thermal paper is threaded
with the thermal side toward the printer head
(the outside surface of the roll is the thermal
surface).
• Contact technical support for more
troubleshooting advice.
RS232C Test
The RS232C test allows you to verify that the
RS232C port is functional. To run the test, you will
need to have the RS232 Test Plug (336035)
attached to the RS232C port on the back panel of
the instrument. Running the RS232C test takes
approximately five minutes.
1. Verify that the RS232 Test Plug is securely
attached to the RS232C port on the back panel
of the instrument.
2. With the Performance Validation screen
displayed, use the arrow keys to highlight
RS232C Test.
3. Press ENTER. The RS232C Test screen
appears.
4. Press Start Test to run the test. When the test
is complete, the message "RS232 OK" or
RS232 Failed" appears on the screen.
While the test is running, you can press Stop
Test to stop it.
If the test fails, follow these guidelines:
• Make sure that the test plug is installed
correctly and is not loose or damaged.
• Contact technical support for more
troubleshooting advice.
Using the Performance Validation Program
Thermo Electron Corporation 4-6
 Loading...


