Chapter 3 | Replacing parts
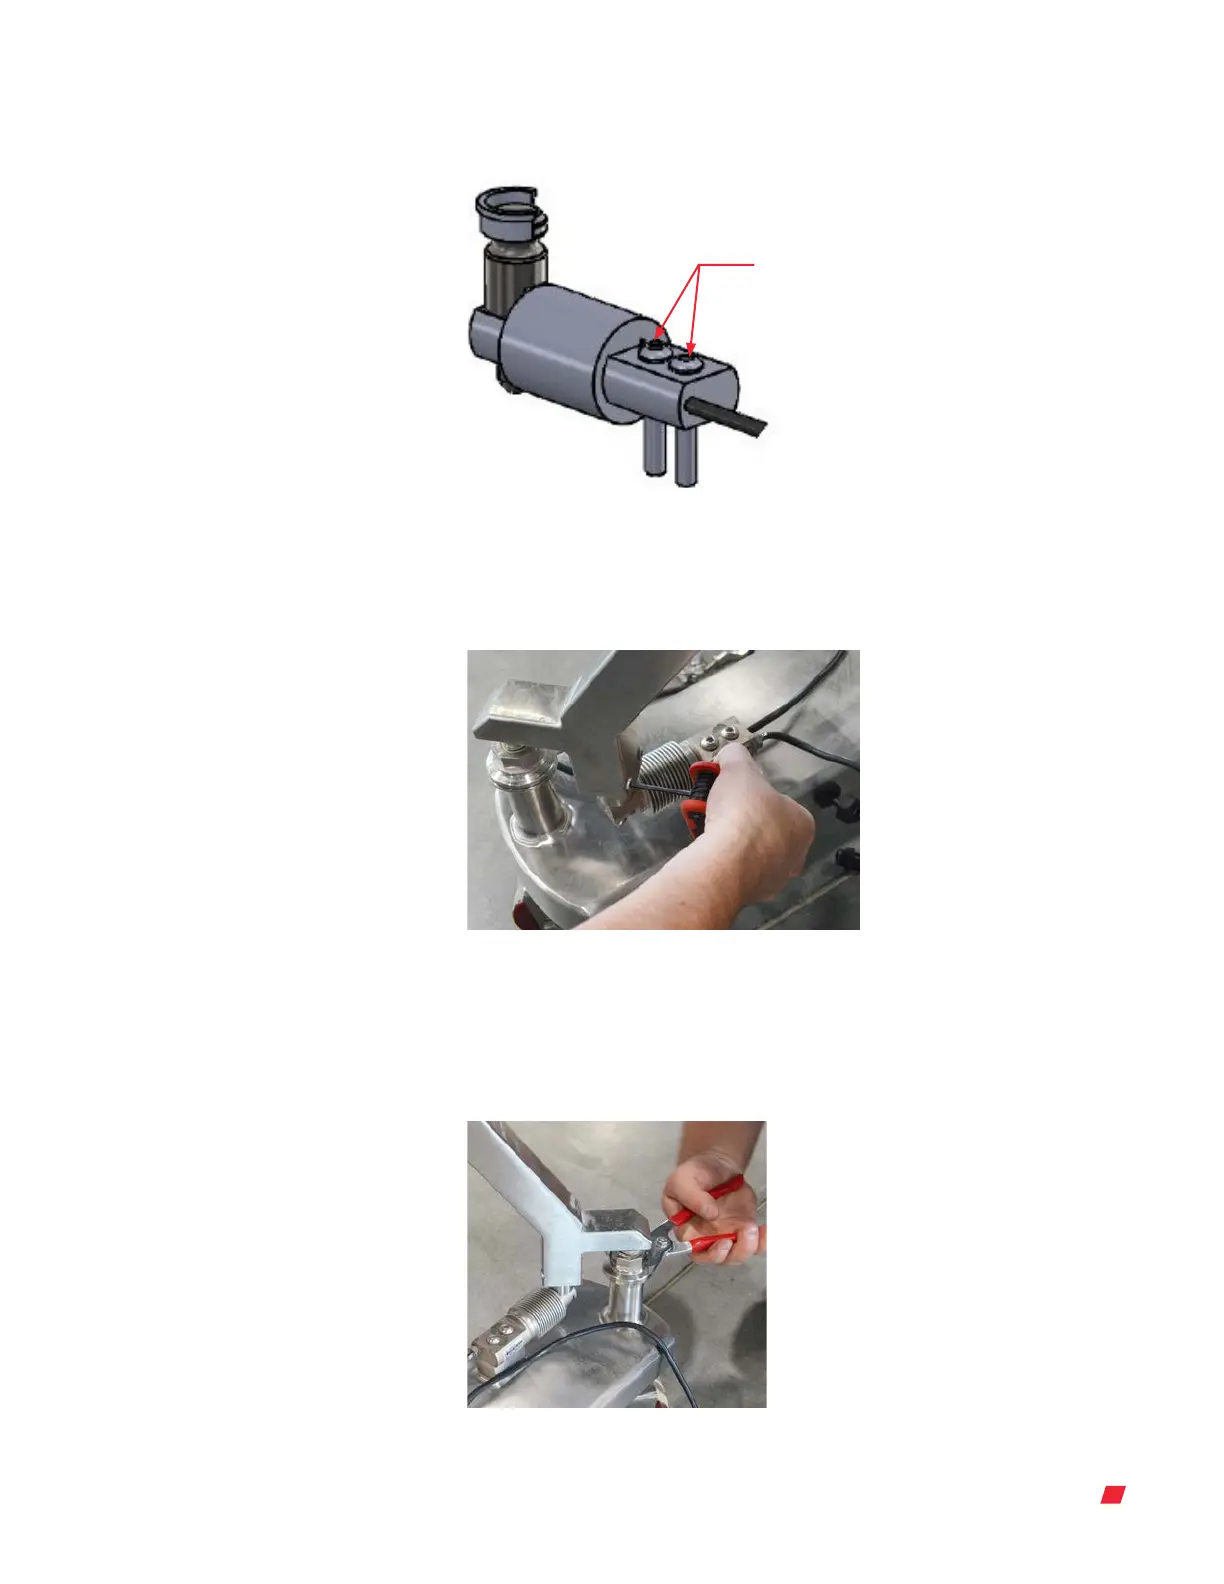
3. Fasten the load cell using a 3/16 in. Allen wrench with the two bolts (Figure 3.53).
Note: Make sure the arrow on the load cell is pointing down.
Figure 3.53. Bolts on top of the load cell.
Two 3/16 in. bolts
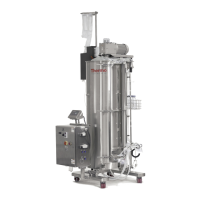
4. Using a 1/8 in. Allen wrench, replace the two bolts that connect the load cell to the
base of the leg (Figure 3.54).
Figure 3.54. Replacing the bolts securing the load
cell to a leg.
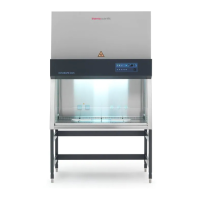
5. Using a crescent wrench, lower the leg by twisting the lock-out nut counter-
clockwise until weight is on the load cell (Figure 3.55). Note: Lower the nut back
down to remove weight o load cell to repeat with the other legs, if necessary.
Figure 3.55. Twisting load cell lock-out
nut counter-clockwise.
Thermo Scientific 34DynaDrive S.U.B. Service Guide






 To Next Page