© 2015 Thorlabs10
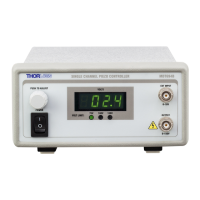
LDC200C Series
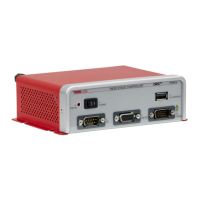
Rear Panel
R1 TTL input “LD REM”, 0 … +5 V
R2 Modulation input / analog control input "MOD IN", -10V … +10 V
R3 Analog monitoring output "CTL OUT", 0 … ±10V
R4 Fan
R5 4 mm banana jack for chassis ground
R6 Connector "LD OUT" for laser diode, photodiode, interlock, status LED
R7 Serial number of the unit
R8 Indicator / switch for line voltage (included in fuse holder)
R9 Mains connector and fuse holder
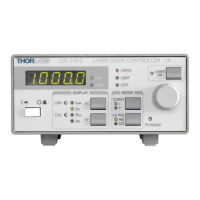
2.4 First Operation
Attention
Prior to switching on your LDC200C Series controller, please make sure that the line voltage
setting corresponds to your mains voltage! Mismatching may lead to damage of the
controller!
Turn the unit on by pressing the line switch (F10).
After switching on the unit, the LED display (F1) and a LED, indicating the selected
measurement value (F13 ... F16), light up, otherwise please check the line voltage and the
mains fuses .
By using the keys (F17) and (F18) the displayed measurement value can be selected.
A LDC200C Series controller is immediately ready to use after turning on. The rated accuracy
is reached, however, after a warming-up time of approx. 10 minutes.
20
20
21
 Loading...