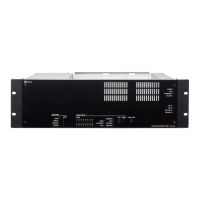
3-8
Chapter 3
INSTALLATION AND SETTING PROCEDURES (HARDWARE)
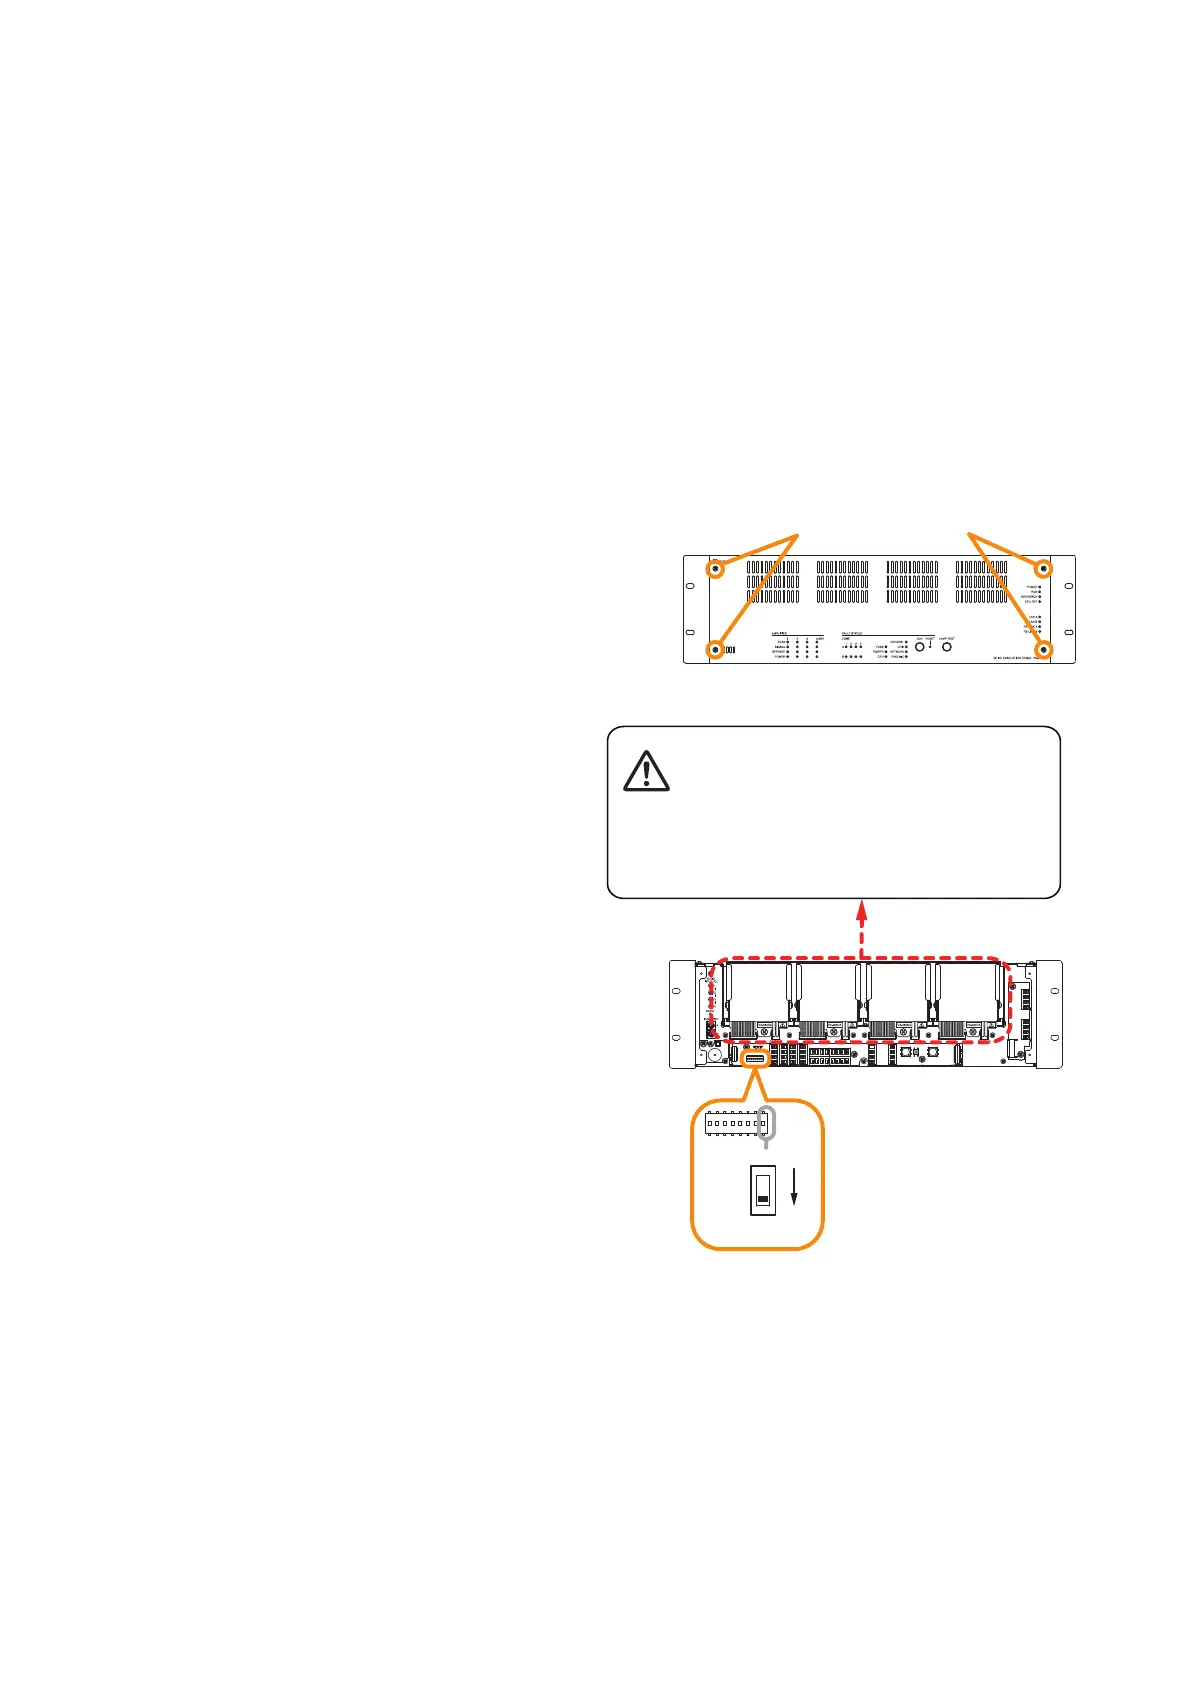
Step 1. Detach the front panel.
Remove4xingscrewsforfrontpanelanddetach
the front panel.
Step 2. Set the switch 8 of the DIP switch to OFF.
Step 3. Replace the front panel.
Secureitusing4xingscrewsforfrontpanel.
2.4. Setting the IP Address
VX-3000F's IP address is automatically determined depending on the ID switch setting as follows when the
switch 8 of the DIP switch inside the front panel is set to the ON position (default setting).
IP address : 192.168.14.xx ("xx" is one larger than ID Number.)
Subnet mask : 255.255.255.0
Default gateway : 0.0.0.0
To change the above IP address of the VX-3000F, change the DIP switch setting following the procedures
below, then use the VX-3000 Setting software to reset it.
Note
When the switch 8 is set to the ON position, even if you change and upload the IP address using the VX-3000
Setting software, it will not be changed, remaining as set by default.
VX-3000F front
Fixing screws for front panel
1
2
VX-3000F front
(Front panel detached)
Switch 8
There is a high voltage section inside the power
amplifier's filter. Never insert your finger or
metallic objects inside the unit.
ON