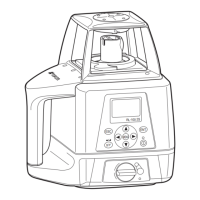
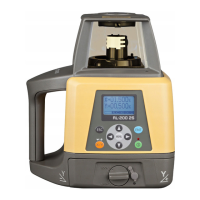
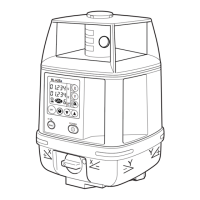
39
(Example: Y axis)
4 Select Y axis by pressing the right arrow key.
Press the [ENT] key to lock.
5 “POSITION 1” display will flash and the instrument
will begin automatic alignment. After the automatic
alignment is completed, the “POSITION 1” light will
turn on, then, the rotary head rotates and emits
laser beam. (Y-).
6 Turn on the power for the level sensor, and press
the detective precision switch to select the high
detection mode.
7 Check the position of the laser beam (Y-) on the
wall.
Move the sensor up or down until the LCD indicator
identifies the center of the laser beam.
8 After fixing the beam, press the [ENT] key.
The display will change to flashing “POSITION 2”.
Check the laser beam on the wall.
Fix the laser sensor in the position where
the LCD indicator identifies the center of
the laser beam.
Press the [ENT] key after check.
POSITION 1
POSITION 2