40
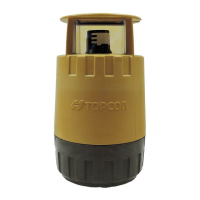
9 Loosen the tripod and rotate the instrument 180°
and retighten to fix. The Y+ side of the instrument
should be facing the wall. After the automatic
alignment is completed, the display will change to
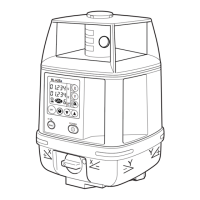
[S][T], then, the rotary head rotates and emits
laser beam.
10 Following step 7, mark the laser beam position for
(Y+).
If the two lasers being marked are misaligned for
less than 5mm, adjustment is not necessary. Turn
off the power for the instrument. If adjustment is
required, move on to (2) How to adjust.
(2) How to adjust
After completing the checking in step 10, go on to
the adjustment specified below.
1 Using the arrow keys (up and down), adjust the
(Y+) laser beam to the center of (Y+) and (Y-).
2 Press the [ENT] key when the laser beam is
correctly positioned in the center.
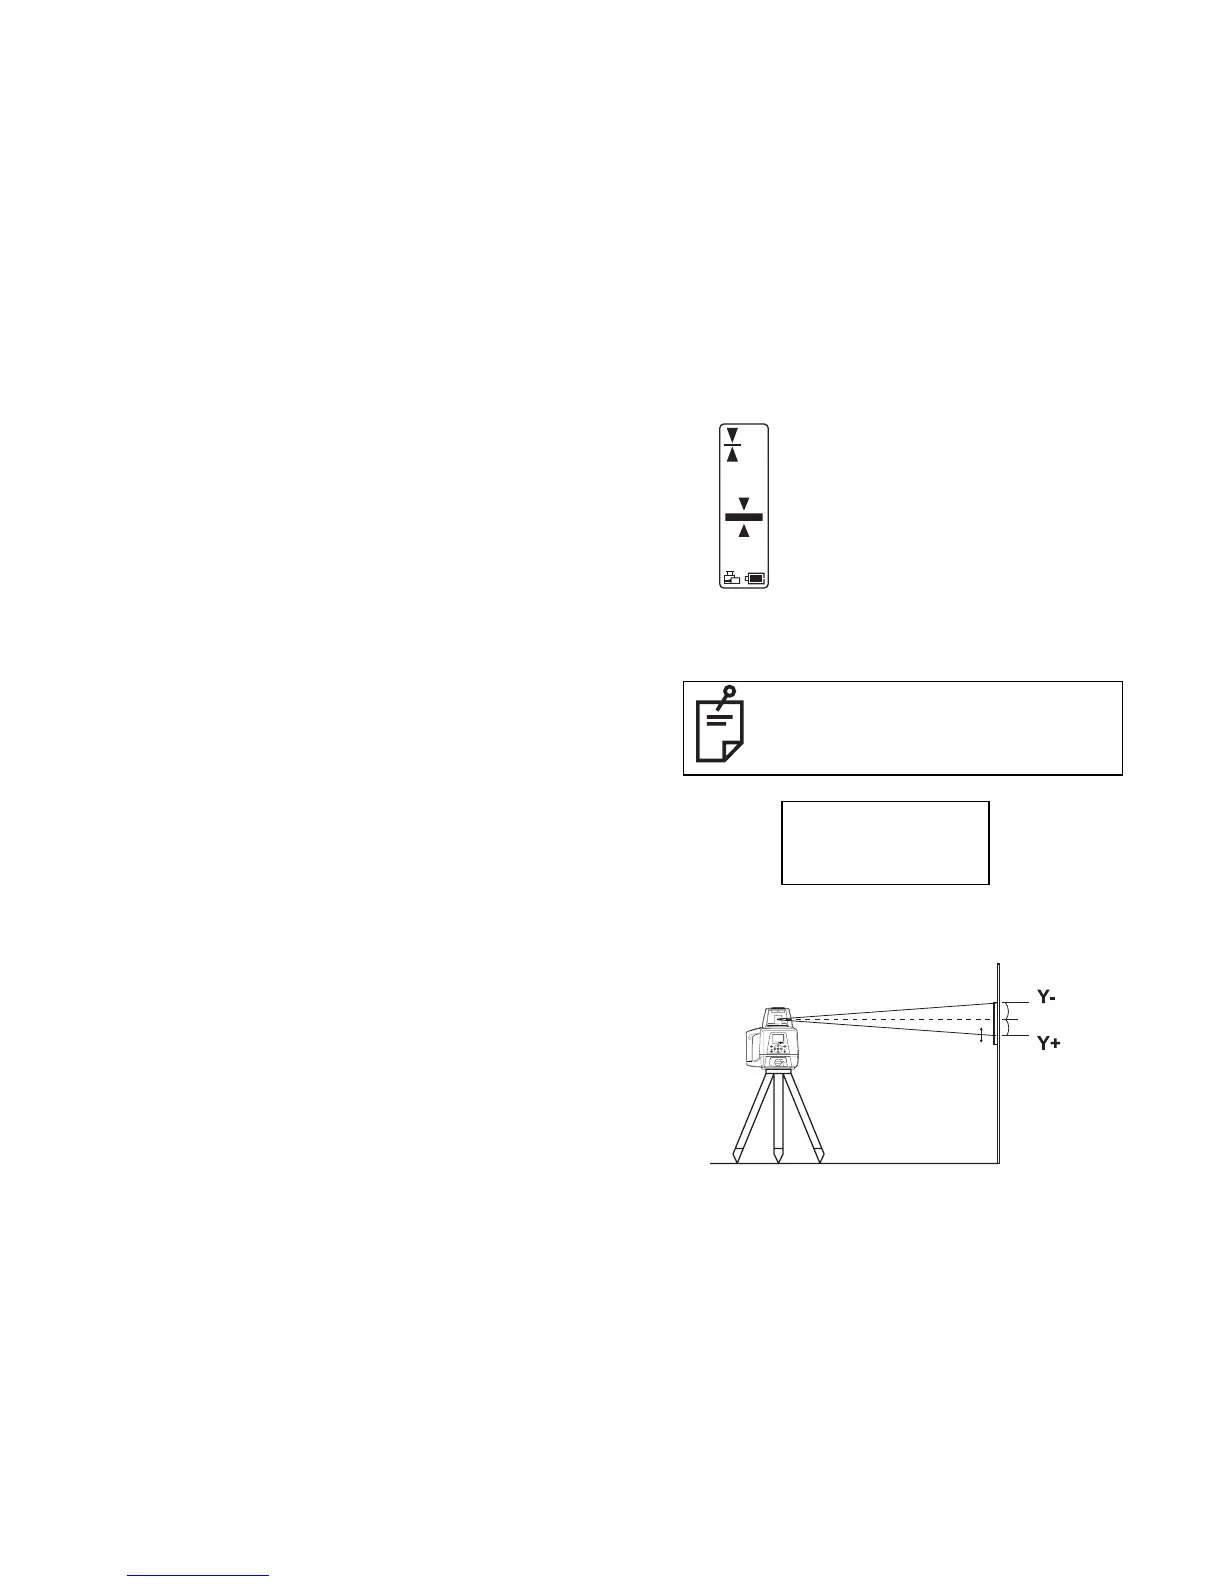
Check the misalignment of laser
beam of (Y+) and (Y-) on the wall.
If one of the 3 center indicators is lit,
calibration is normal.
Misalignment of (Y-) and (Y+) laser
beam within 5mm is considered
normal.
Turn off the power to complete the checking.
When rotating the instrument
180º, ensure that the height of the
instrument is aligned.
By using the up and down arrow keys of the remote
controller, adjust the (Y+) laser beam to the center of
the (Y-) and (Y+).
Y+ rotating laser beam
center
S
T