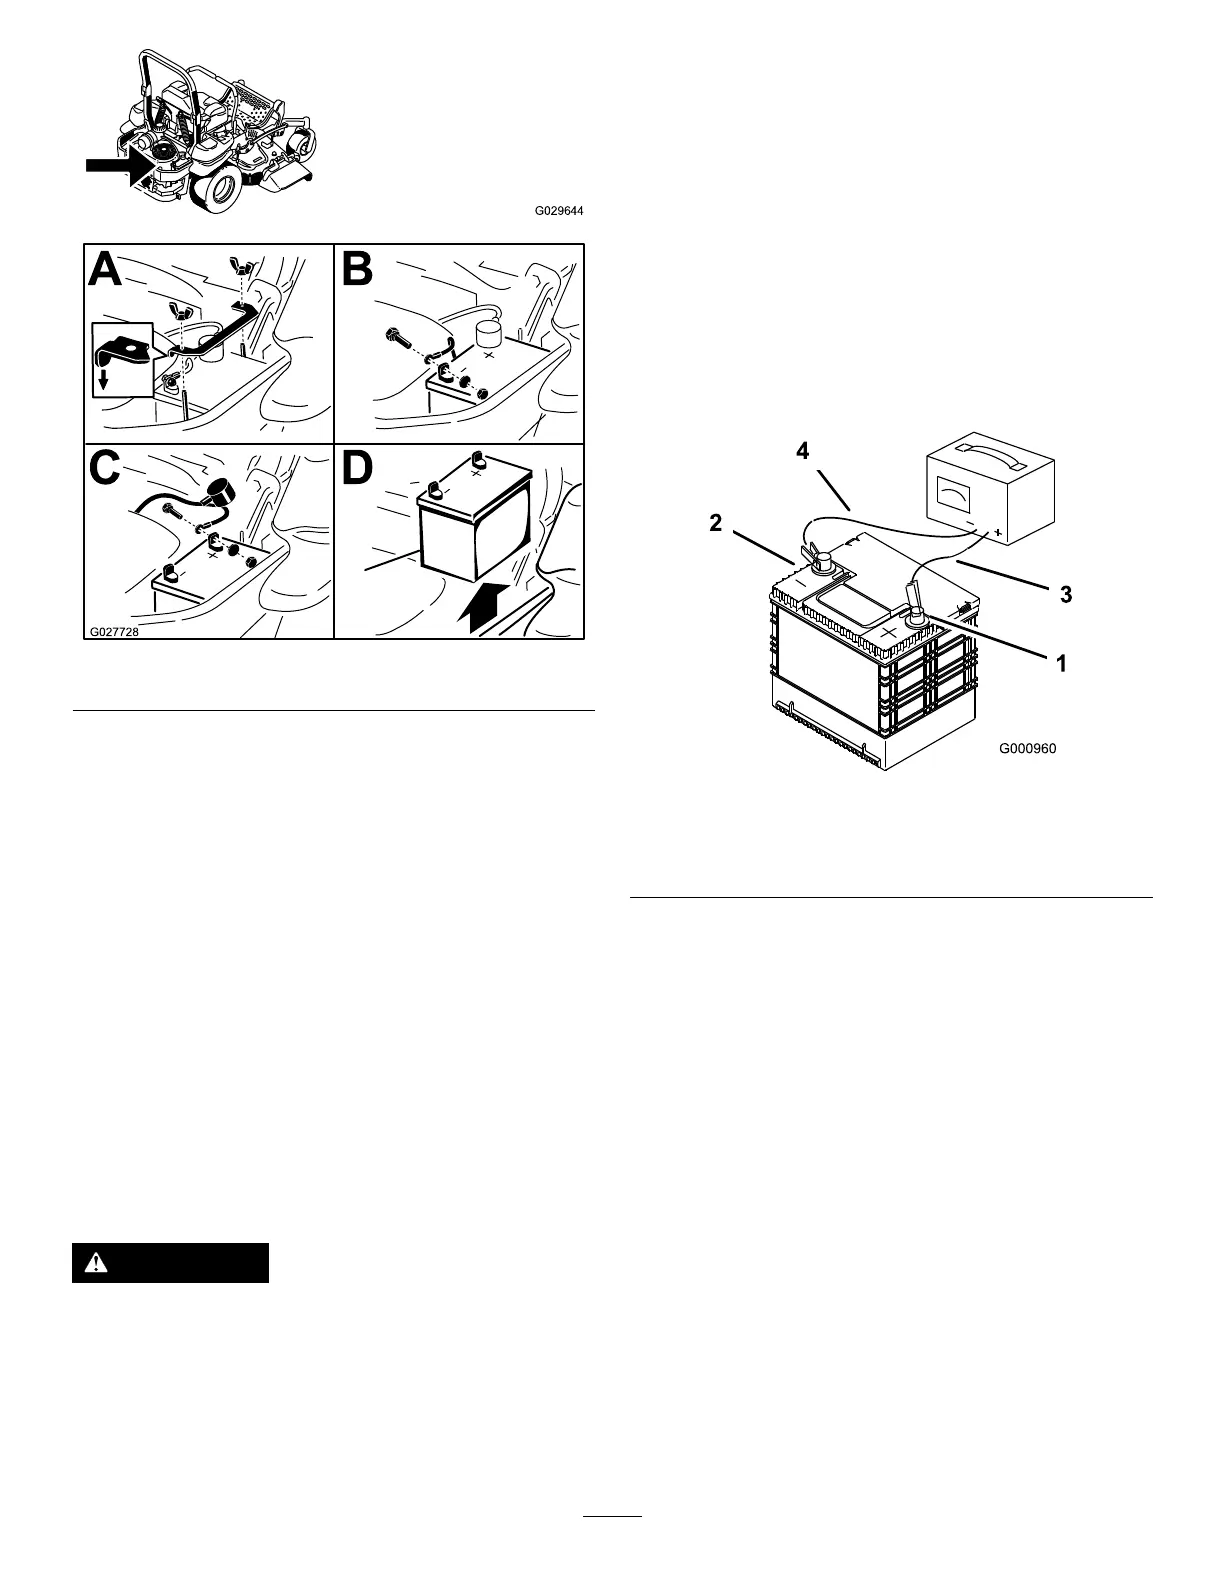
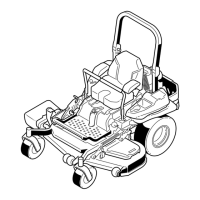
g029644
g027728
Figure60
InstallingtheBattery
1.Positionbatteryinthetraywiththeterminal
postsoppositefromthehydraulictank(Figure
60).
2.First,installthepositive(red)batterycableto
positive(+)batteryterminal.
3.Theninstallthenegative(black)batterycable
andgroundwiretothenegative(-)battery
terminal.
4.Securethecableswith2bolts,2washers,and
2locknuts(Figure60).
5.Slidetheredterminalbootontothepositive
(red)batterypost.
6.Installtheclampandsecureitwiththewingnut
(Figure60).
ChargingtheBattery
WARNING
Chargingthebatteryproducesgasesthatcan
explode.
Neversmokenearthebatteryandkeepsparks
andamesawayfrombattery.
Important:Alwayskeepthebatteryfullycharged
(1.265specicgravity).Thisisespecially
importanttopreventbatterydamagewhenthe
temperatureisbelow0°C(32°F).
1.Chargebatteryfor10to15minutesat25to30
ampsor30minutesat10amps.
2.Whenthebatteryisfullycharged,unplug
thechargerfromtheelectricaloutlet;then
disconnectthechargerleadsfromthebattery
posts(Figure61).
3.Installthebatteryinthemachineandconnect
thebatterycables,refertoInstallingtheBattery
(page48).
Note:Donotrunthemachinewiththebattery
disconnected;electricaldamagemayoccur.
g000960
Figure61
1.Positivebatterypost
3.Red(+)chargerlead
2.Negativebatterypost
4.Black(-)chargerlead
ServicingtheFuses
Theelectricalsystemisprotectedbyfuses.Itrequires
nomaintenance;however,ifafuseblowscheckthe
component/circuitforamalfunctionorshort.
1.Thefusesarelocatedonrighthandconsole
nexttotheseat(Figure62).
2.Toreplacethefuses,pulloutonthefuseto
removeit.
3.Installanewfuse(Figure62).
48