2.SCANNING (BASIC OPERATION)
Sending Data to an E-mail Address 25
SCANNING (BASIC OPERATION)
3
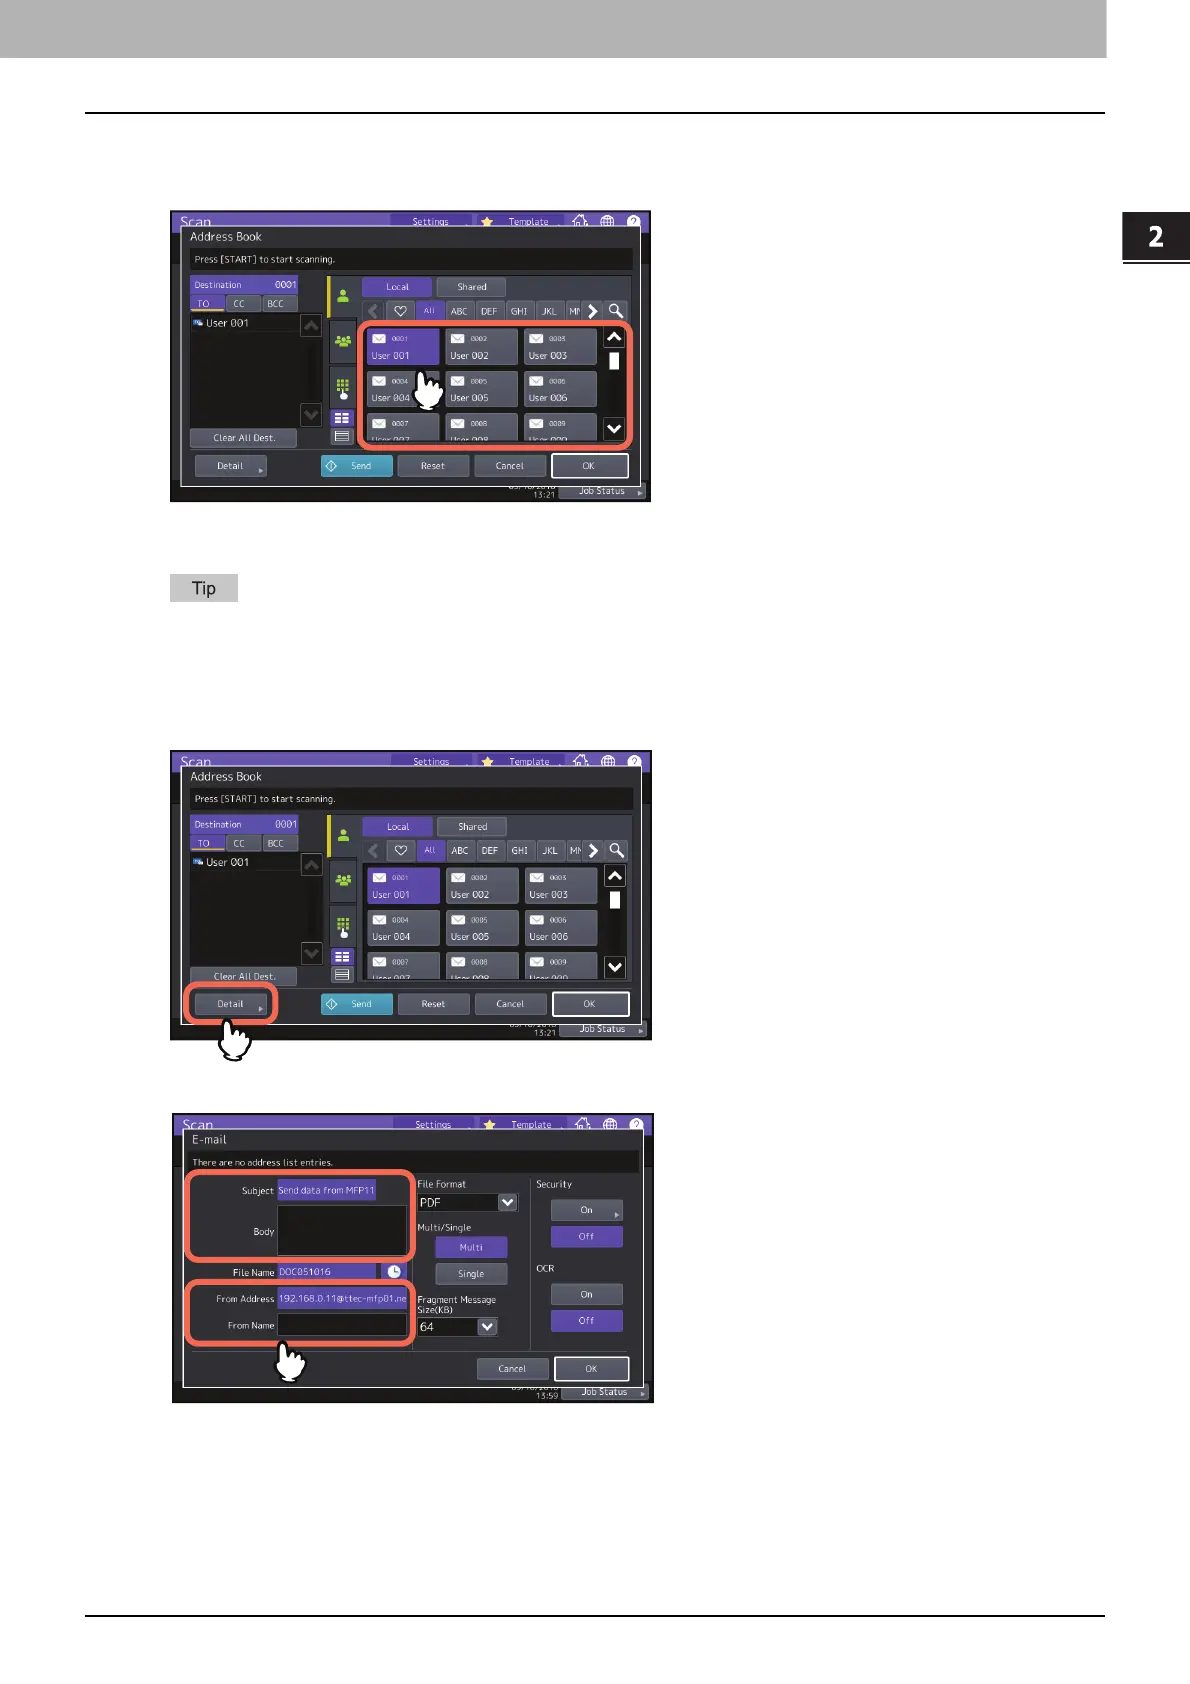
Specify the e-mail address(es) that you want to send to.
When you select a contact from the address book on the right side, the selected contact is added to the
destination list on the left side. After adding all contacts, press [OK].
You can specify e-mail addresses in various ways. For details, see the following section:
P.48 “Specifying E-mail Addresses”
The entry in the From Address box may already be set by the administrator on TopAccess. (Refer to the TopAccess
Guide for descriptions of the E-mail Setting and/or the User Authentication for Scan to E-mail setting.) In this
case, you can start sending your scans by specifying the e-mail address(es) and then pressing [Send] or the
[START] button.
4
Press [Detail].
5
Enter each item needed for your e-mail.
Subject
Edit the subject for your e-mail. You can enter up to 128 characters.
Body
Edit the body text for your e-mail. You can enter up to 1000 characters.

 Loading...


