54 Scanning With Dual Functions (Dual Agents)
0.Scanning With Dual Functions (Dual Agents)
When performing a scan operation, you can select 2 of the scan functions at one time.
You can set 2 scan functions at one time. Selecting 3 scan functions at one time is not allowed.
The WS Scan function cannot be selected together with other scan functions.
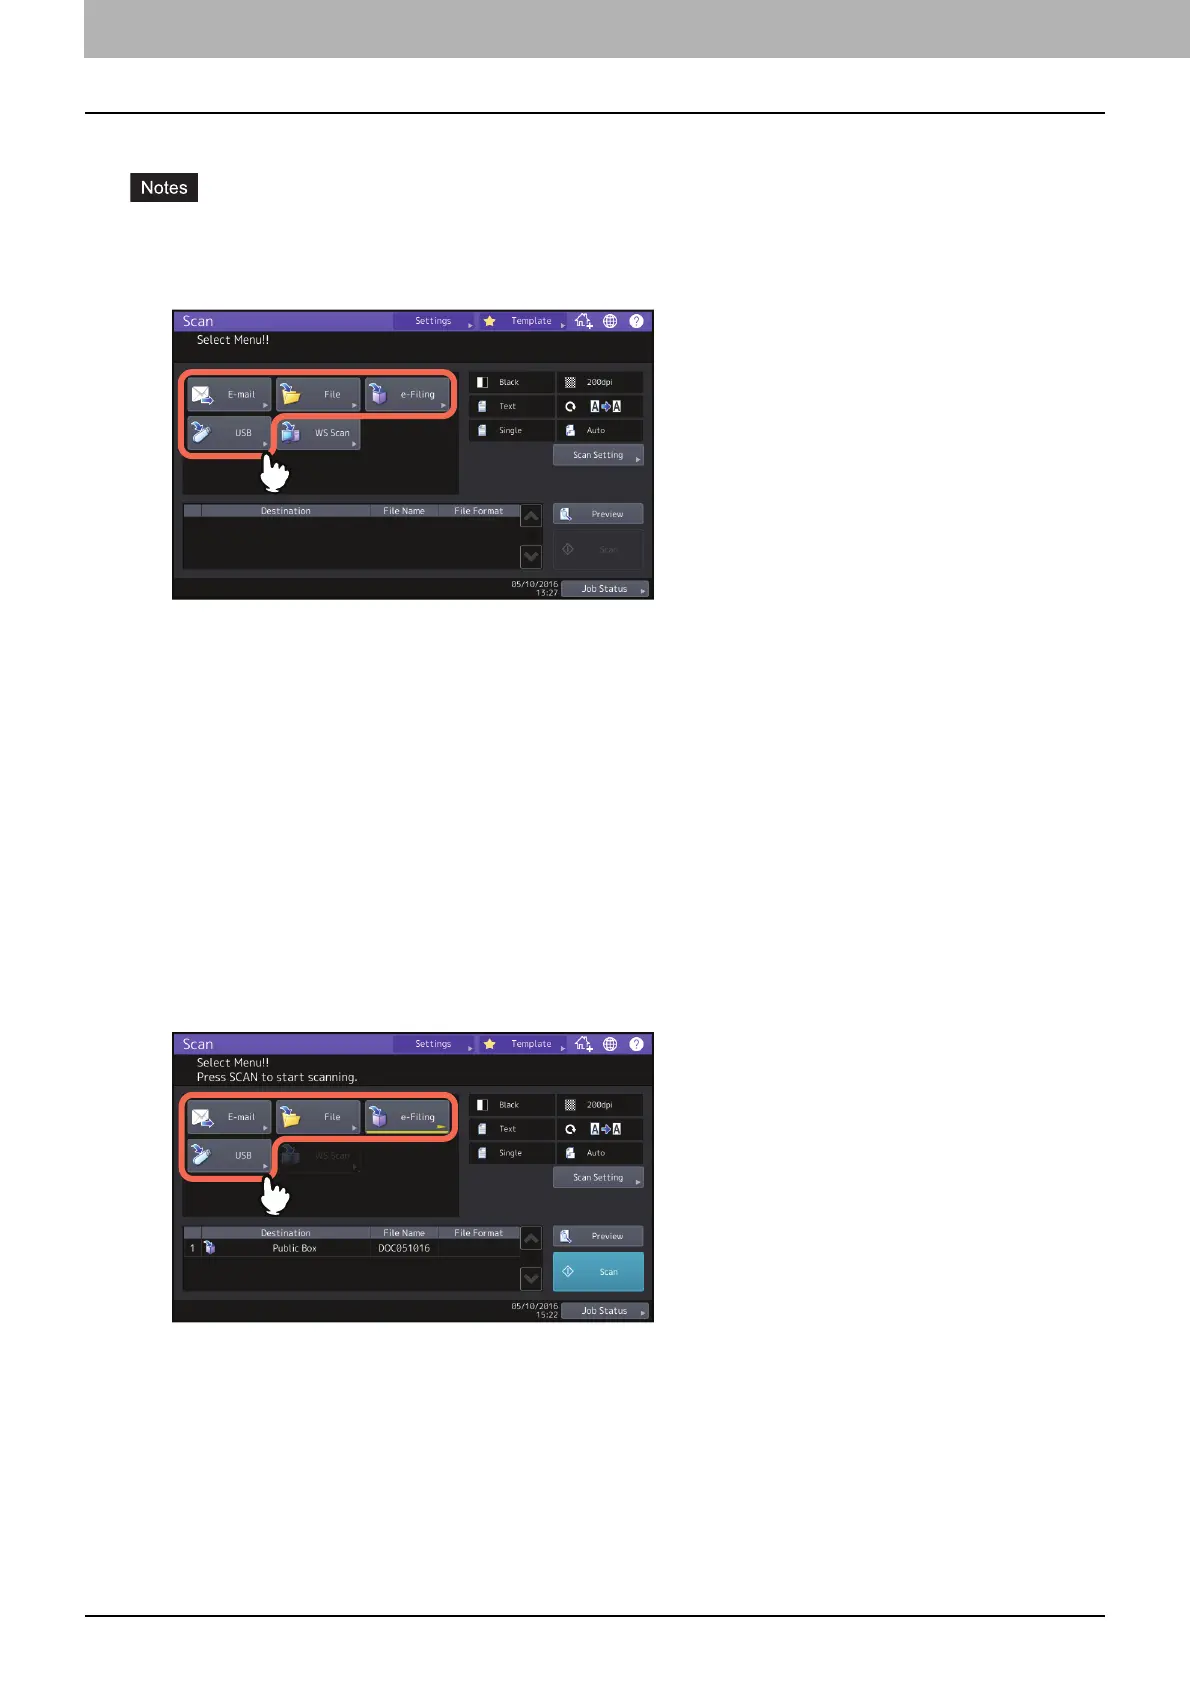
1
On the Scan menu, select a scan function that you want to use.
[e-Filing]— Your scans are saved in the e-Filing boxes.
[File]— Your scans are saved as files in the equipment’s shared folder or a network folder.
[E-mail] — Your scans are sent to specified e-mail addresses.
[USB] — Press this button to store scans to a USB storage device.
2
Make the settings required for the selected scan function, and then press [OK].
The required settings vary depending on the selected scan function. For instructions on how to perform
settings for each scan function, see the following sections:
P.17 “Saving Data in e-Filing Boxes”
P.18 “Saving Data in the Shared Folder”
P.24 “Sending Data to an E-mail Address”
P.29 “Saving Data to a USB Storage Device”
Pressing [OK] on the screen for each scan function takes you back to the basic scan menu with the selected
function button marked with an orange line.
3
On the Scan menu, select the second scan function that you want to use, and repeat step 2.

 Loading...


