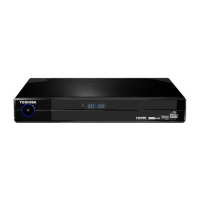
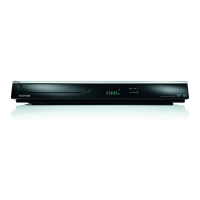
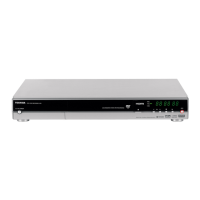
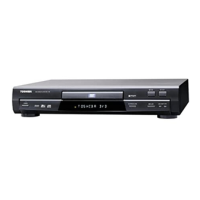
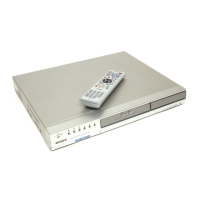
Connecting your Digital TV Recorder
q
Plug your aerial lead into the RF IN socket of the recorder.
w
Plug an Ethernet cable between the Ethernet socket and a modem or router. Refer
to page 37 for more details. Cable not supplied.
e
If required, plug a SCART cable between the SCART OUTPUT socket of the
recorder and your TV, Video or DVD recorder. Cable not supplied.
r
Plug a RF cable between the RF OUT socket of the recorder and your TV, Video or
DVD recorder. Cable not supplied.
t
Plug a HDMI cable between the HDMI OUT socket of the recorder and your TV.
Cable not supplied.
y
If required, plug a HDMI cable between your DVD player, DVD recorder, Set-top box,
Games console and the HDMI IN 1/2 socket of the recorder. Cable not supplied.
u
Plug a USB Flash drive or a cable from a Digital still camera or Card reader in to the
Photo socket. Refer to page 31 for more details.
i
If required, plug an Optical cable (TOS link) between the SPDIF output socket of
the recorder and your Hi-Fi or Surround Sound System. Cable not supplied.
o
Plug the supplied AC mains adaptor between the power socket of the recorder and
a standard wall socket. Only switch on the wall socket when all cables have
been attached. (Do not cut off the supplied AC mains adaptor’s plug.)
Refer to page 16 for more information on how to change the input mode to HDMI 1/2 and USB.
A HDMI cable is recommended as it gives higher quality picture and sound and is required for High
Definition viewing.
Note:
Socket names vary according to make and model of your equipment. •
Photo Viewer socket does not support all USB devices or cameras.•
TV aerial
t
iu
r
o
ew
y
q
 Loading...