


V
Valerie ShieldsJul 31, 2025
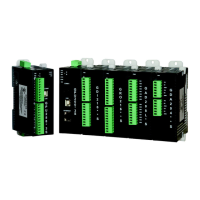
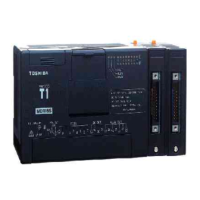
What to do if Toshiba Control Unit SA9A1 module operates abnormally?
- UuhuntJul 31, 2025
If the Toshiba Control Unit SA9A1 module is operating abnormally, the suggested solution is to replace the module. Contact one of Toshiba's service representatives for assistance.