23
Chapter 5
TP-Link Cloud Service
5. 1. Register a TP-Link ID
If you have skipped the registration during the Quick Setup process, you can:
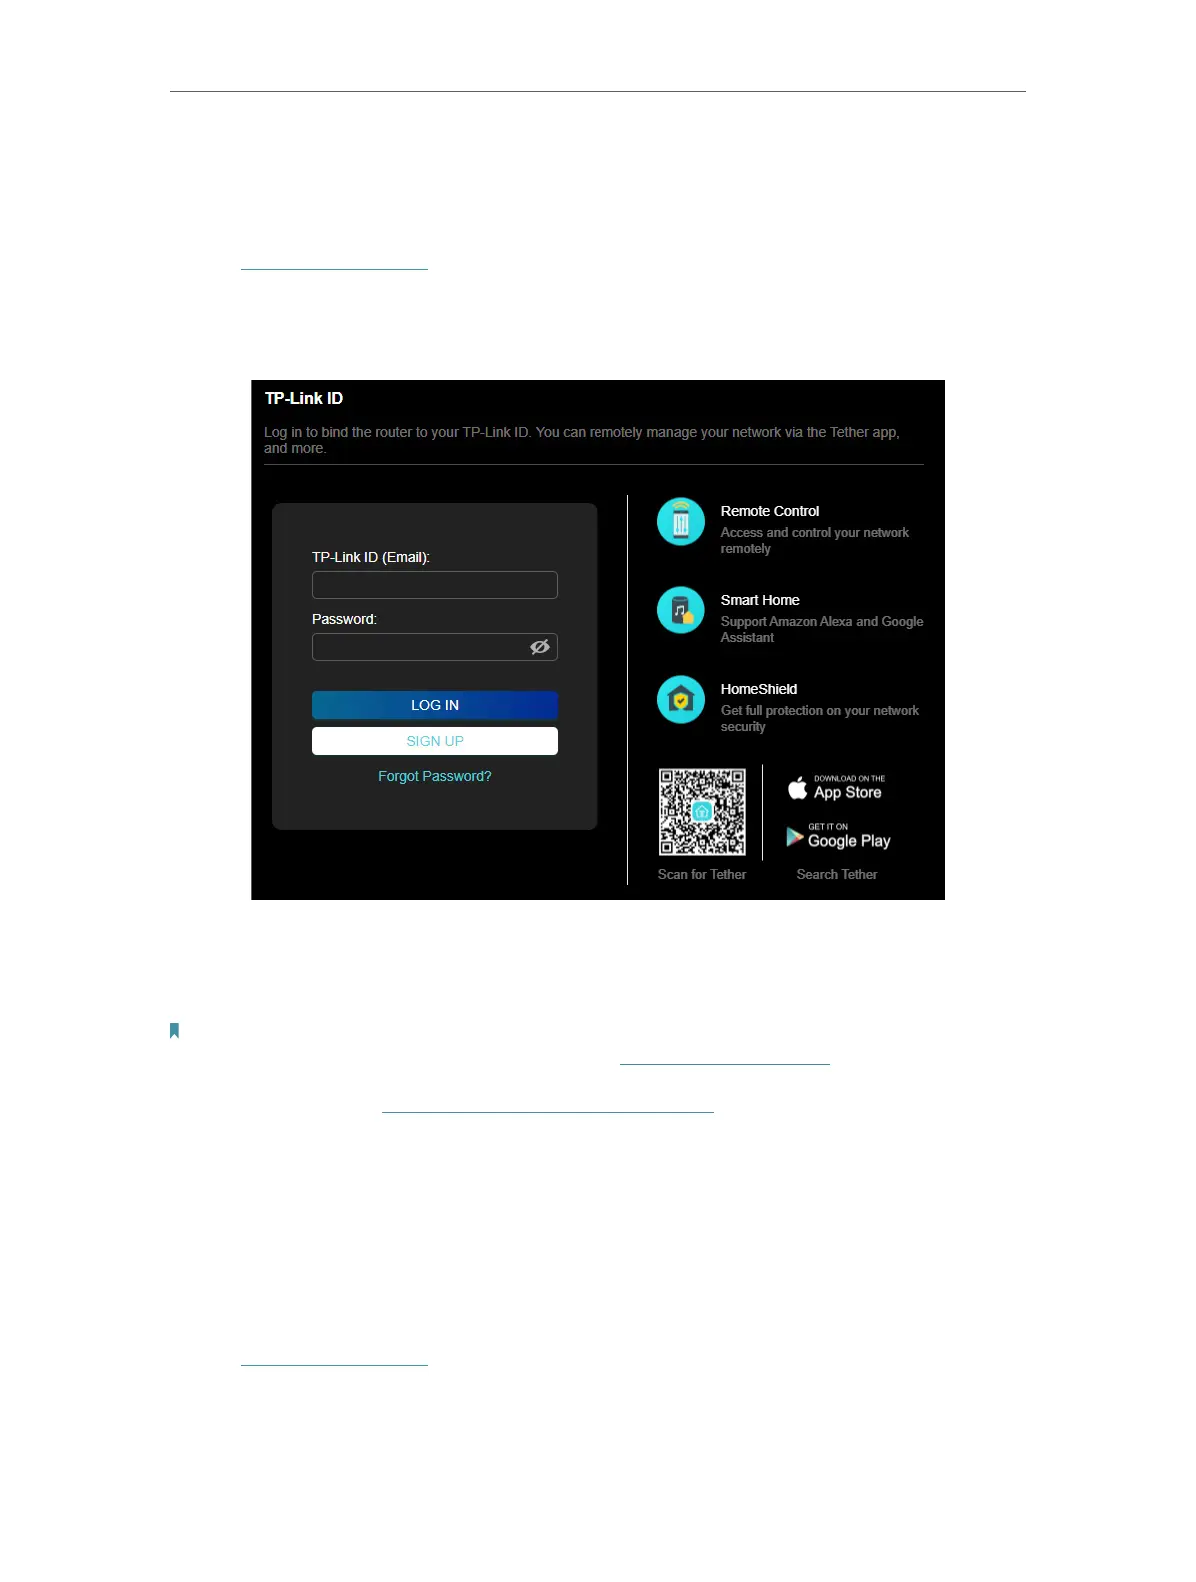
1. Visit http://tplinkwifi.net, and log in with the password you set for the router.
2. Go to Advanced > TP-Link ID.
3. Click SIGN UP and follow the instructions to register a TP-Link ID.
4. After activating your TP-Link ID, come back to the TP-Link ID page to log in. The
TP-Link ID used to log in to the router for the first time will be automatically bound as
an Owner.
Note:
• To learn more about the Owner and User TP-Link ID, refer to Manage the User TP-Link IDs.
• Once you have registered a TP-Link ID on the web management page, you can only register another TP-Link ID via the
Tether APP. Please refer to Manage the Router via the TP-Link Tether App to install the app.
• If you want to unbind the admin TP-Link ID from your router, please go to Advanced > TP-Link ID, an click Unbind in the
Device Information section.
5. 2. Change Your TP-Link ID Information
Follow the steps below to change your email address and password of your TP-Link ID
as needed.
1. Visit http://tplinkwifi.net, and log in with your TP-Link ID.
2. Go to Advanced > TP-Link ID, and focus on the TP-Link ID section.