25
Chapter 5
TP-Link Cloud Service
5. 3. Manage the User TP-Link IDs
The TP-Link ID used to log in to the router for the first time will be automatically bound
as the Owner account. An admin account can add or remove other TP-Link IDs to or
from the same router as Users. All accounts can monitor and manage the router locally
or remotely, but user accounts cannot:
• Reset the router to its factory default settings either on the web management page
or in the Tether app.
• Add/remove other TP-Link IDs to/from the router.
5. 3. 1. Add TP-Link ID to Manage the Router
1. Visit http://tplinkwifi.net, and log in with your TP-Link ID.
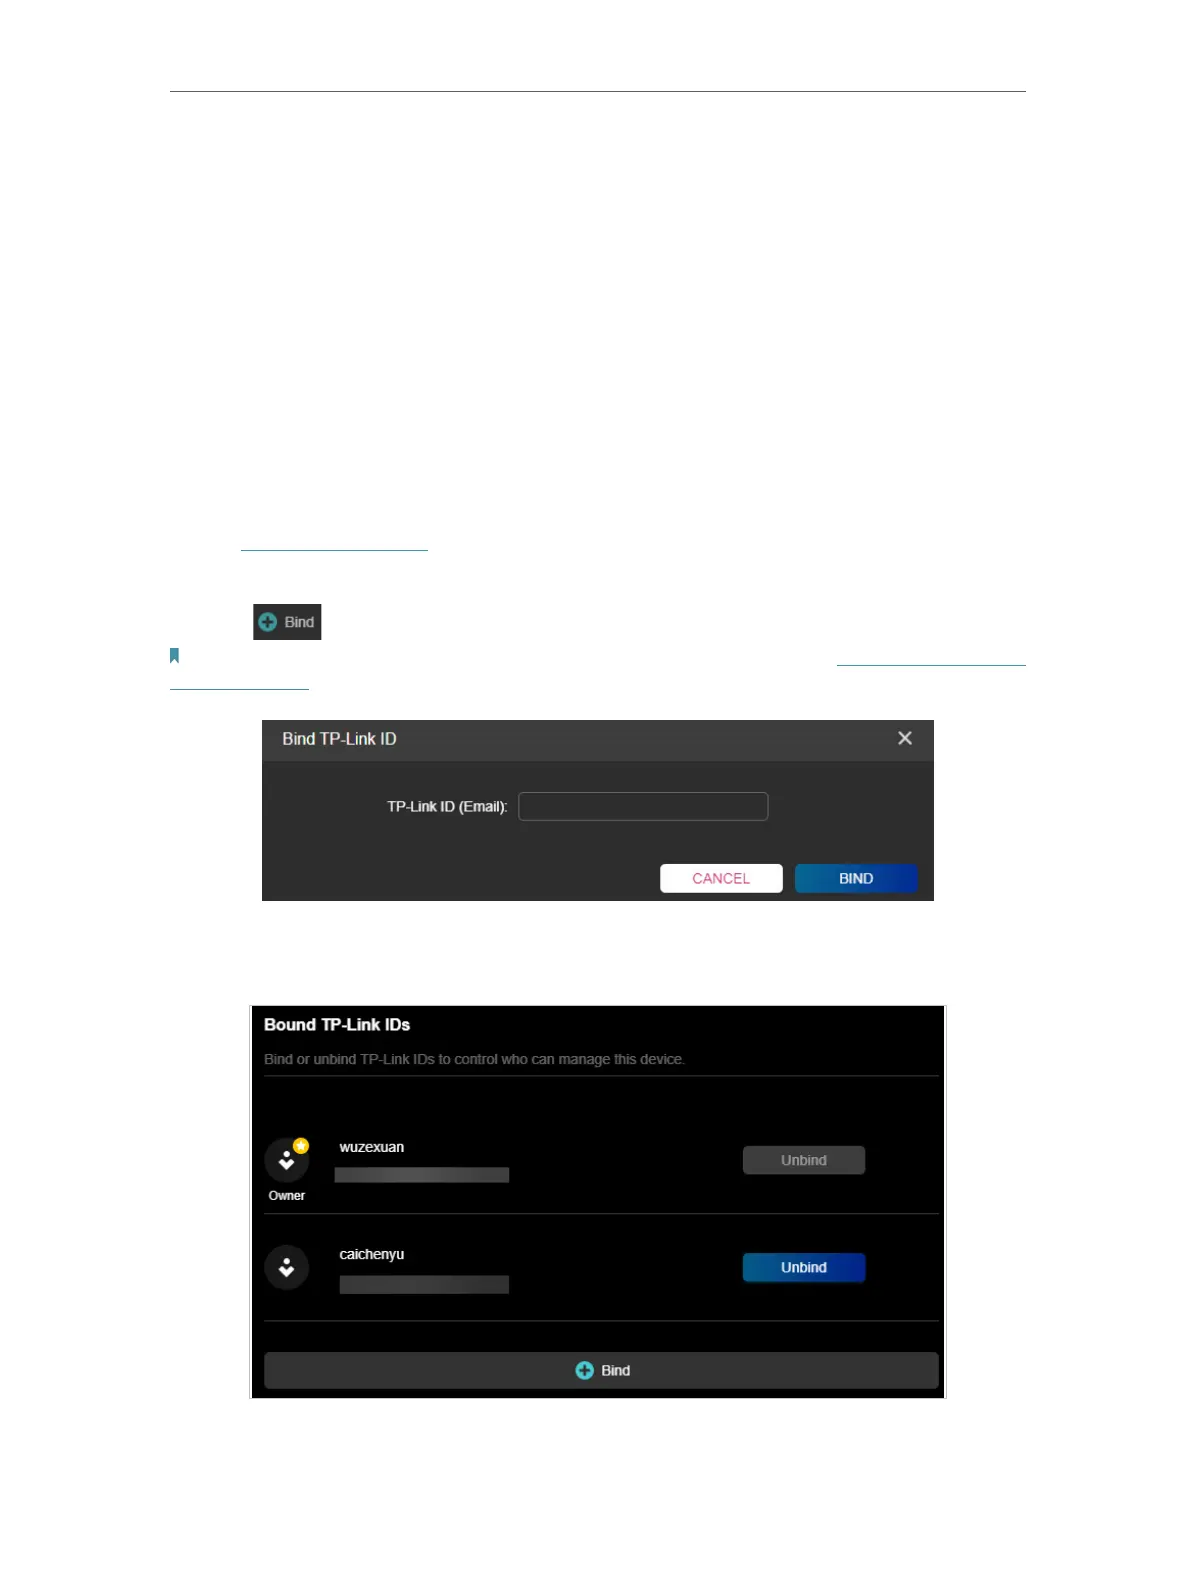
2. Go to Advanced > TP-Link ID, and focus on the Bound TP-Link IDs section.
3. Click , enter another TP-Link ID as needed and click BIND.
Note: If you need another TP-Link ID, please register a new one via the Tether app. Refer to Manage the Router via the
TP-Link Tether App to install the app and register a new TP-Link ID.
4. The new TP-Link IDs will be displayed. Only the TP-Link ID used to log in to the router
for the first time will be automatically bound as the Owner account.