93
Chapter 14 OneMesh with Seamless Roaming
14. 1. Set Up a OneMesh Network
TP-Link OneMesh extender will automatically join the router’s OneMesh network
once connected. Check on the router‘s web management page to see if the OneMesh
network is well-configured.
• If the extender is connected to this router:
1. Visit http://tplinkmodem.net, and log in with your TP-Link ID or the password you set
for the router.
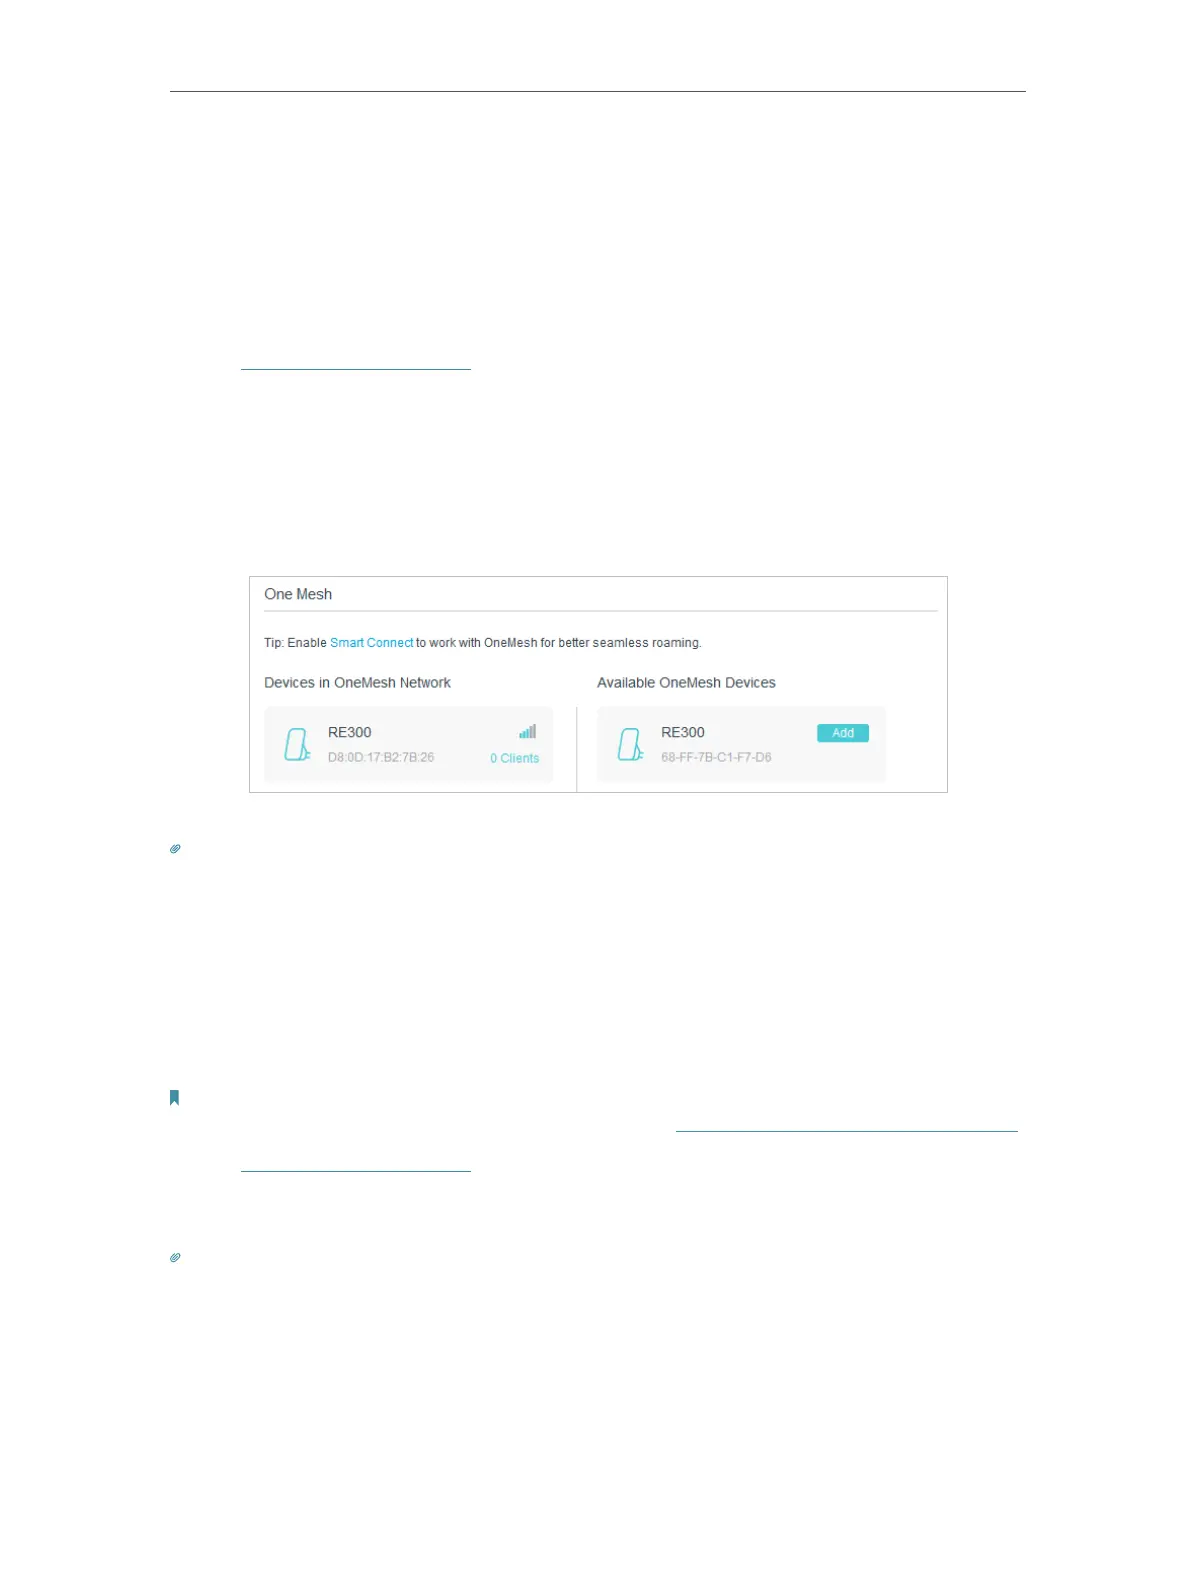
2. Go to Basic > OneMesh or Advanced > OneMesh.
3. When an extender joins the OneMesh network, it will be listed in the Devices in
OneMesh Network list. Otherwise, you need to find it in the Available OneMesh
Devices list and click Add to add it to the OneMesh network.
Now your router and extenders successfully form one OneMesh network!
Tips:
It is recommended to enable Smart Connect feature on Wireless > Wireless Settings to enjoy a seamless connection
between dual-band networks. With Smart Connect enabled, the router’s 2.4GHz and 5GHz share the same SSID
(network name) and password.
• If the extender is not connected to this router
1. Connect one or more OneMesh extenders to this router by following the setup
instructions in the extenders’ manuals.
Note:
To check full list of TP-Link OneMesh extenders or other devices, visit https://www.tp-link.com/onemesh/compatibility.
2. Visit http://tplinkmodem.net, and log in with your TP-Link ID or the password you set
for the router.
3. Go to Basic > OneMesh or Advanced > OneMesh to check the devices list.
Tips:
It is recommended to enable Smart Connect feature on Wireless > Wireless Settings to enjoy a seamless connection
between dual-band networks. With Smart Connect enabled, the router’s 2.4GHz and 5GHz share the same SSID
(network name) and password.