12
Chapter 2
Set up Your Router via Kasa App
e. Plug in and connect the router’s power adapter.
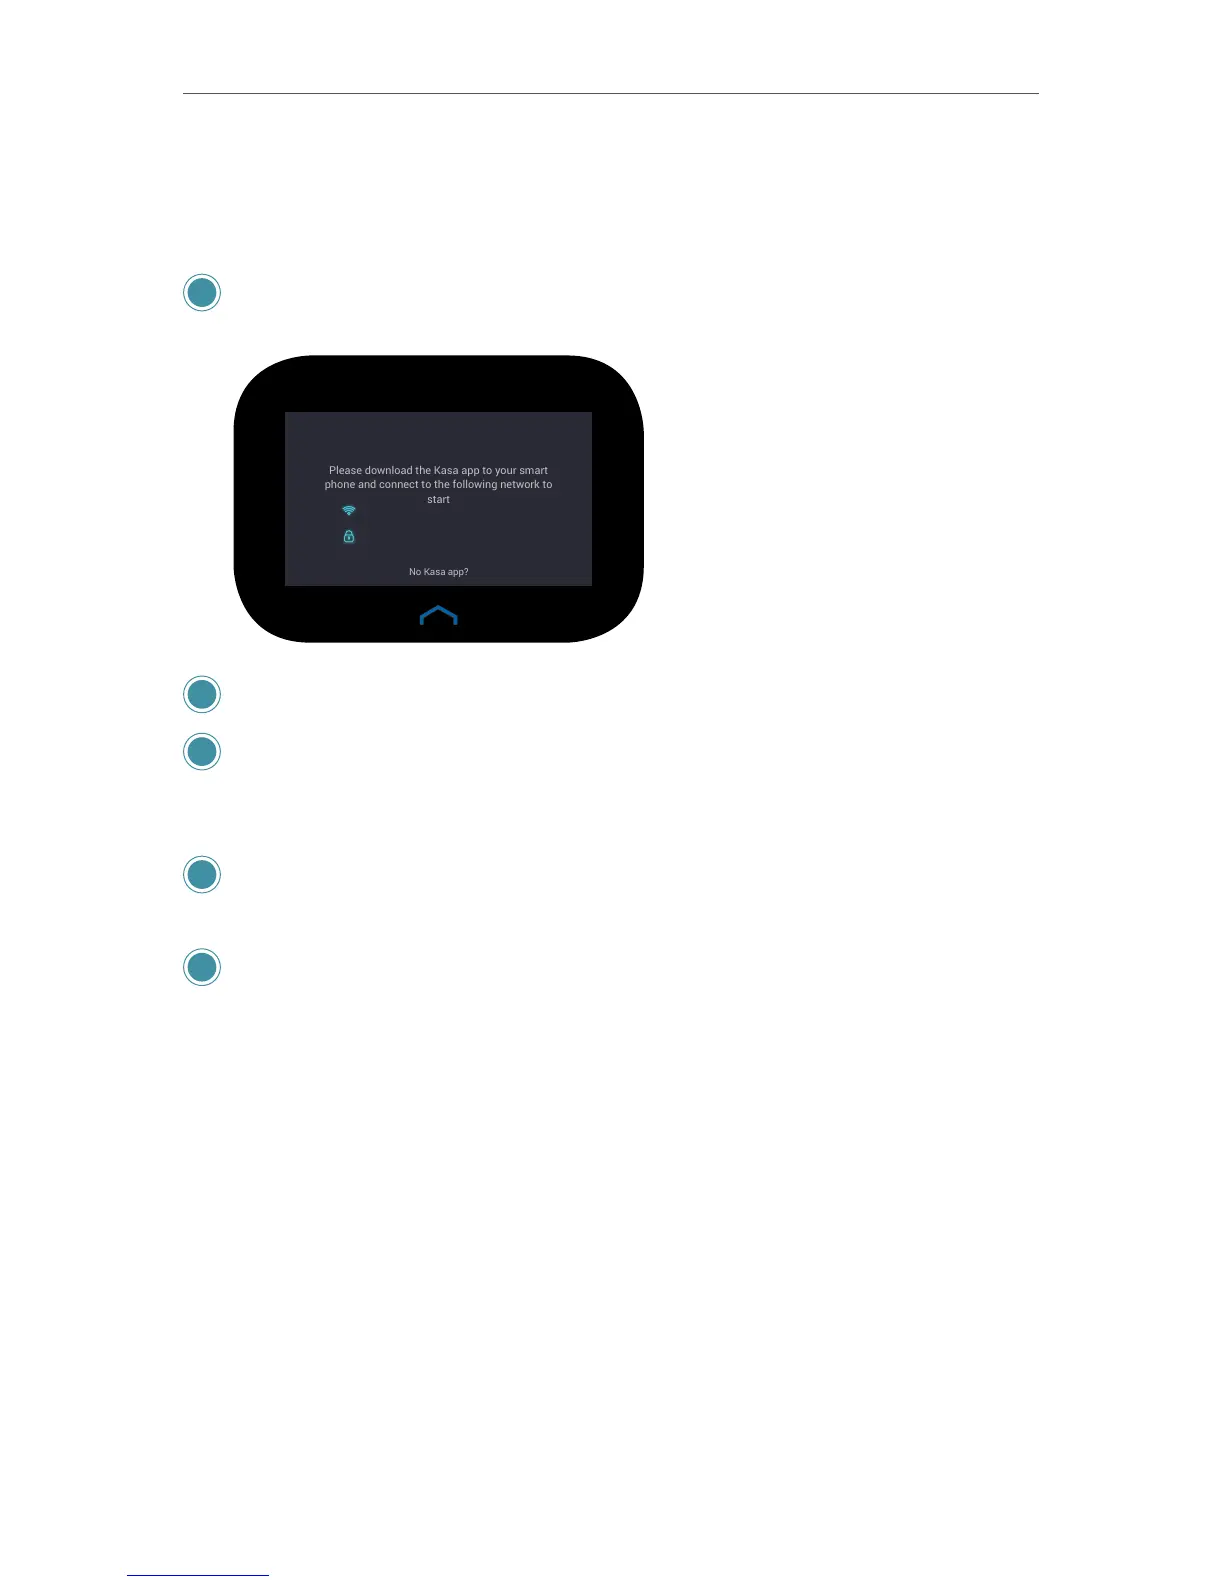
f. Press the On/O button on the back of the router and wait for the Welcome
screen to appear with the default Wi-Fi network name and password.
4 Connect your mobile device to the default Wi-Fi network name using the password
on the touch screen.
WELCOME
5 Tap Detect Internet to automatically congure your internet connection.
6 Set up your 2.4 Wi-Fi network with a Wi-Fi network name (SSID) and a password.
Note that the 5GHz network will be automatically created with the same name
appended by a sux _5G.
7 Connect your mobile device to the new Wi-Fi network and return to Kasa. The
Speed Test will begin immediately.
8 Once the Speed Test is done, tap Done to complete the setup.
2. 2. 2. Kasa Account
A Kasa account is required to set up the Smart Home Router. Signing up for an account
is quick and easy! All you need to do is provide a valid email address and accept our
terms and conditions. After creating your Kasa account, you will need to verify the email
associated with your account by clicking a link in an email that Kasa sends you.
Signing up for a Kasa account provides added functionality such as:
• Unify various connected devices into a single, controllable network with Smart Home
Router with Smart Home Hub (SR20) for a streamlined smart home experience
• Synchronization of settings and configurations to all your mobile devices
• Ability to control and configure the devices from outside your home
• A bility to customize your TP-Link Smart Home devices with “Scenes” for a truly
automated experience