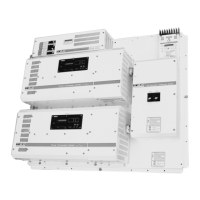
OPERATION
Trace Engineering Co. Inc. Tel (360) 435-8826 Part Number 3179
5916 195
th
Street, NE Fax (360) 435-2229 Effective August 6, 1998
Arlington, WA 98223 USA www.traceengineering.com
Page
38
5. Do not cut the green wire that goes from the connector block to the chassis.
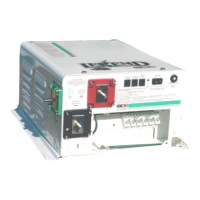
6. Replace the AC terminal block cover and reconnect the battery(s) and the AC sources.
Operation
Once the AC and DC wiring have been installed and connected, take a moment to go back
over all connections and make sure they are secure and in the proper terminal(s).
Important! Before proceeding…
If the system utilizes liquid lead-acid type batteries instead of sealed gel-cell
type, you will need to use the RC7 remote control to change the set-up for
battery type from gel-cell to liquid lead-acid. If you don’t know which battery
type you have, use the gel-cell setting just to be safe, and then contact the
battery manufacturer.
1. Check to see that the inverter is turned off, then apply battery (DC) power to it. Ensure that all
wiring has been installed properly. Next, turn on the battery bank DC disconnect or connect the
proper fuse inline to the battery to complete the battery circuit. When done, the inverter will go
through a start-up self test. This will include the fan running, and relays opening and closing.
If the inverter does not come on or go through the start-up self test, check all connections.
Check the inverter’s DC voltage on the positive (+) and negative (–) terminals. If the DC voltage
is low or if the battery bank needs to be charged, skip Step Two and go directly to Step Three.
2. Turn the inverter power switch to the “On” ( | ) position. The inverter should run a load with no
AC connected (battery only). Place a load on the inverter (plug in a light or other load to an outlet
the inverter is powering), and make sure it works.
3. Apply shore power. The charger should charge the battery bank. To charge your batteries,
connect shore power to the inverter by plugging in the shore power cord and turning on the
shore power breaker. After a minimum 20 seconds delay, the light on the front of the inverter
should indicate it is in one of the three charge stages (bulk, absorption, or float). This indicates
the charger is working properly. If you have an RC6 or RC7 remote control, it should indicate
which charge stage the inverter is currently in. Any AC loads powered by the inverter should
also work at this point since a portion of the shore power is passed through the inverter to power
the loads. The delay before connecting is provided while the inverter is “sampling” the shore
power to see that it is within acceptable frequency and voltage limits. This delay also allows time
for a generator to spin up to a stable operating condition before connecting to the inverter. In this
manner relay chatter is reduced.