68
HDWA-SVX002C-EN
WARNING
Heavy Objects!
Failure to properly lift waterbox could result in death
or serious injury.
Each of the individual cables (chains or slings) used
to lift the waterbox must be capable of supporting the
entire weight of the waterbox. The cables (chains or
slings) must be rated for overhead lifting applications
with an acceptable working load limit. Refer to the
waterbox weights table.
Waterbox Removal
Review mechanical room limitations and determine the
safest method or methods of rigging and lifting the
waterboxes.
Important:
• Do NOT rotate waterboxes.
• Be sure to replace water boxes right-side-
up to maintain proper baffle orientation.
Use new O-rings.
• if the waterbox is reversed, be sure to
match mark on the baffle and waterbox to
ensure that they are aligned.
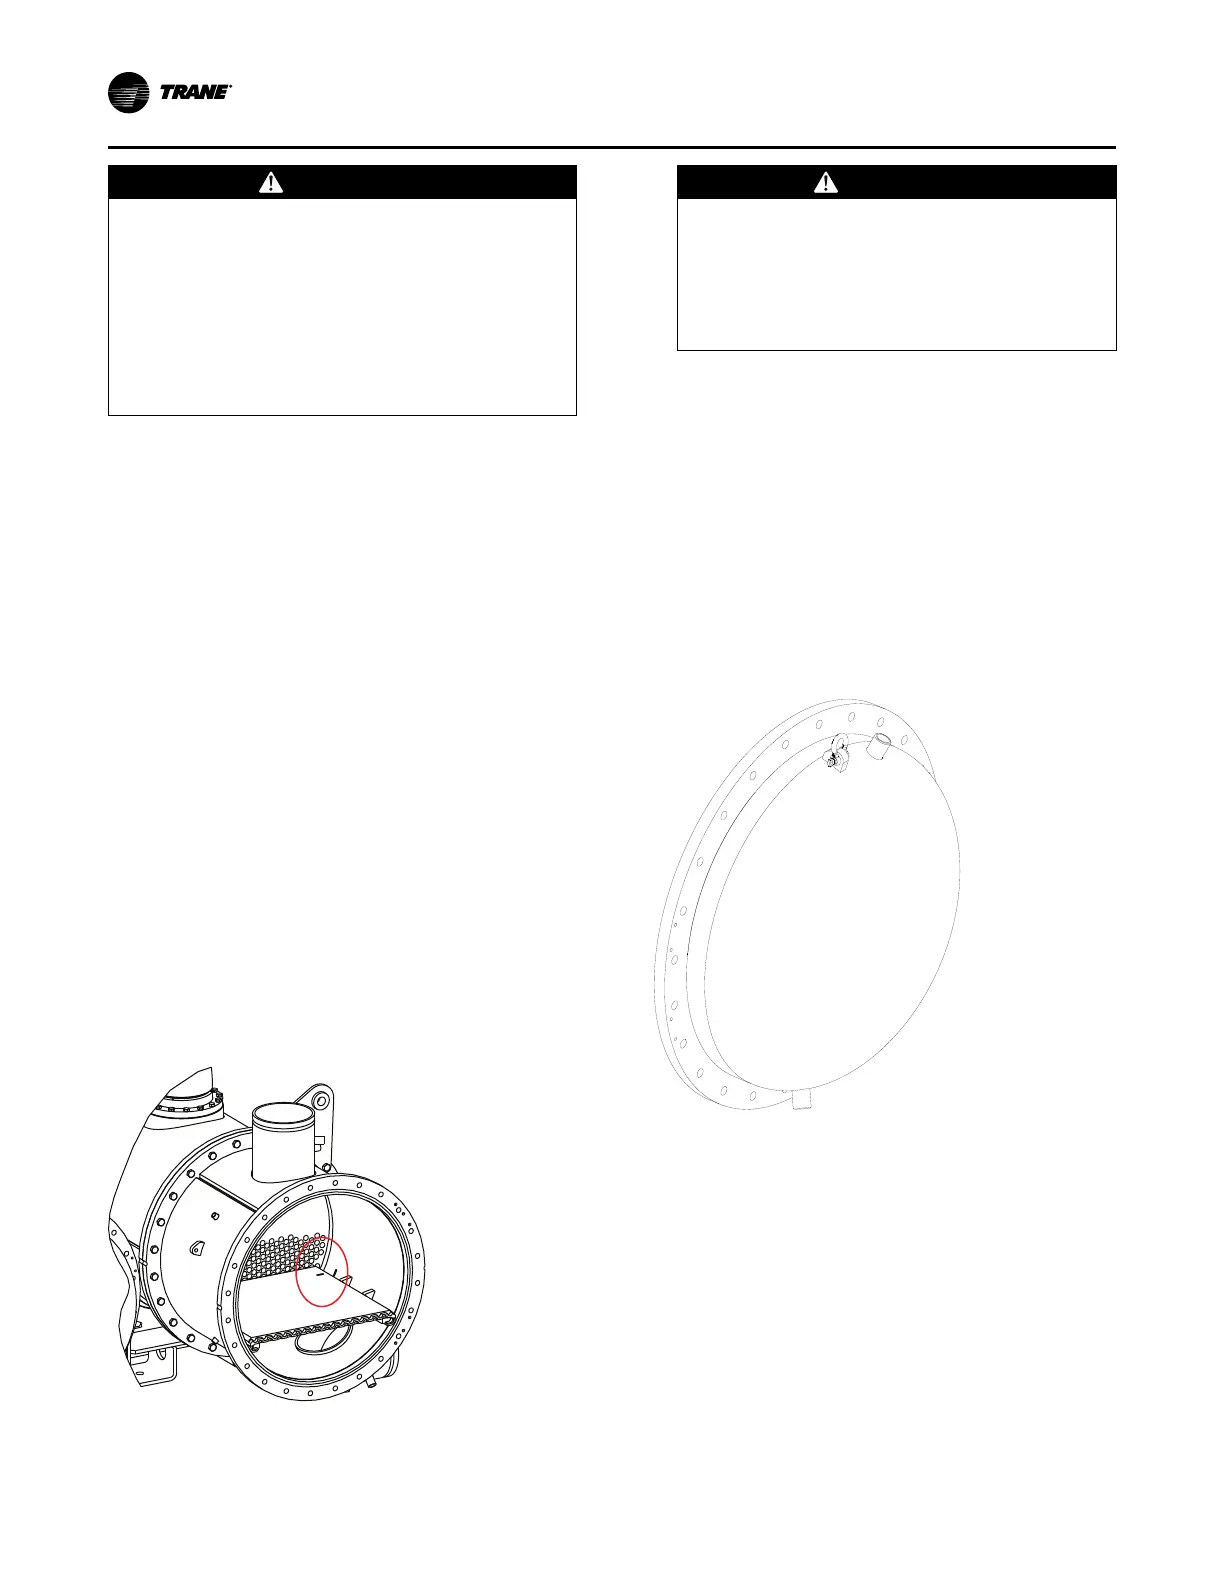
1. Determine the size of chiller being serviced. See unit
nameplate located on chiller control panel.
2. Use a 3/8-in. (9.5-mm) rigging shackle for waterbox
removal as shown in the following figure. The rated
lifting capacity of the selected lift connection device
must meet or exceed the published weight of the
waterbox. Refer to the tables in “Waterbox
Reassembly,” p. 68.
3. Install rigging shackle onto the lifting connection on the
waterbox.
4. Disconnect water pipes, if connected.
5. Match mark on the waterbox and the baffle to ensure
that they are aligned.
6. Remove waterbox bolts.
WARNING
Overhead Hazard!
Failure to follow instructions could result in death
or serious injuries.
Never stand below or in close proximity to heavy
objects while they are suspended from, or being
lifted by, a lifting device in case the object drops.
7. Lift the waterbox away from the shell.
8. Store the waterbox in a safe and secure location and
position.
9. Work a round nylon or brass bristled brush (attached to
a rod) in and out of each of the condenser water tubes
to loosen the sludge.
10. Thoroughly flush the condenser water tubes with clean
water.
Note: To clean internally enhanced tubes, use a bi-
directional brush or consult a qualified service
organization for recommendations.
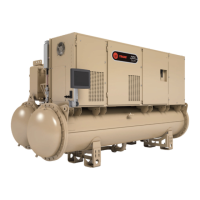
Figure 48. Waterbox and 3/8-in. (9.5-mm) rigging
shackle
Waterbox Reassembly
After service is complete, the waterbox should be
reinstalled on the shell following removal procedures in
reverse (refer to “Waterbox Removal,” p. 68). After
thoroughly cleaning each joint, use new O-rings on ALL
joints. Torque waterbox bolts in a star pattern to 163 ft·lb
(221.0 N·m) dry.
Maintenance
 Loading...