Installation
CDUB-SVN001B-EN 11
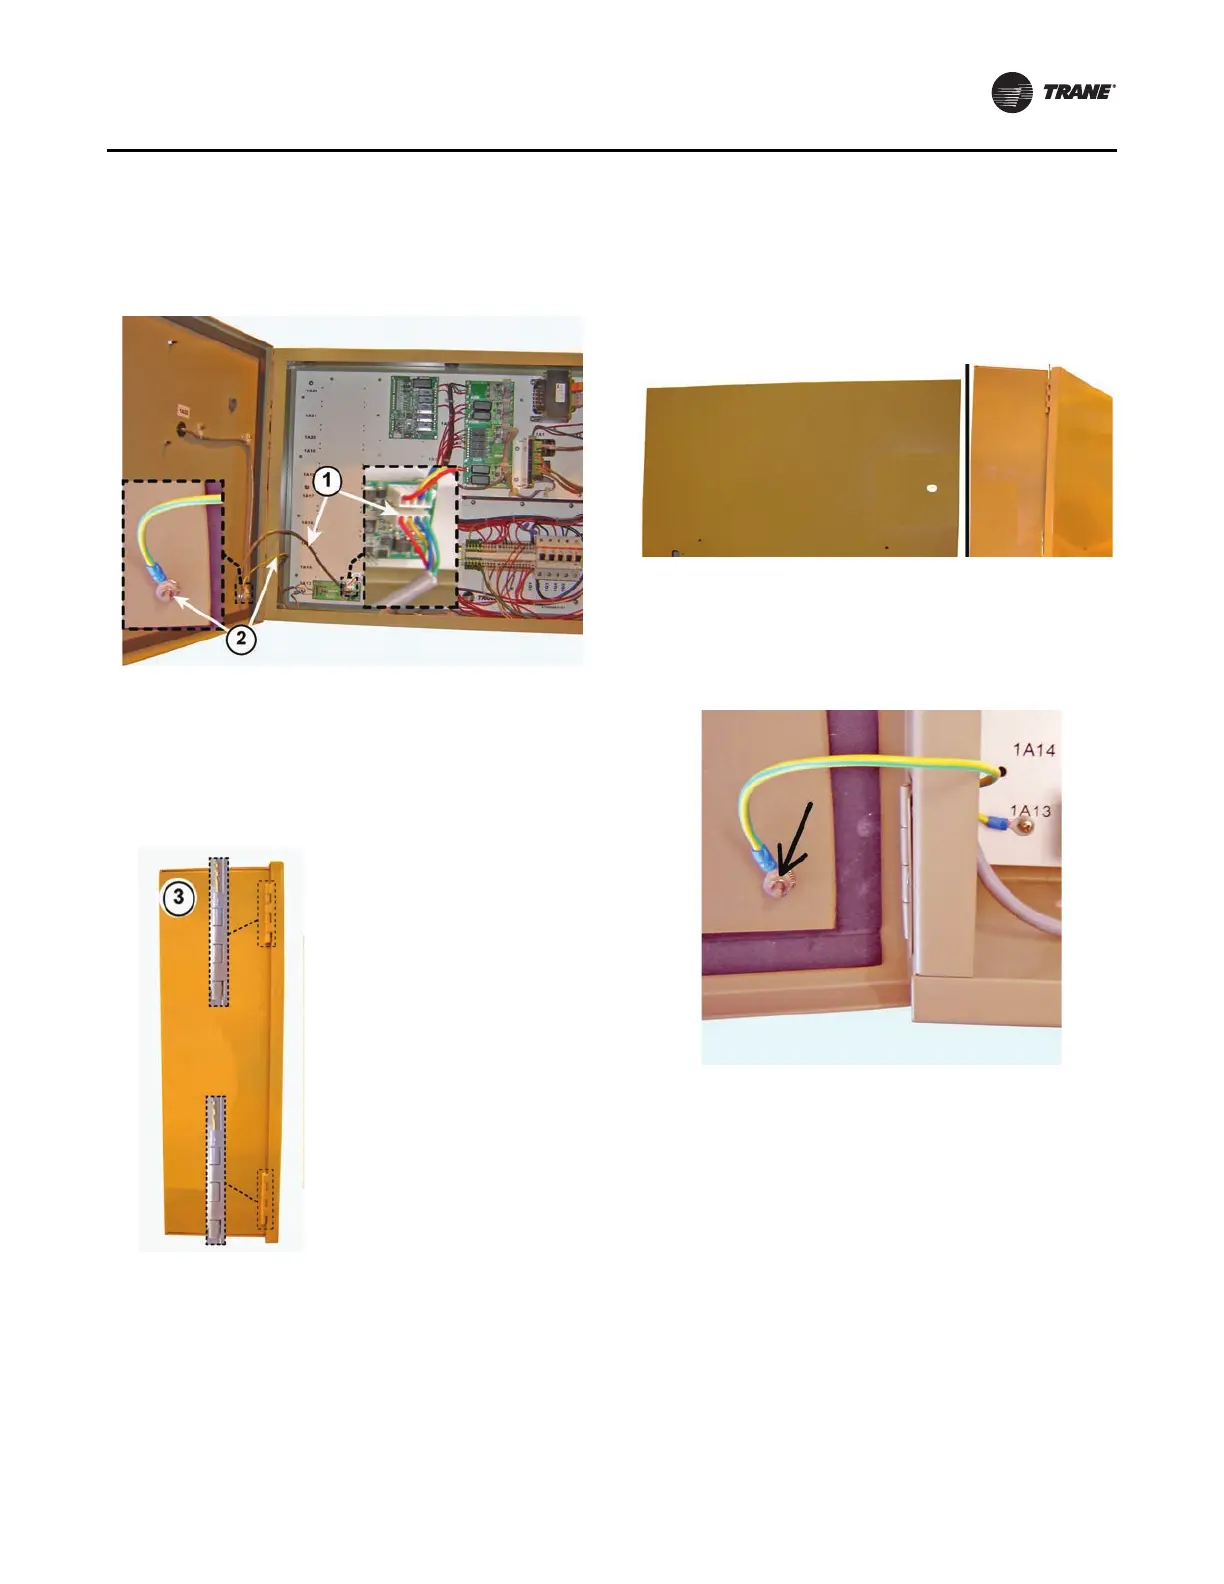
Remove the Existing Control
Panel Door
1. Unplug the wire feeding the DynaView on the existing
control panel door. This may require cutting some wire
ties.
2. Disconnect the equipment ground wire from the door.
3. While supporting the door to prevent it from twisting
or
falling, remove the two hinge pins using a small
punch and a set of pliers.
4. Set the door aside.
Install New Control Panel Door
and Symbio 800 Controller
1. Set the new control panel door in place and install the
hinge pins.
2. Connect the equipment ground wi
re to the weld-stud
on the door using the 10-32 hex lock nut with star
washer provided.
3. Clip the Symbio 800 controller onto the DIN rail
secured to the back side of the door.
Important: Note
the c
orrect orientation of the
Symbio 800 controller as shown in the
following figure.
a. Install DIN rail end stops on each side of the Symbio
800 contr
oller.
b. Tighten the center screw on each stop to lock it in
posit
i
on to prevent the Symbio 800 controller from
moving.
Figure 9. Existing door removal, steps 1 and 2
Figure 10. Existing door removal, step 3
Figure 11. Mounting new control panel door
Figure 12. Equipment ground wire connected to new
door
 Loading...


