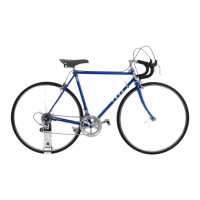
13 TRAVELING WITH YOUR MADONE
TOOLS AND MATERIALS SUGGESTED
• Rubber bands
• Zip ties (or similar)
• Shipping container
• Bubble wrap
• Small piece of cardboard, foam, or cloth
Removing the handlebar
1. Remove the front brake cover and rear brake cover.
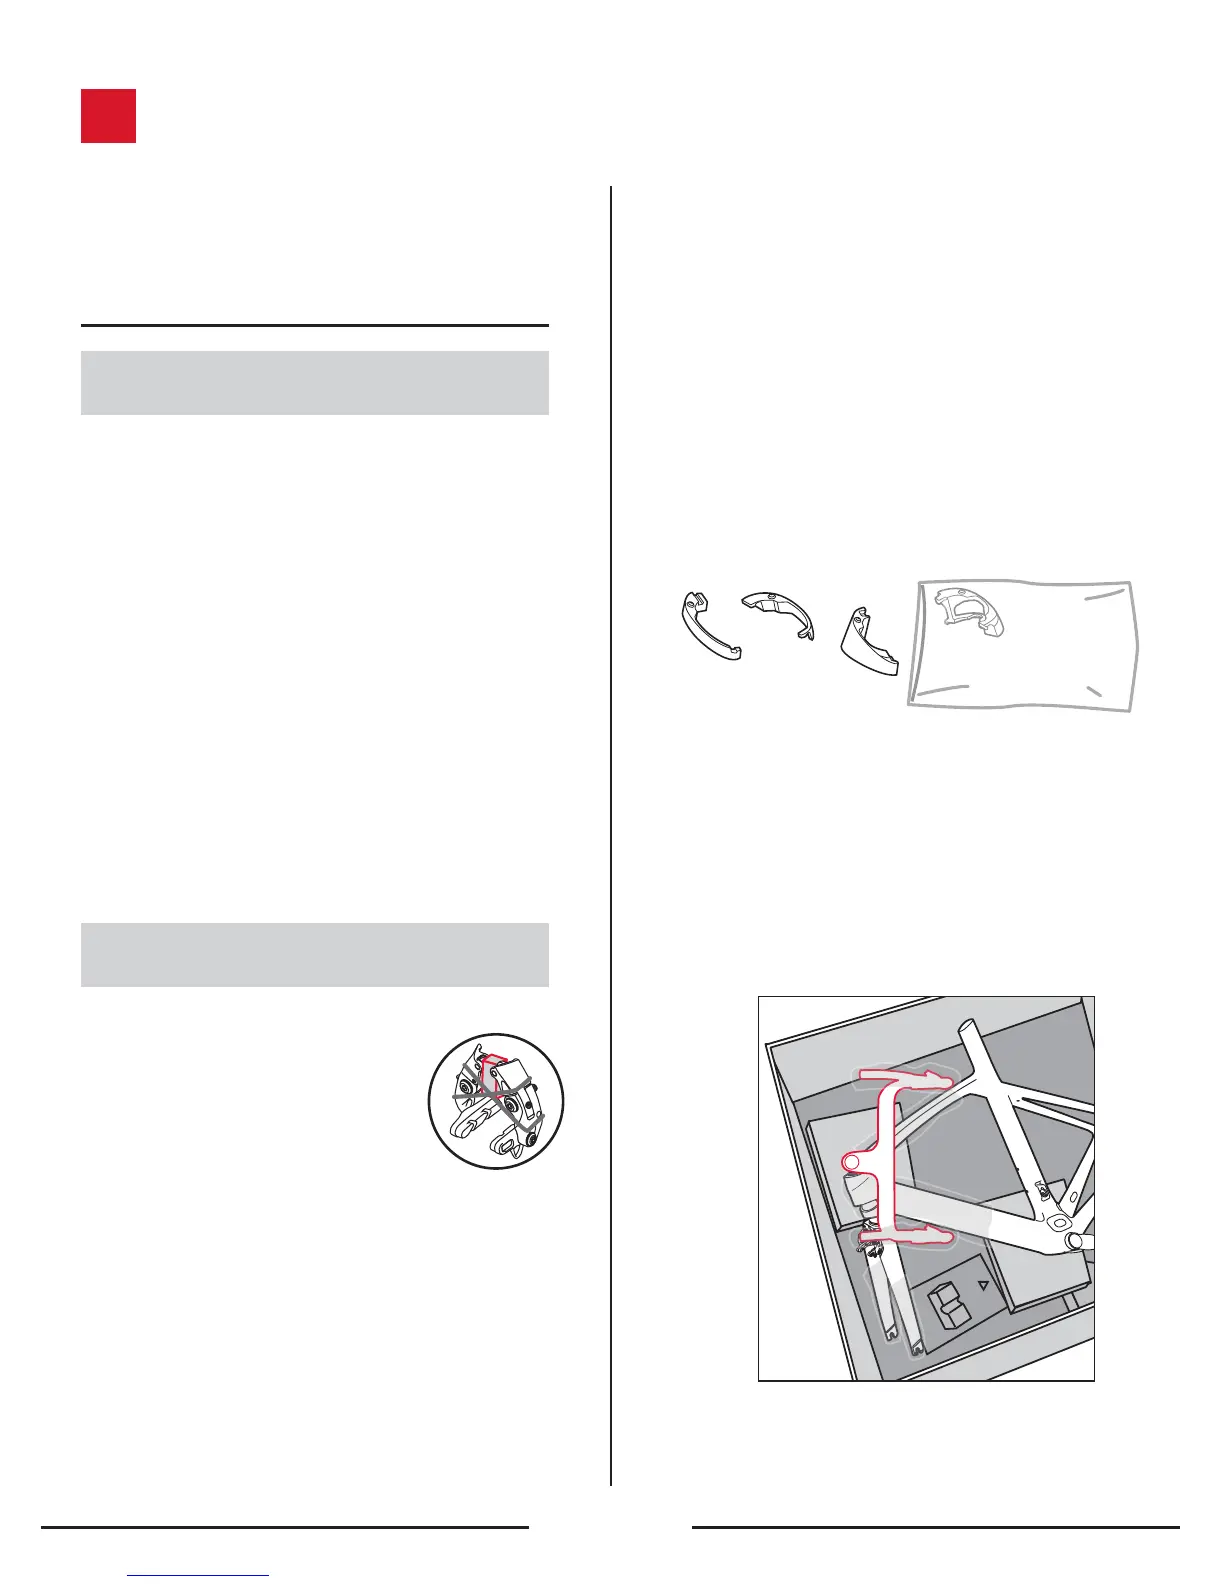
2. Remove the vector wing assembly. Place it in a
bag to protect it. The bag will go in a corner of the
bike box.
3. Remove the front brake wedge from the brake.
Do not loosen or disconnect the front wedge
from the brake cable.
4. Remove the housing, cable, and wedge (as a
unit) out of the housing stop.
5. Remove the rear wedge from the rear brake. This
should create enough slack in the brake housing
to place the handlebar next to the bike in the
following steps.
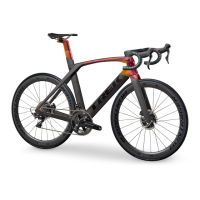
Attaching the handlebar to the frame
1. Place a block (small piece of cardboard,
foam, or cloth) between the brake
arms, in place of the wedge. Wrap a
rubber band around the brake
arms to hold the block between
the arms.
2. Replace the front brake cover and rear brake cover.
3. Remove the stem top cap.
4. Slightly loosen the stem pinch bolts. Do not
remove them.
5. Slide the stem up off the fork. Slide the stem
up, and at the same time slide the fork down
10-15mm, just enough to so the stem comes off
the fork.
6. Slide the fork back up. You may want to wrap
a rubber band or zip tie around the steerer
just above the compression ring to hold the
fork in place.
7. Place cloth, foam, or bubble wrap around the
frame tubes to protect them, and then place the
handlebar next to the frame.
8. With zip ties or something similar, secure the
handlebar to the bike.
9. Place an loose parts (headset spacers or the
drive size bearing top cap) in a plastic bag.
10. If the bike is still too big for the box, remove the
seatpost. Completely remove the two rear clamp
bolts, and slide the seatpost off the frame. To
avoid losing loose parts when the seatpost is out
of the frame, reinstall the bolts and clamp onto
the seatpost.
11. Add protection to the rear derailleur, and remove
the pedals as you would for a standard road bike.
28