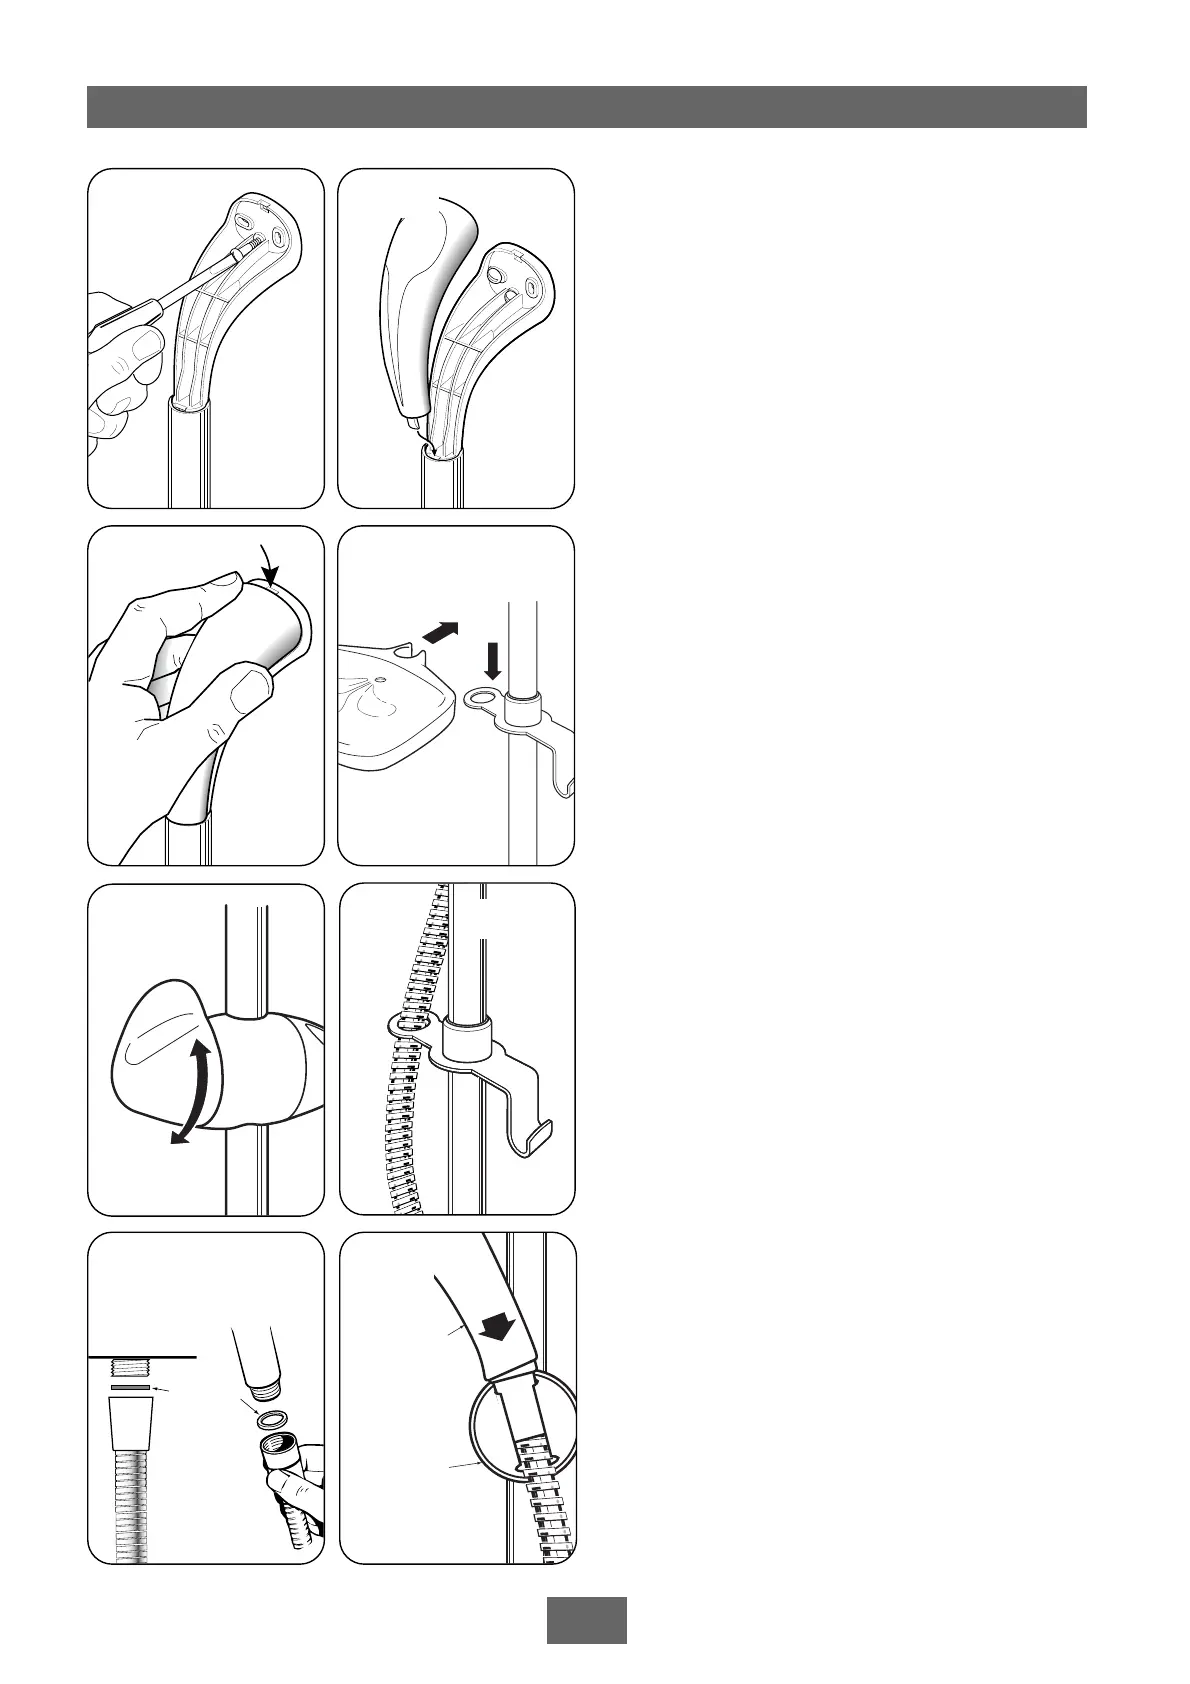
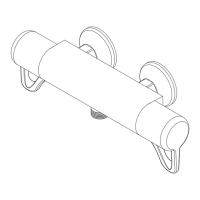
Slide the shower gel holder onto the rail
(fig.29) below the holder assembly. Place the
rail onto the installed lower bracket. Replace the
upper bracket onto the rail and secure the
bracket to the wall with the screws supplied
(fig.30).
Place a trim cover onto each bracket, making
sure the large tab at the narrow end of the trim
cover engages into the slot between the rail and
bracket (fig.31), before pushing and clicking
the other end into place (fig.32).
Snap the soap dish onto the rail above the
shower gel holder. Slide the dish down the rail
and fit onto the shower gel holder (fig.33).
Adjusting the sprayhead holder
With a firm grip of the sprayhead, pull the
slider/holder lever towards you. As the holder
assembly slackens the sprayhead holder will also
loosen. Set the desired height and tighten by
pushing the lever. Once secure the angle of the
sprayhead can then be adjusted (fig.34).
FITTING THE HOSE AND SPRAYHEAD
Feed the flexible hose through the shower gel
holder opening (fig.35) so that the holder acts
as a retaining ring (Water Regulations).
Screw the flexible hose to the shower outlet and
sprayhead (fig.36), making sure the supplied
washers are in place at both ends of the flexible
hose.
Place the sprayhead into the holder (fig.37)
and check that it fits correctly.
Note: The holder is slightly tapered and the
sprayhead and hose will only fit from one
direction.
IMPORTANT: It is the conical end of the hose
which grips into the holder. The sprayhead
will not fit in the holder without the hose
attached.
Fig.31
Fig.32
Fig.30
Fig.34