25
NOTE: Identify cause of operation before fitting new PRD unit.
When fitting a new PRD, follow the commissioning procedure.
It is advised all electrical maintenance/repairs to the shower
should be carried out by a suitably qualified person.
In the unlikely event of a fault occurring please contact Customer Experience.
DO NOT remove the shower from the installation.
FAULT FINDING/TROUBLESHOOTING
3 Water too cool
or cold - continued
3.3 Reduction in ambient
water temperature.
3.3.1 Readjust flow rate to give reduced flow.
3.3.2 Select high power.
3.4 Electrical malfunction. 3.4.1 Have unit checked by suitably qualified
electrician or contact Customer Experience.
3.5 Safety cut-out
operated.
3.5.1 Thermal safety cut-out device has operated.
Have the unit checked by a suitably qualified
engineer or contact Customer Experience.
4 Pressure relief
device has operated
(water ejected from
PRD tube).
4.1 Blocked shower head. 4.1.1 Clean sprayplate and then fit a new PRD.
4.2 Twisted/blocked
flexible shower hose.
4.2.1 Check for free passage through hose. Replace
hose if necessary and then fit new PRD.
4.3 Shower head not
removed while
commissioning.
4.3.1 Fit new PRD. Commission unit with shower
head removed.
5 Low Pressure LED
FLASHING.
5.1 Low pressure
condition.
5.1.1 Insufficient water flow available.
1. Check filter is not blocked.
2. Check water supply to shower is adequate
Important: Switch off the electricity at the mains supply and remove the circuit fuse before
attempting any fault finding inside the unit.
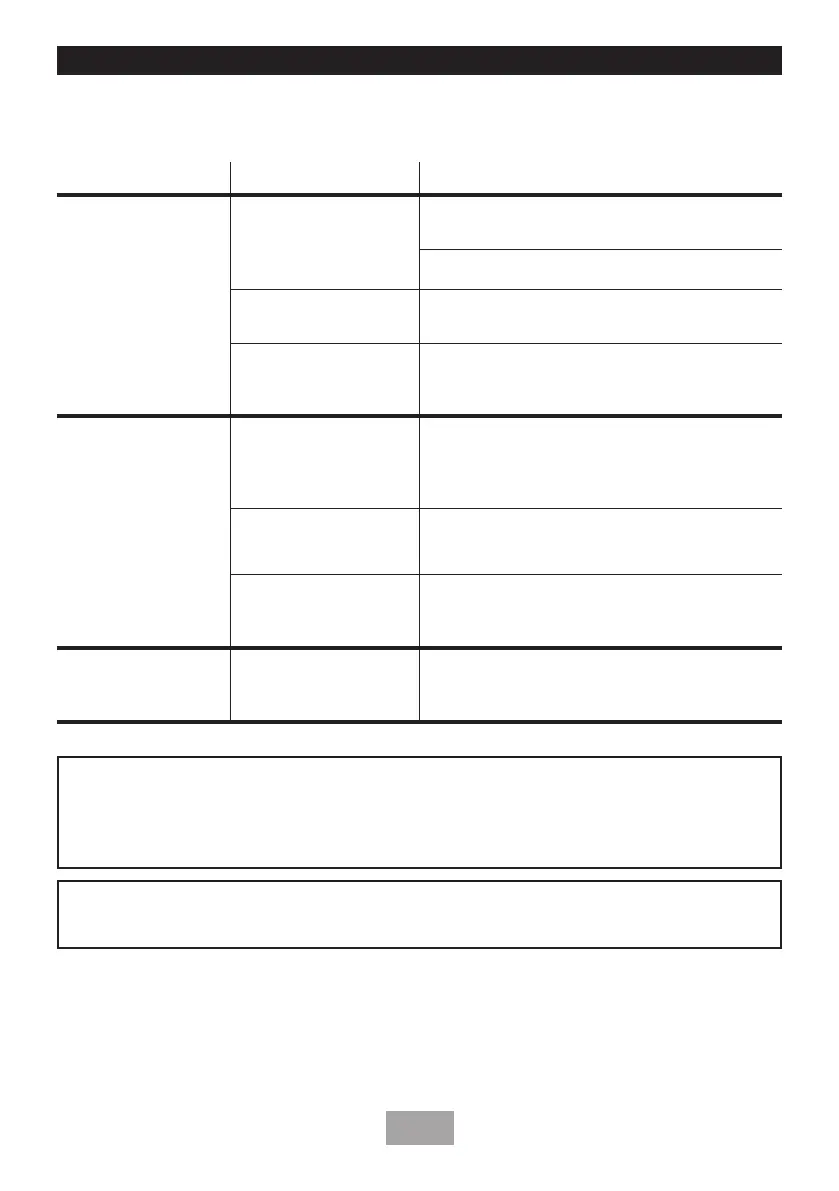
Problem/Symptom Cause Action/Cure
Problem Cause
Action
 Loading...