17
Installation - FITTING THE COVER
8
check list
SECTIONSECTION
FITTING THE COVER
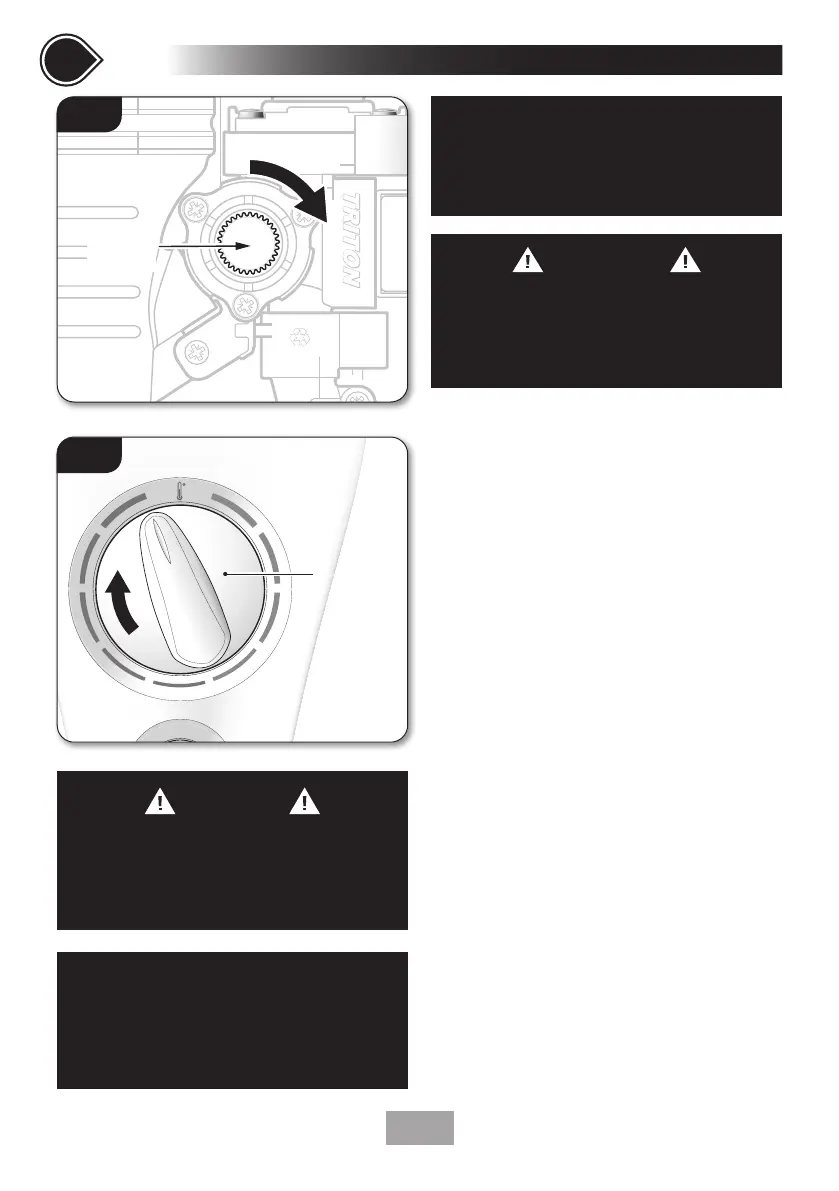
Fitting the cover - valve & knob positions
• Turn the valve spindle clockwise until it stops
(fig.13).
• Fit the trimplate.
• Turn the temperature control on the cover to
the minimum flow position (fig.14).
• Offer the cover to the unit.
• Carefully locate the cover tags into the guide
pockets on the backplate and make sure the
wires are not trapped.
• Guide the cover into position so that the
control spindle locates correctly (minor
adjustment may be necessary to align the
control and spindle).
• Should any difficulty arise, recheck the points
above.
• While applying slight pressure to the front
cover, secure in position with the retaining
screws.
• Fit the flexible hose to the shower outlet
making sure the outlet of the hose is directed
to waste. Check the supplied sealing washer
is in place.
• DO NOT attach the shower head at this
stage.
PLEASE NOTE
Before normal operation of the shower,
it is essential the following commissioning
procedure is completed correctly.
IMPORTANT
DO NOT connect the 10-way
ribbon cable before the
commissioning procedure
has been completed.
Temperature
control at
minimum
ow setting
>POM-GF30<
>POM-GF30<
Valve
spindle
Fig.13
Fig.14
WARNING
COVER RETAINING SCREWS
ONLY the SUPPLIED SCREWS should be
used. The use of non supplied screws WILL
invalidate product specications & warranty.
IMPORTANT
PLEASE ENSURE COVER SCREWS PROVIDED
ARE FULLY TIGHTENED DOWN TO PREVENT
WATER ENTERING THE SHOWER UNIT.
 Loading...