

M
Megan JacksonSep 6, 2025
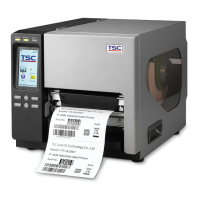
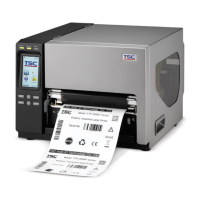
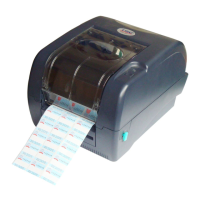
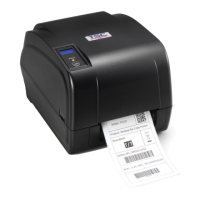
What to do if my TSC TTP-384M displays 'Carriage Open'?
- AAndrew GreeneSep 6, 2025
If your TSC printer shows 'Carriage Open', it means that the printer carriage is open. Please close the print carriage.
What to do if my TSC TTP-384M displays 'Carriage Open'?
If your TSC printer shows 'Carriage Open', it means that the printer carriage is open. Please close the print carriage.
Front view of the printer with labeled components like LED indicators, LCD, buttons, and paper exit chute.
Interior view of the printer with labeled components like spindles, printhead, sensors, and platen roller.
Rear view of the printer with labeled interfaces and ports like USB, Ethernet, RS-232C, and power connectors.
Details connectors on the main board with their descriptions and remarks for identification.
Identifies connectors on the multi-interface board, including main board, SD card, Ethernet, and PS/2.
Lists connectors for the optional GPIO with multi-interface board.
Details pin assignments for RS-232C, USB, and Centronics interfaces.
Details pin assignments for Ethernet and PS/2 interfaces.
Details pin assignments for the GPIO connector.
Provides step-by-step instructions and images for removing printer covers.
Step-by-step guide to replace the LCD panel module and its PCB assembly.
Instructions for replacing the power supply unit with visual aids.
Steps to remove and replace the multi-interface board from the printer.
Guide to remove and replace the main board of the printer.
Instructions for removing and replacing the platen roller assembly.
Steps to disconnect and replace the stepping motor assembly.
Detailed steps for removing and replacing the printhead assembly.
Guide to remove and replace the gap and black-mark sensor module.
Instructions for removing and replacing the DC motor.
Lists common printer problems, their possible causes, and recommended recovery procedures.
| Print Technology | Thermal Transfer |
|---|---|
| Resolution | 300 dpi |
| Print Speed | 4 ips (101.6 mm/sec) |
| Print Width | 8.5" (216 mm) |
| Maximum Print Width | 8.64 inches |
| Memory | 8 MB Flash |
| Interface | USB 2.0, RS-232 |
| Media Type | Continuous, die-cut, black mark |
| Media Width | 4.5 to 9.5 inches |
| Label Width | 4.5 to 9.5 inches |
| Label Thickness | 0.06 - 0.25 mm (0.002 - 0.01 inches) |
| Power Supply | AC 100-240V, 50/60Hz |
| Operating Temperature | 5°C - 40°C (41°F - 104°F) |
| Storage Temperature | -40°C to 60°C |
| Operating Humidity | 25% to 85% non-condensing |
| Certifications | FCC Class A, CE Class A |