24
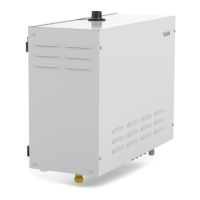
Fig. 12
1. Steam generator
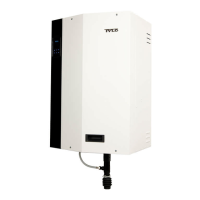
2. Thermistor
3. Control panel
4. Optional external switch
5. Electrical distribution board.
6. Optional circuit breaker (must always be switched on!)
A-K, see Fig. 1
Connection terminals
To connect the temperature sensor, etc., to the control panel with quick connectors, refer to the circuit board overview (Fig. 17)
All the connectors must be in place before the power is switched on.
THE CONTROL PANEL MAY ONLY BE CONNECTED OR DISCONNECTED WHEN THE STEAM GENERATOR IS SWITCHED OFF
VIA THE MAIN POWER SWITCH. OTHERWISE THE CONTROL PANEL WILL BE DAMAGED!
ALL LOW POWER CABLING MUST BE ENCLOSED IN THE ACCOMPANYING CABLE SLEEVING IN ACCORDANCE WITH FIG.
14
Fig. 13 illustrates all the lead-throughs and fuses for the Home and Commercial types:
Fig. 14Fig. 13
G
Steam room wiring diagram
(Fig. 12)
 Loading...