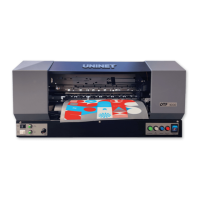
pg. 12 UNINET DTF 1000
ROLL FEEDER SETUP
The Roll Feeder is comprised of 2 large side brackets, 2 square rods, 2 round rods, 2 small
attachment brackets, 4 large bolts, black bolt secure screws and Philip’s head screws with bolts.
1. First, place the 2 large side brackets on a flat surface with one on the left and one on the
right.
2. Next, there are two rows of holes on each side bracket. Insert one of the round rods
through the top most hole in one row on each side bracket. Insert the other round rod
through the second hole from the bottom in the other row of holes on each bracket. Attach
the large bolts to both rounds rods using the small black bolt screws.
3. Then, take the screws that come with their own bolts and insert a bolt into each end of the
square rods. Take the two square rods and insert them through the 2 square holes on each
side bracket, the slits on the rods should face outward. Once in place, secure the square
rods by tightening the screws into the bolts that are in the rod slits.
4. Lastly, take the 2 small attachment brackets and screw them to the printer so that the
longer end protrudes outward. Place the roll feeder between the 2 small brackets, the side
with the lower round rod should be facing the printer. Secure the roll feeder to the printer
using two screws with their accompanying bolts.
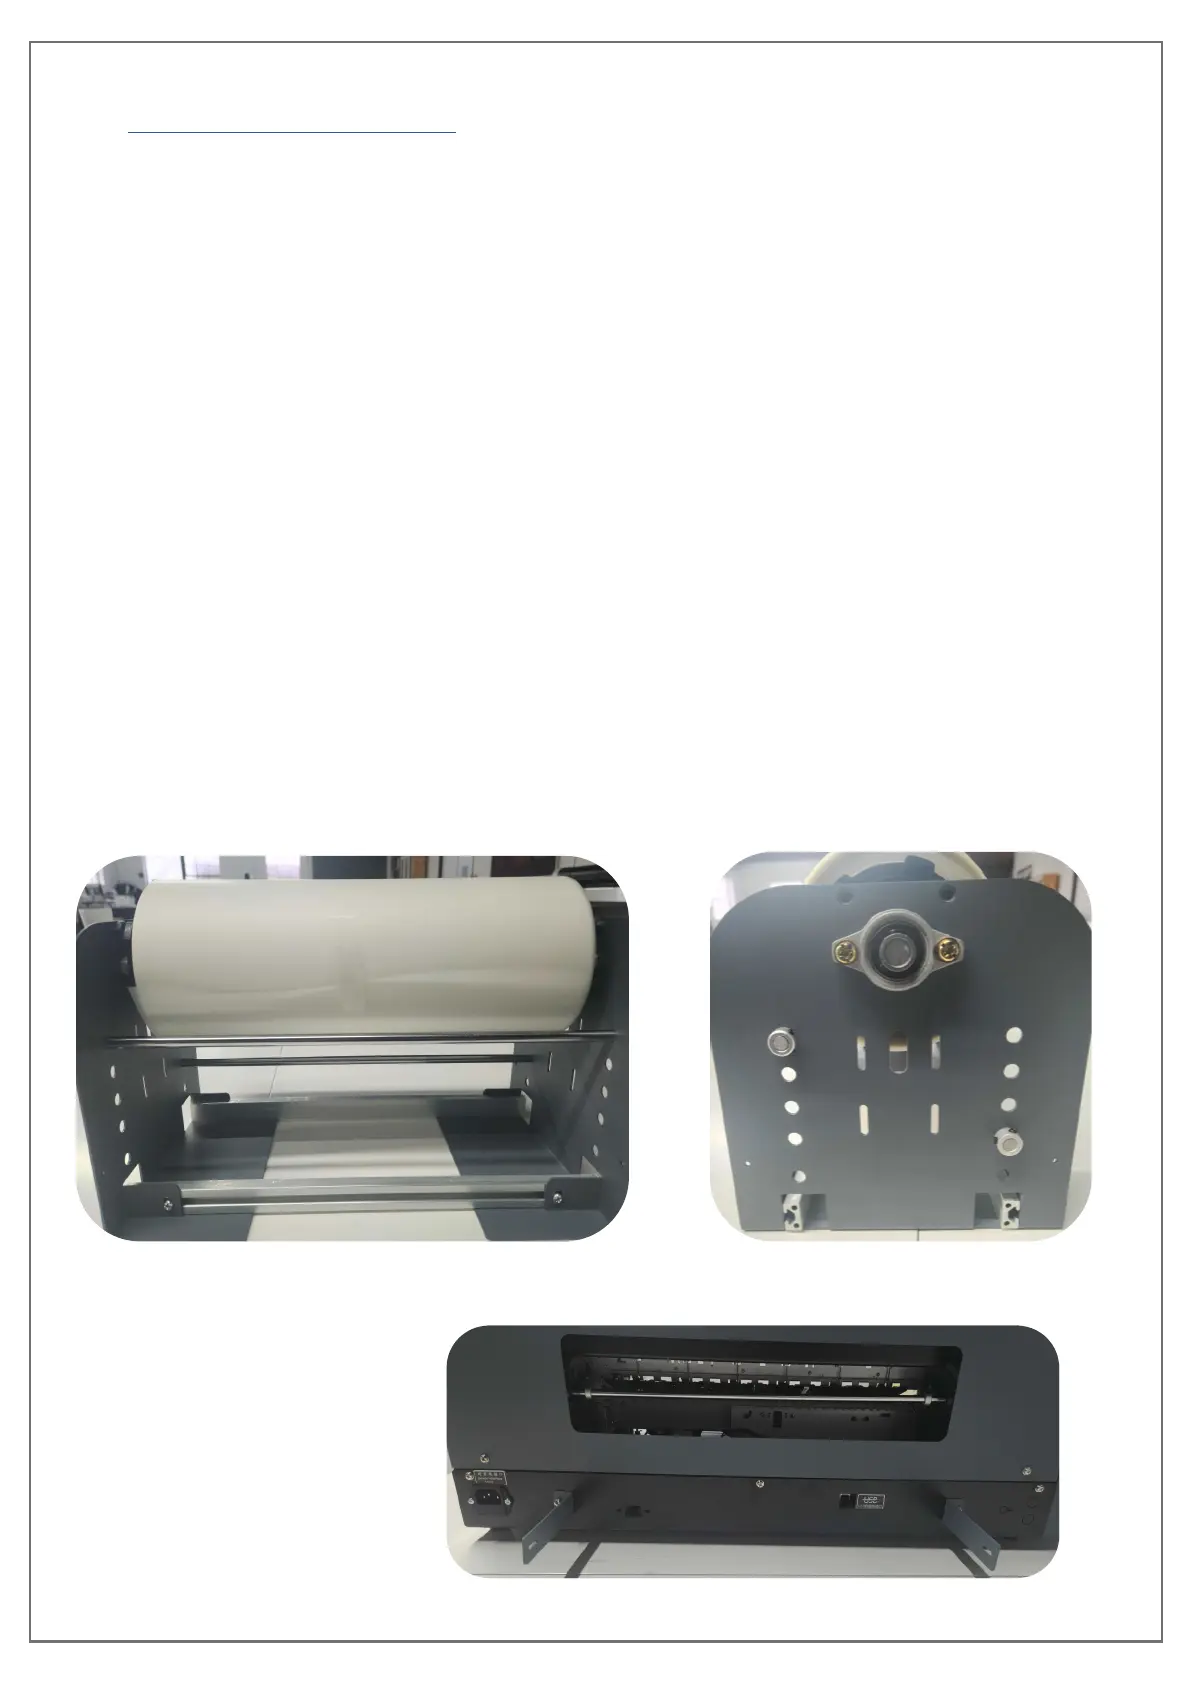
Front View Side View
Small brackets on the
backside of the printer