32 l Smatrix Pulse | Installation and Operation Manual
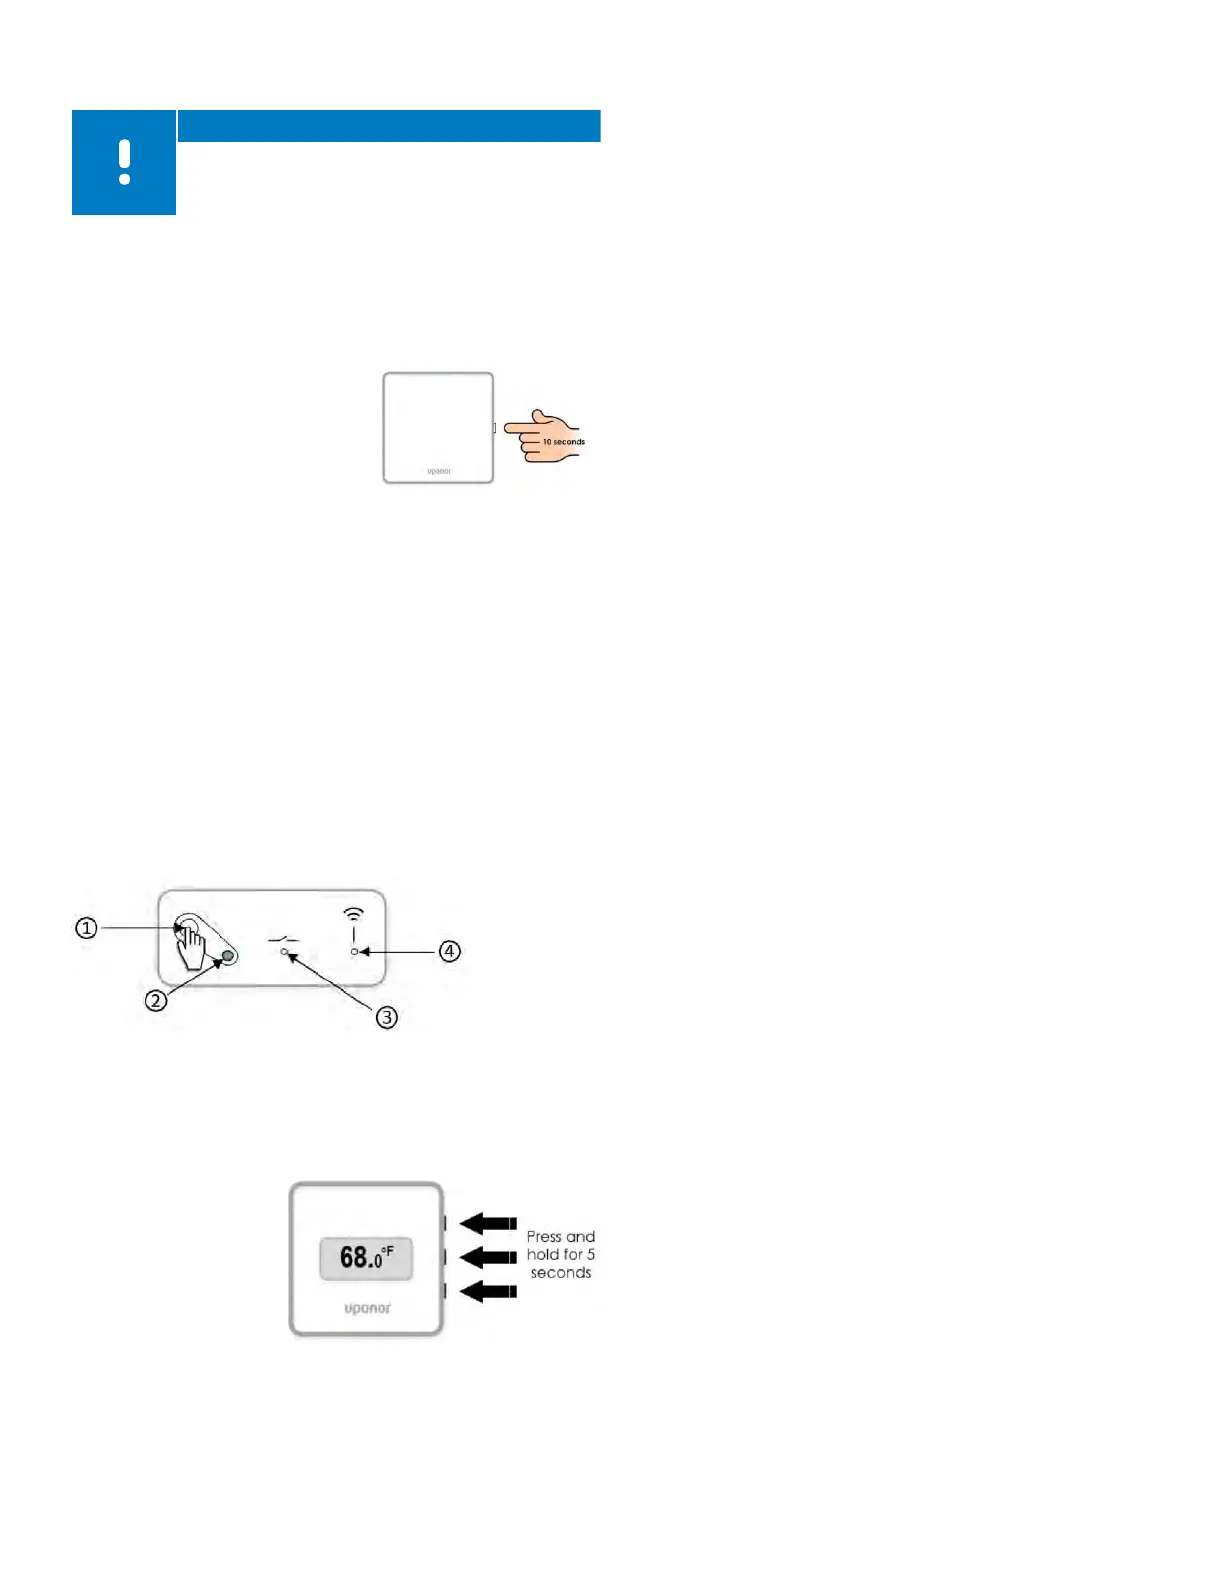
Resetting the Communication Module
Note
Performing this function will not affect the
Controller and thermostat-related settings.
This function resets the Communication Module to factory
settings and is mostly used when transferring the installed
system to a new owner. Some setup information will be
reset, such as room names.
• Press the button for about 10
seconds until the function LED
turns off.
• Release the button and the
Communication Module
reboots to factory settings.
• When the LED starts flashing
red, unplug and plug in the
controller to send installation data to the Communication
Module.
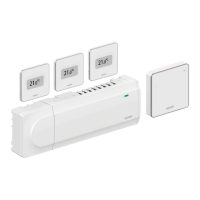
Resetting the Relay Module
The following procedure will remove any pairing or reset to
the factory (default) state.
• Press and hold the registration button (1) until all the LEDs
on the Relay Module start flashing.
• Release the button (1) after all LEDs have turned off.
• The Relay Module has now cleared any registrations and
is reset to factory values.
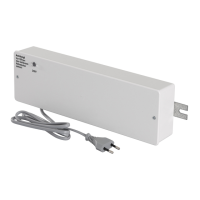
Resetting the Digital Thermostat (T-169)
• Press and hold all three (3) buttons on the side of the
thermostat for five (5) seconds
• The screen will go
blank temporarily
and restart showing
the software version.
• Once this is
complete, the
screen will show
the current room
temperature.
Resetting the Mini Sensor (T-161)
• Remove the thermostat from the wall.
• Remove the battery.
• Press and hold the registration button on the back of the
thermostat while re-inserting the battery.
• Release the button after 10 seconds when the LED begins
to flash.
Finishing the Installation
Prior to making the system operational, perform a
complete review of the installation.
• Ensure the thermostats are working and the batteries
are installed. Turn thermostat setpoints to maximum to
obtain a heating demand and make sure the actuators
are opening.
• Set thermostats to the desired room set temperatures
• Close the covers of the Controller.
• Make sure all thermostats are in the room or space which
they will control.
• Print and fill in the “Installation report” (separate
downloadable document).
• Provide the manual QR code, app information, and the
Installation Report to the end user.
Actuator Test Mode
During the final steps of the installation process, it may be
necessary to test or cycle the actuators. Some actuators
may ship in a semi-open state to allow easier installation
on the manifolds. Failure to fully cycle the actuators could
lead to overheating. To enter the Actuator Test Mode, use
the following steps:
• Press the > button while in run mode (normal operation)
to access the Actuator Test Mode. If not in run mode,
press and hold the OK button for three (3) seconds to exit
to run mode
• Select a channel using the < and > buttons to move the
pointer (LED flashes red) to the preferred channel.
• Press the OK button to activate the Actuator Test Mode
for the selected actuator.
• To end the Actuator Test Mode, select the active channel
and press the OK button.
Figure 8-1: Resetting the
Communication Module
Figure 8-3: Resetting the
Digital Thermostat (T-169)
Figure 8-2: Resetting the Communication Module