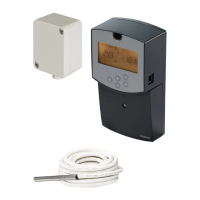
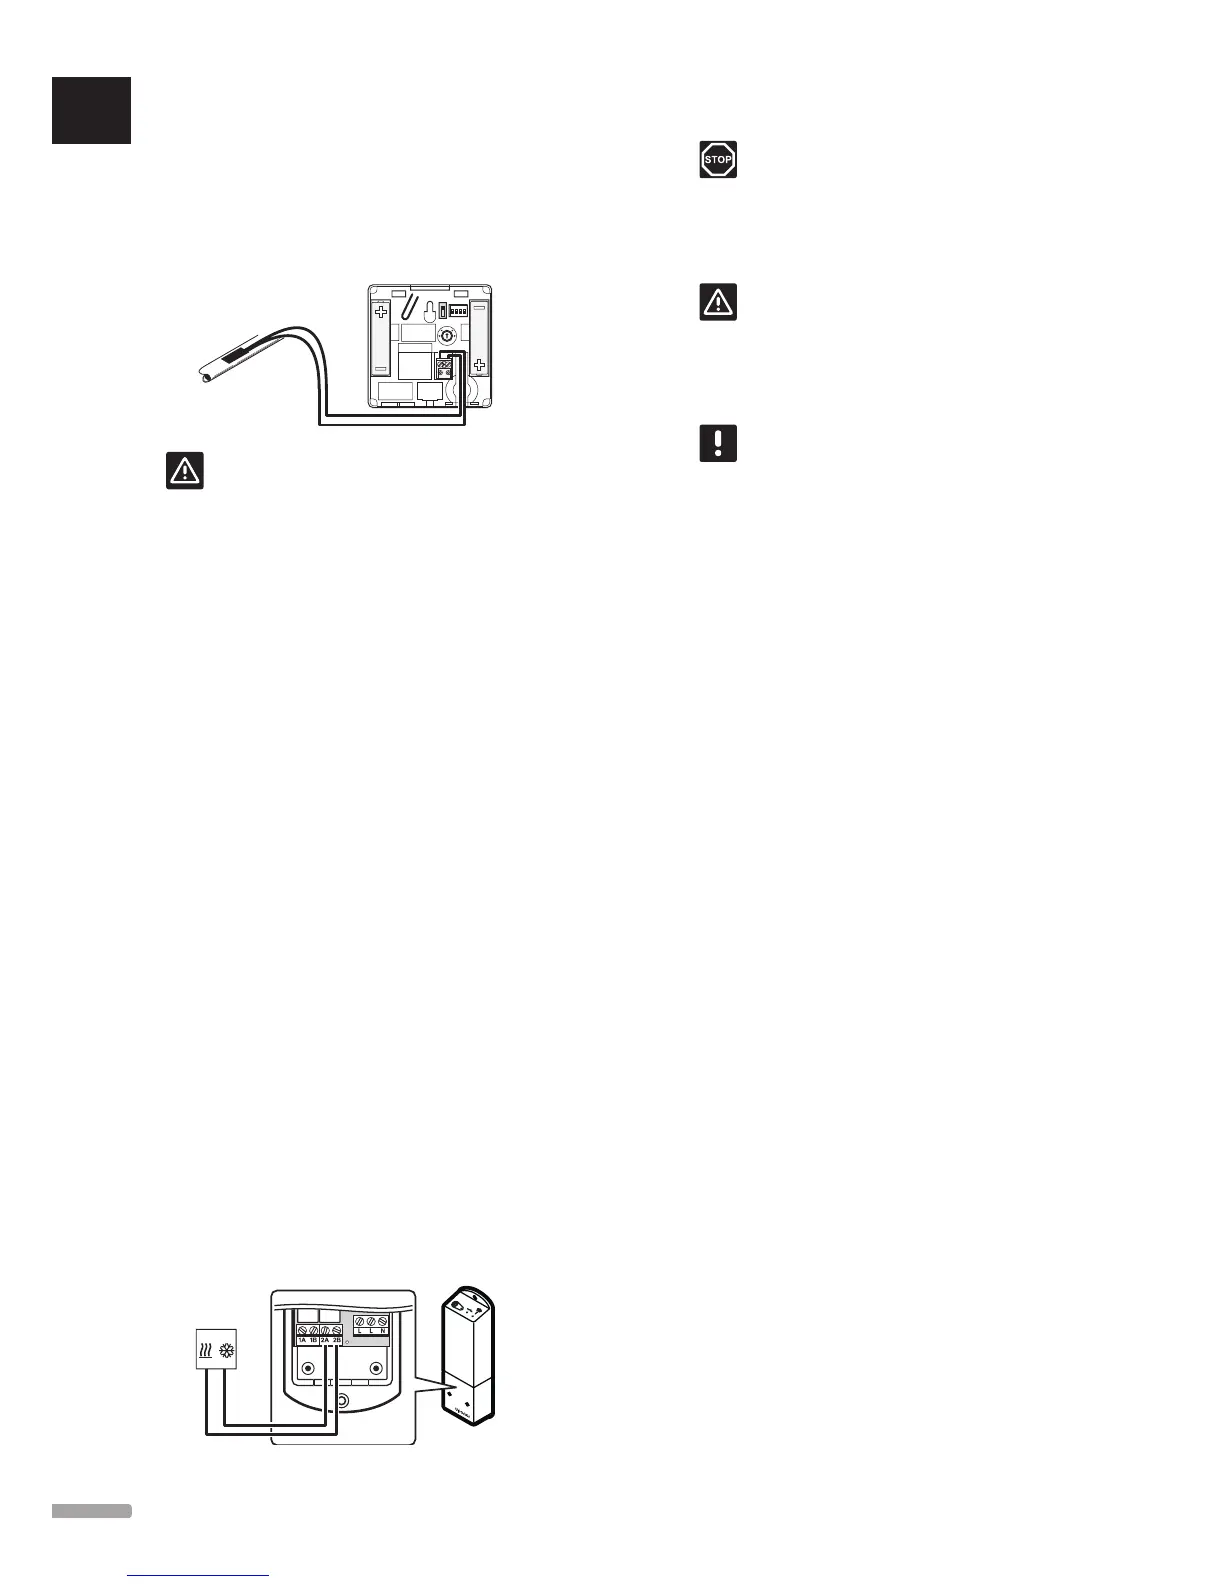
To connect a supply temperature sensor for
heating/cooling switch to a public thermostat
(Wave PLUS with interface only):
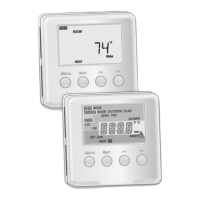
The illustration below shows components of the
heating/cooling system connected to a public
thermostat T-163.
20
5
35
1 2 3 4
ON DIP
Caution!
If more than one controller is available in the
system, register the thermostat as a system
device to the master controller.
1. Ensure that the power is disconnected from the
thermostat.
2. Connect the sensor attached to the supply pipe to
the input terminal on the thermostat.
3. Set the DIP switch to 1 = Off, 2 = Off, 3 = On,
4 = Off. See section 6.4 Connect external sensor
to thermostat > Uponor Smatrix Wave Thermostat
Public T-163 for more information.
4. Register the thermostat to the controller as a
Heating cooling switch from sensor input,
system device channel 4. See section 6.10 Register
system devices for more information.
5. Go to menu Heating/cooling in the interface and
select Cooling available.
6. Enter the submenu Operating mode to the
settings menu to Heating/cooling and select H/C
Master.
7. Enter the settings menu to H/C Master in
Heating/cooling > Operating mode and select
H/C sensor.
8. Set a temperature and hysteresis to switch between
heating and cooling.
Heating/cooling switch is now installed and activated.
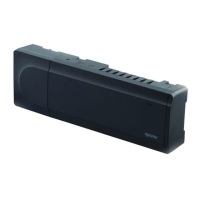
To connect a heating/cooling output to a relay
module:
The illustration below shows components of the
heating/cooling system connected to a relay module.
Warning!
Electrical installation and service behind
secured 230 V AC covers must be carried
out under the supervision of a qualified
electrician.
Caution!
If more than one controller is available in the
system, one relay module per controller can
be used. The function is set in an interface
(Wave PLUS only).
NOTE!
This connection requires a dry contact
sensing input in the component producing
heating/cooling.
1. Ensure that the power is disconnected from both
the relay module and the heating/cooling relay.
2. Connect the cable to/from the component
producing heating/cooling to the connector 2A and
2B on the relay module.
3. Register the relay module to the controller as a
Relay module, system device channel 2. See
section 5.8 Register relay module M-161 for
installation of the relay module.
Wave PLUS with interface only:
4. Go to menu Integration in the interface and select
Relay module.
5. Select the controller to which the relay module is
registered and select Pump + H/C Master.
6. Go to menu Heating/cooling in the interface and
select Cooling available.
7. Enter the submenu Operating mode to the
settings menu to Heating/cooling and select H/C
Master.
8. Enter the settings menu to H/C Master in
Heating/cooling > Operating mode and select
Force cooling or Force heating to select either
cooling or heating.
9. Verify that the relay closes, when in cooling mode,
and opens, when in heating mode.
Heating/cooling output is now installed and activated.
UK
CZ
DE
DK
EE
ES
FI
FR
HR
HU
IT
LT
LV
NL
NO
PL
PT
RO
RU
SE
SK
28
UPONOR SMATRIX WAVE/WAVE PLUS · INSTALLATION AND OPERATION MANUAL