Installation
01/21 FlowTimer+ Set 18
6.3 Installing the shut-off valve
The shut-off valve (2) can be installed in any position. The
direction of flow (3) must be observed.
It must be possible to open the valve body without difficulty for
maintenance work. The Allen screws on the valve bonnet must
be accessible from the outside.
The selected installation position must allow the control
electronics (6) with solenoid coil (15) to be mounted and
dismounted.
The shut-off valve may only be screwed into the pipeline at the
flange connections using an open-end wrench.
First install the shut-off valve (2) and the pressure sensor
(5)!
Observe the cable lengths and the visibility of the front of
the FlowTimer+ when installing the valve and pressure
sensor.
The FlowTimer+ electronics (6) and the plug connections
must not be mechanically stressed (risk of destruction)!
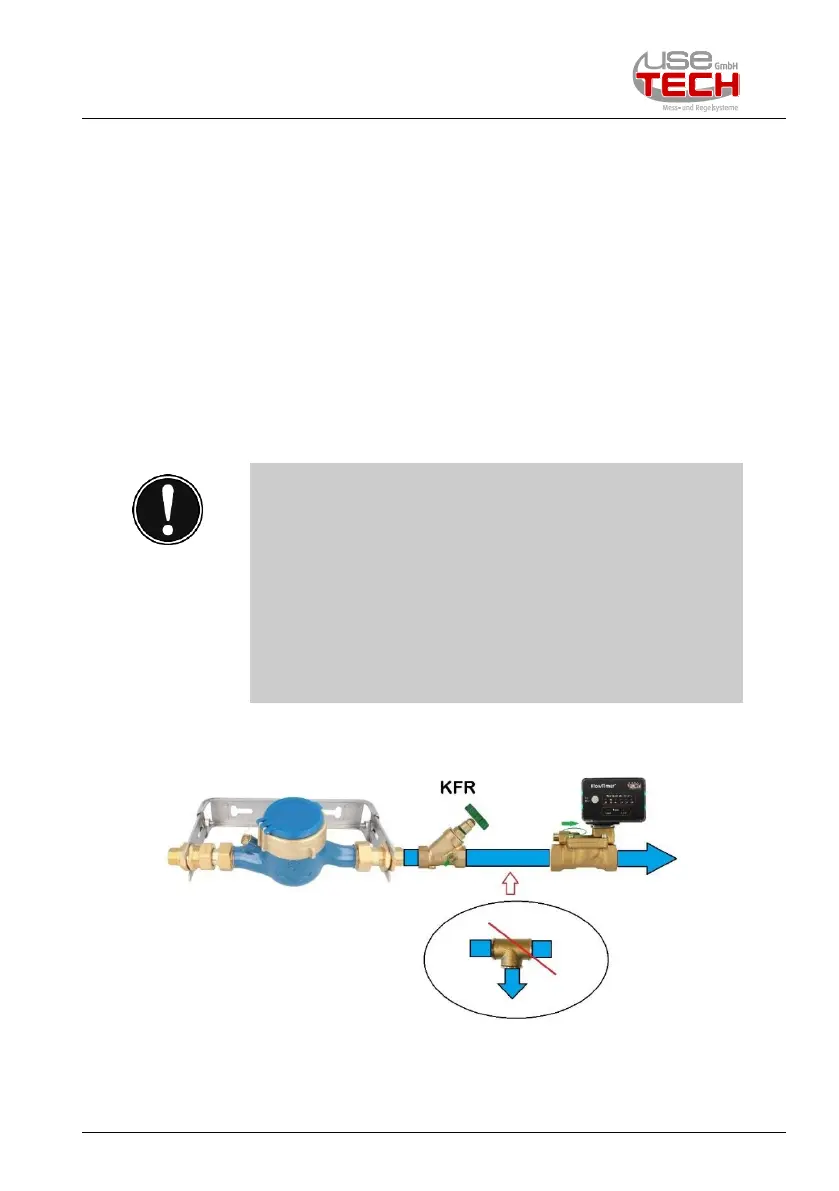
6.3.1 Installation position KFR valve
Fig. 6.3.1: Shut-off valve / KFR installation