2. To adjust humidity measurement:
a. If your probe supports the chemical purge feature, wait for the start-up purge to
finish or start the purge manually from Calibration > Configuration > Purge.
Measurement will be frozen for the duration of the purge. Continue when the
measured values are changing again.
b. Select the Calibration tab and select Start calibration to start the calibration mode.
c. In the RH adjustment section of the page, select Restore factory adjustment to
remove any existing non-factory adjustments.
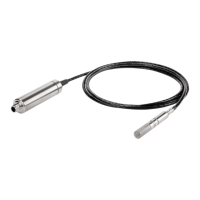
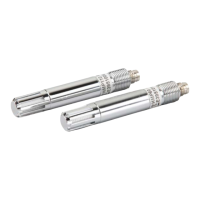
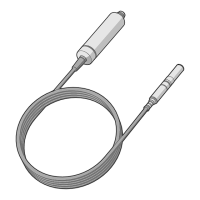
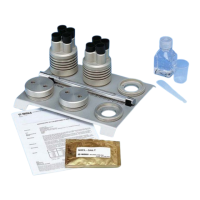
d. Insert the probe head in the reference environment for RH adjustment point 1 (dry
point, recommendation 0 … 35 %RH).
e. Wait for the RH and temperature measurements to stabilize fully. This may take more
than 30 minutes. Monitor the readings to see when the measurement has stabilized.
f. Enter the value of the first reference into the Reference value, point 1 field. Select
outside the text box when done. The probe automatically enters the measured values
for the calibration point.
g. If you want to adjust humidity measurement in two points, repeat steps
step 2.d … step 2.f for RH adjustment point 2 (wet point, recommendation
65 … 85 %RH).
h. Select Activate adjustment to store the adjustment in the probe.
When the adjustment is successful, the fields for reference and measured
values are cleared. The message %0 adjustment activated successfully.
appears on the local display (display models only).
If the adjustment fails, the fields are not cleared. A message on the
transmitter's display will indicate the reason. For example, if the humidity
adjustment would be over the maximum 10 %RH allowed by the probe,
the message Cumulative adjustment too large. appears on the local
display.
HMP Series with MMP8 and TMP1 User Guide M212022EN-F
58