~ 8 ~
COM3000 Integrator’s Installation Manual
4.1 SETTING UP MULTIPLE CHASSIS (COM400 ONLY)
For multi-chassis COM400 installations each chassis will need to be assigned a unique chassis ID.
COM421 are set to chassis one by default, there is no dipswitch as multiple 421 chassis are not recommended.
The COM400 chassis has a default setting as chassis one.
Chassis identification is configured via a dipswitch on the backplane circuit board.
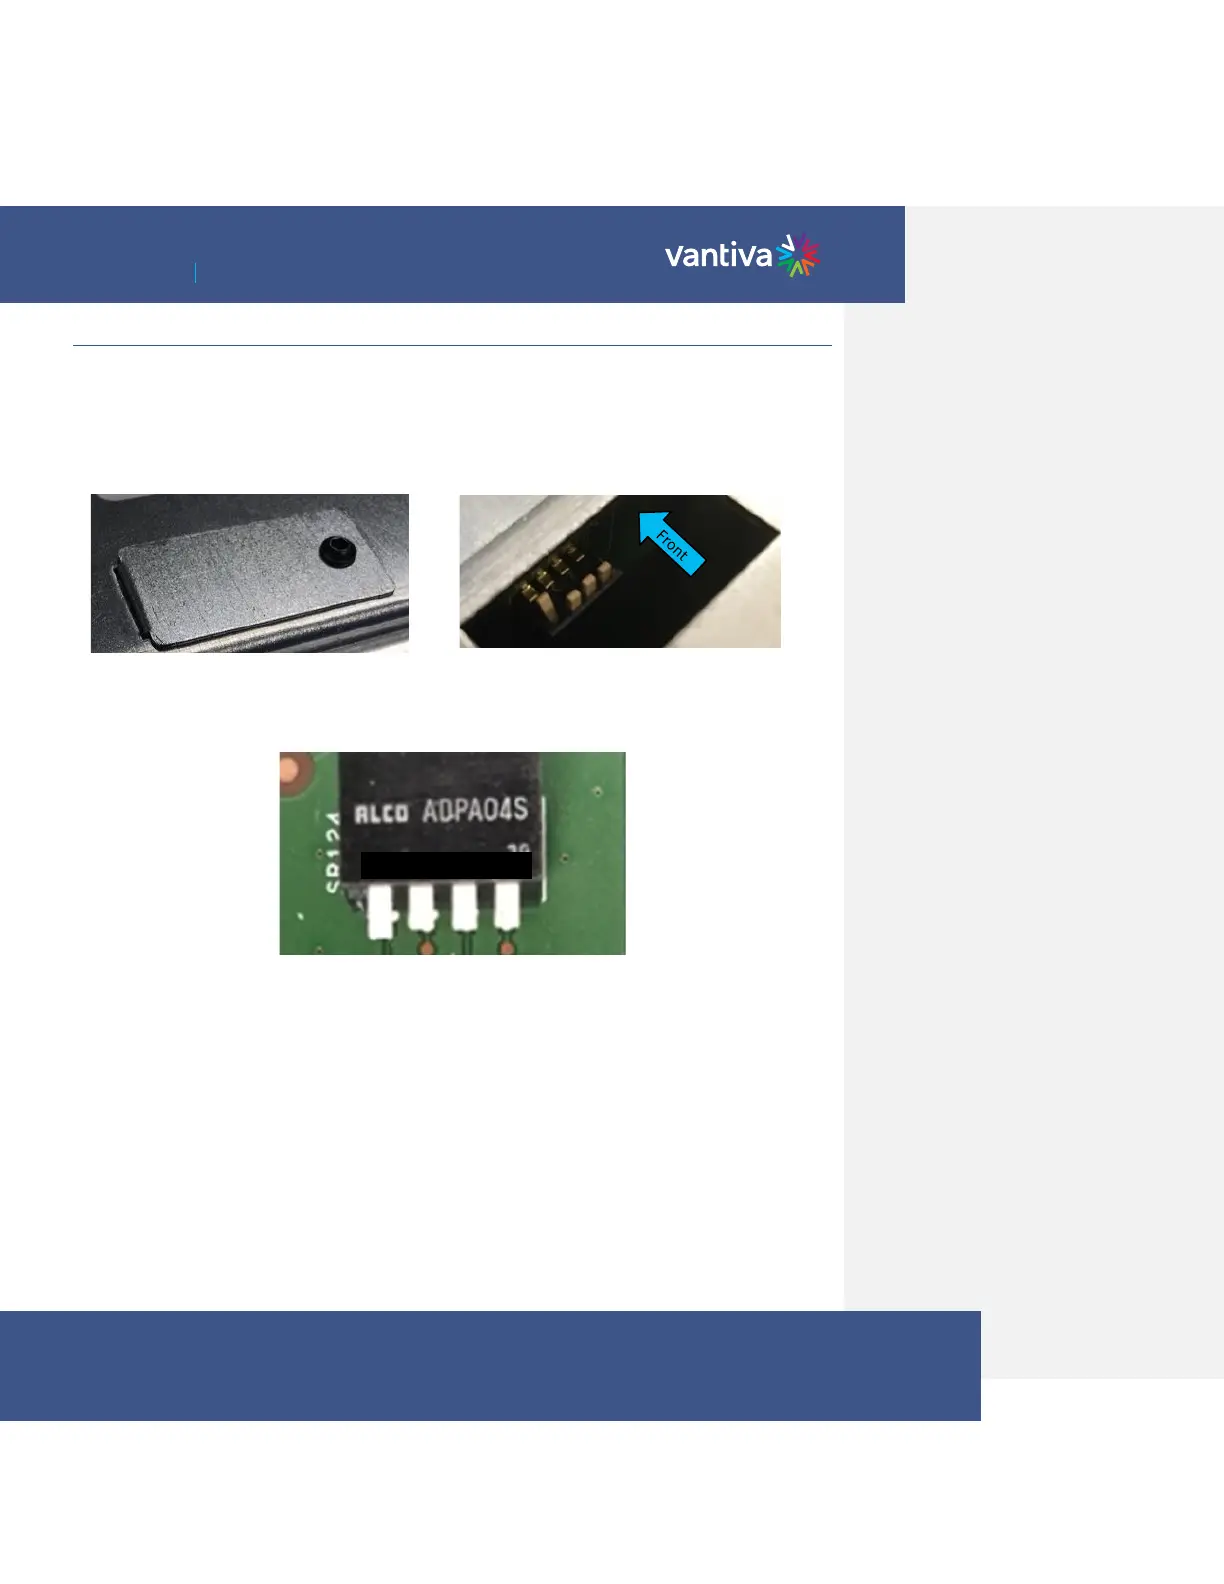
To access the switch, you will need to remove the access door on the top panel of the COM400 chassis as shown
below:
Facing the back, dipswitches are 1-4 from the right to the left as shown below:
Dipswitch numbers as shown below are added to the photo. They are not actually labeled.
The default IP address of each COM51 card in a system is determined by the chassis ID and slot number.
The formula for determining this address is 192.168.3.[1 + (chassis ID X 16) + slot number]. Example for chassis
one:
1 + (16*1) + 1 = 18 IP address of chassis one slot one is 192.168.3.18