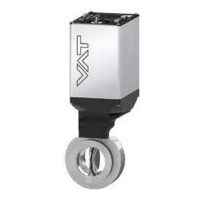
Series
136/149
Edition 12.08.2022 984360EC
Description
Required tool
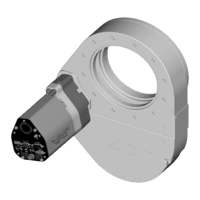
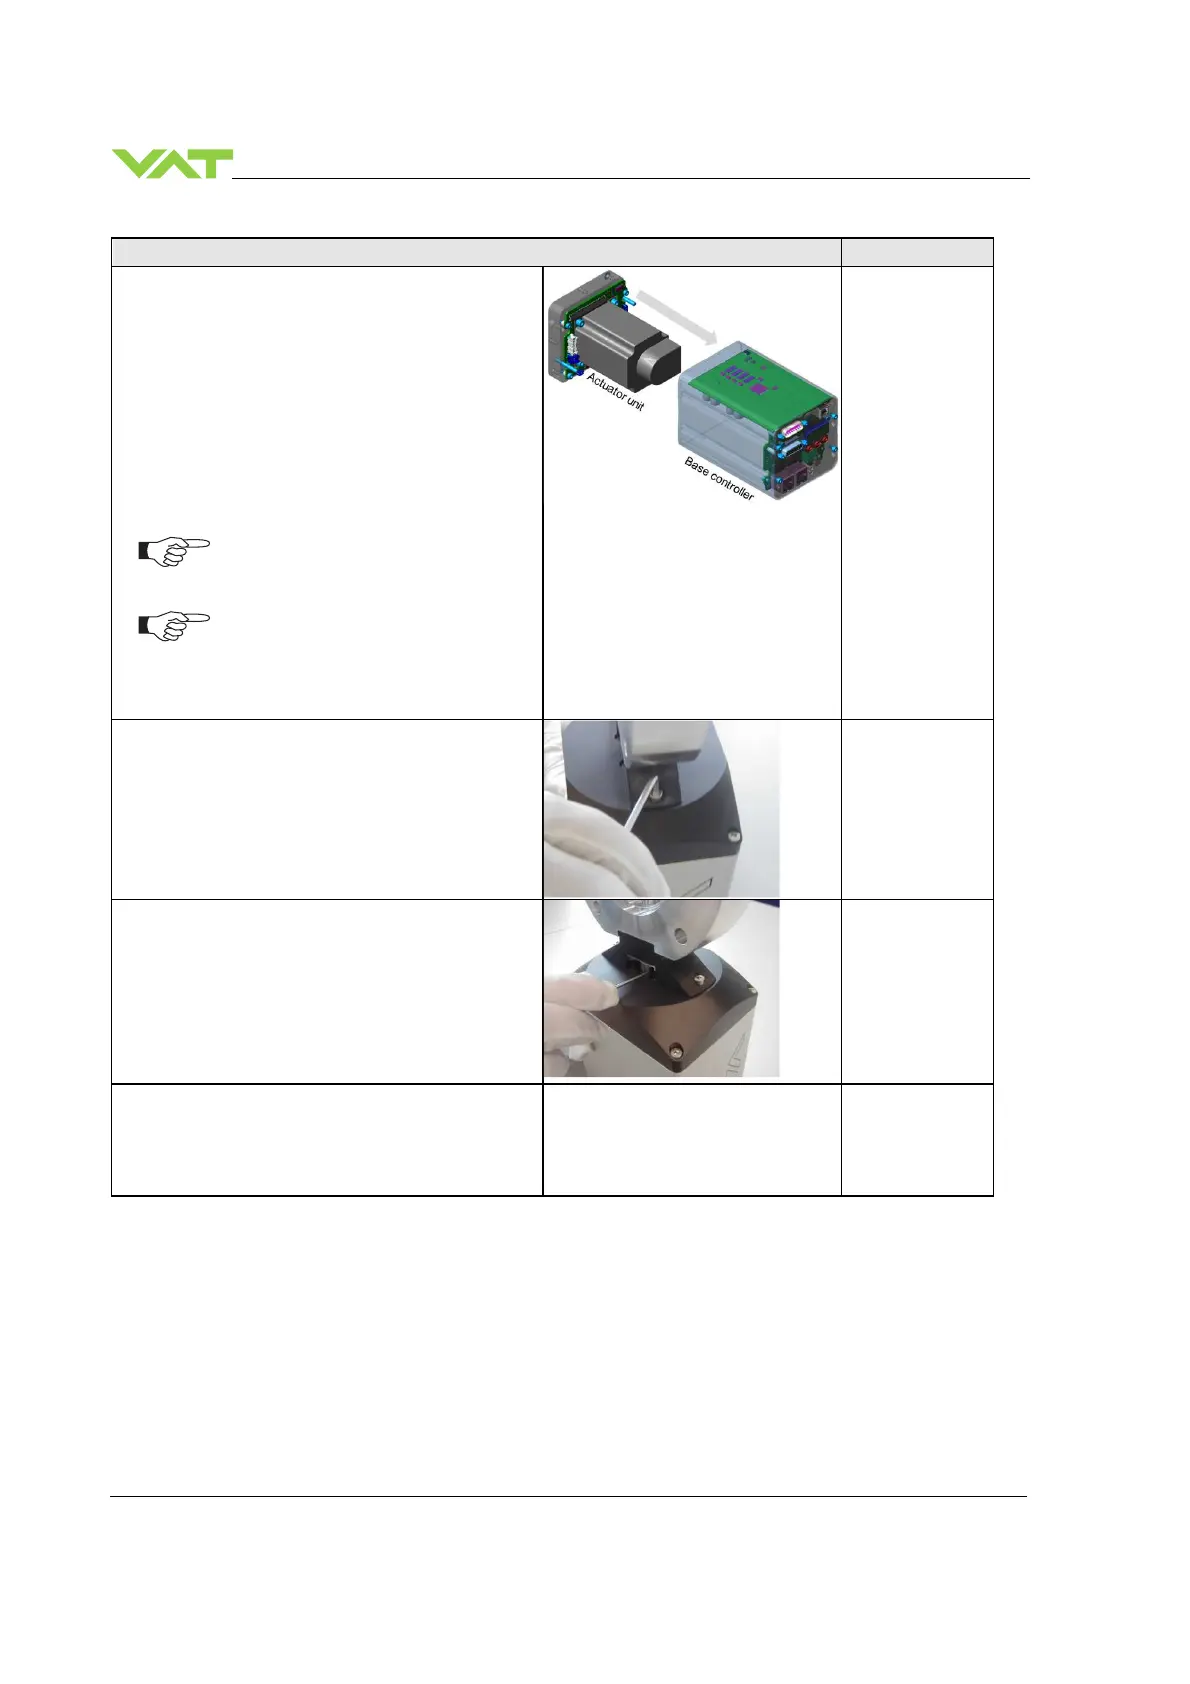
4. Replacement of the option board / whole
controller
Unfasten the two bolts from bottom side and and
dismount the controller from the actuator unit.
The SPS/PFO option board has to be mounted/
dismounted from bottom side of the controller.
The Controller and Interface board are fix
connected and shall not be dismounted.
you have to work on an ESD-protected
working space
If you need any further information,
please contact one of our service centers. You can
find the addresses on our website:
www.vatvalve.com
.
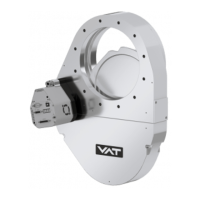
5. Assemble control and actuating unit to valve
unit. Tighten mounting screws adequately.
Allen Wrench:
3mm
6. Tighten clamp coupling:
• with elastic coupling 1.1 Nm
• with steel coupling 2.2 Nm
Allen Wrench:
steel coupling
2.5 mm
7.
Reinstall valve into vacuum system according to
chapter «Installation».

 Loading...